Are you looking to give your kitchen, bathroom, or furniture a fresh and stylish makeover? Updating your cabinet hardware is one of the simplest yet most impactful ways to achieve this transformation. In this blog post, we'll explore the easiest way to update cabinet hardware, allowing you to effortlessly elevate the aesthetics of your space without breaking a sweat.
1. Measure and Plan
Before you embark on your cabinet hardware update journey, it's essential to measure the existing hardware and plan your new design. Take precise measurements of the hole spacing for handles or knobs to ensure your new hardware will fit perfectly. Also, consider the overall style you want to achieve, whether it's modern, classic, or eclectic, to guide your selection.
2. Choose Your Hardware
Once you have your measurements and a design vision in mind, it's time to choose the hardware that best fits your style and budget. Here are some popular options:
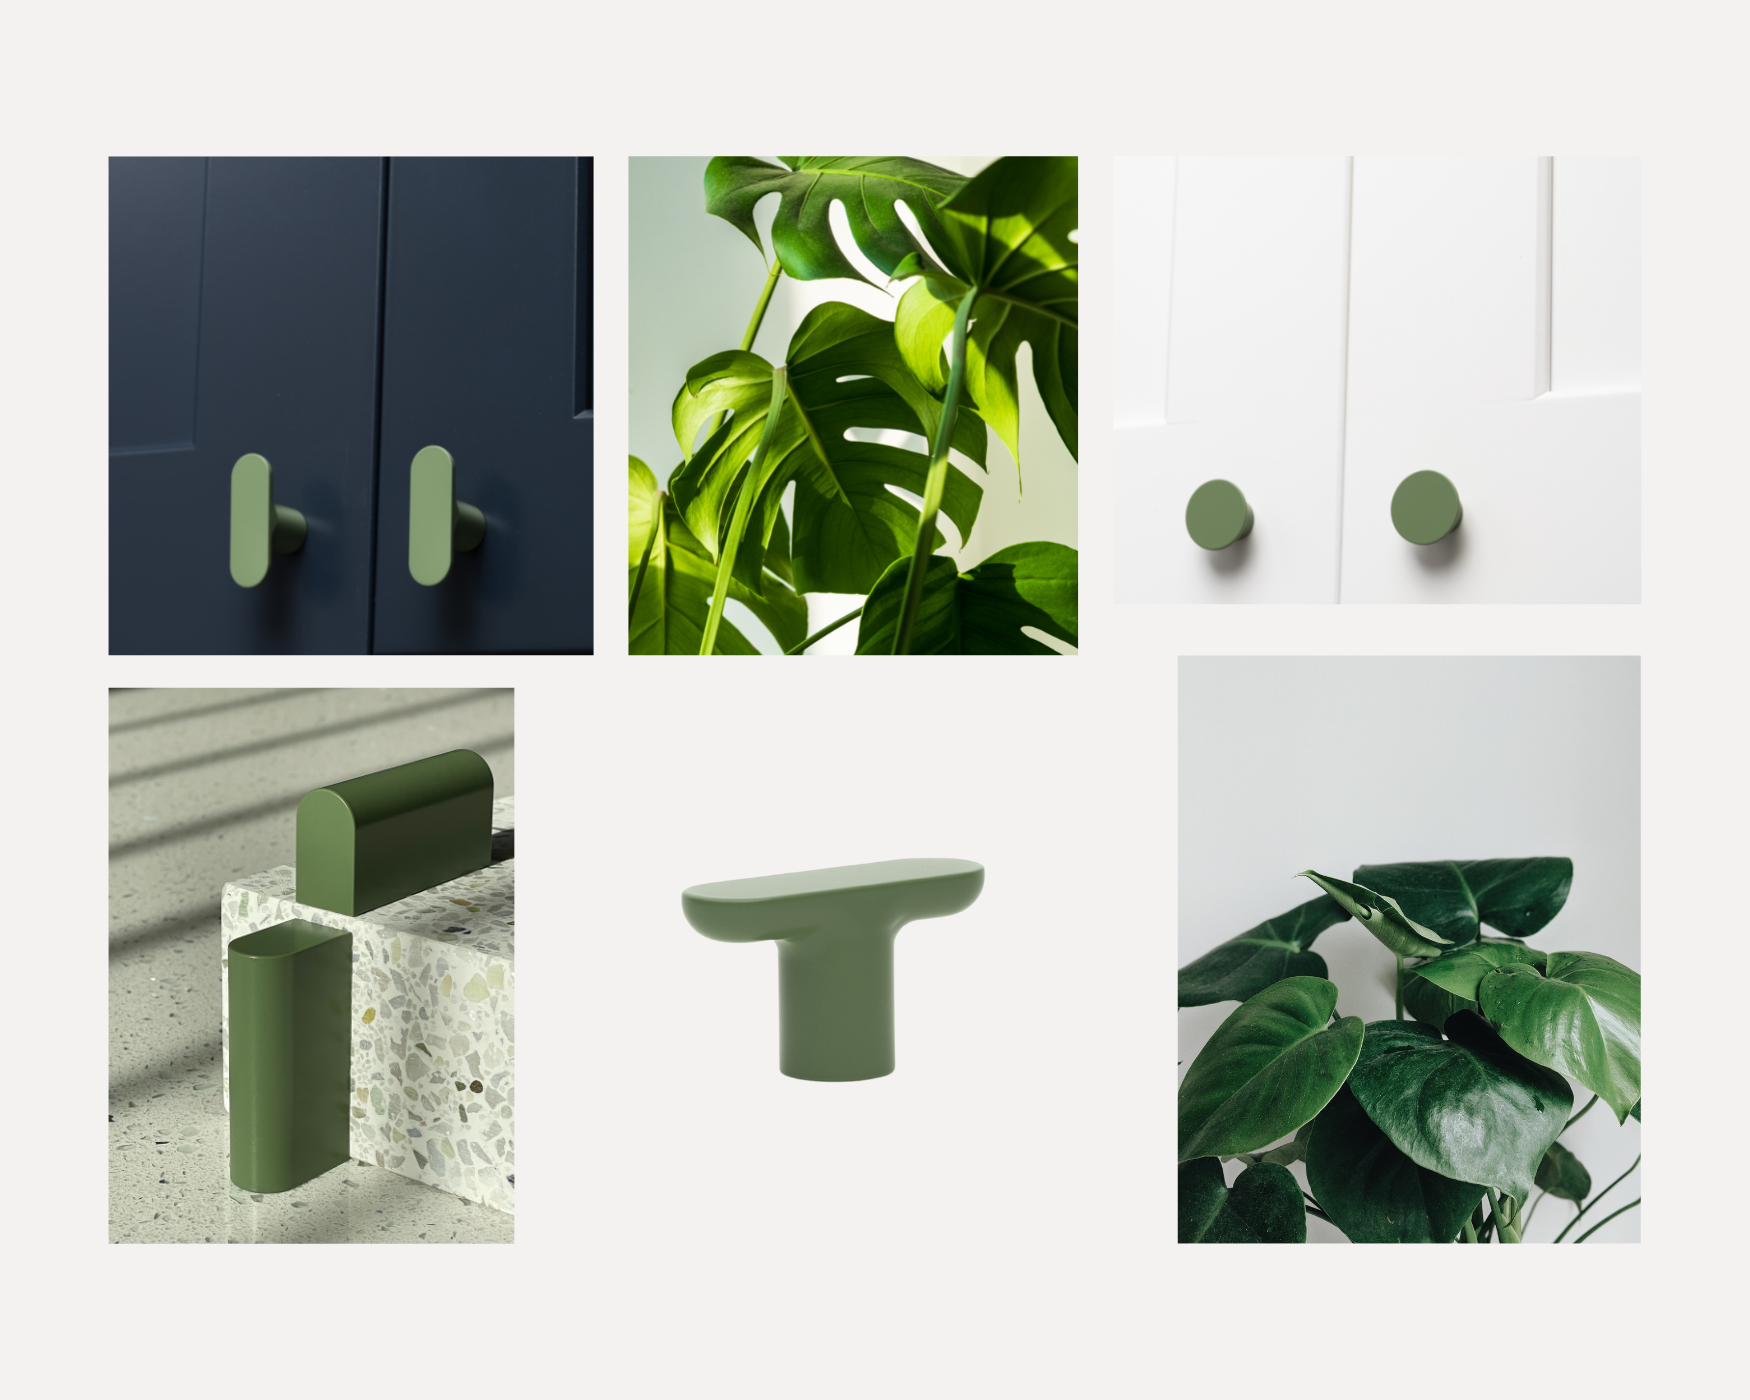
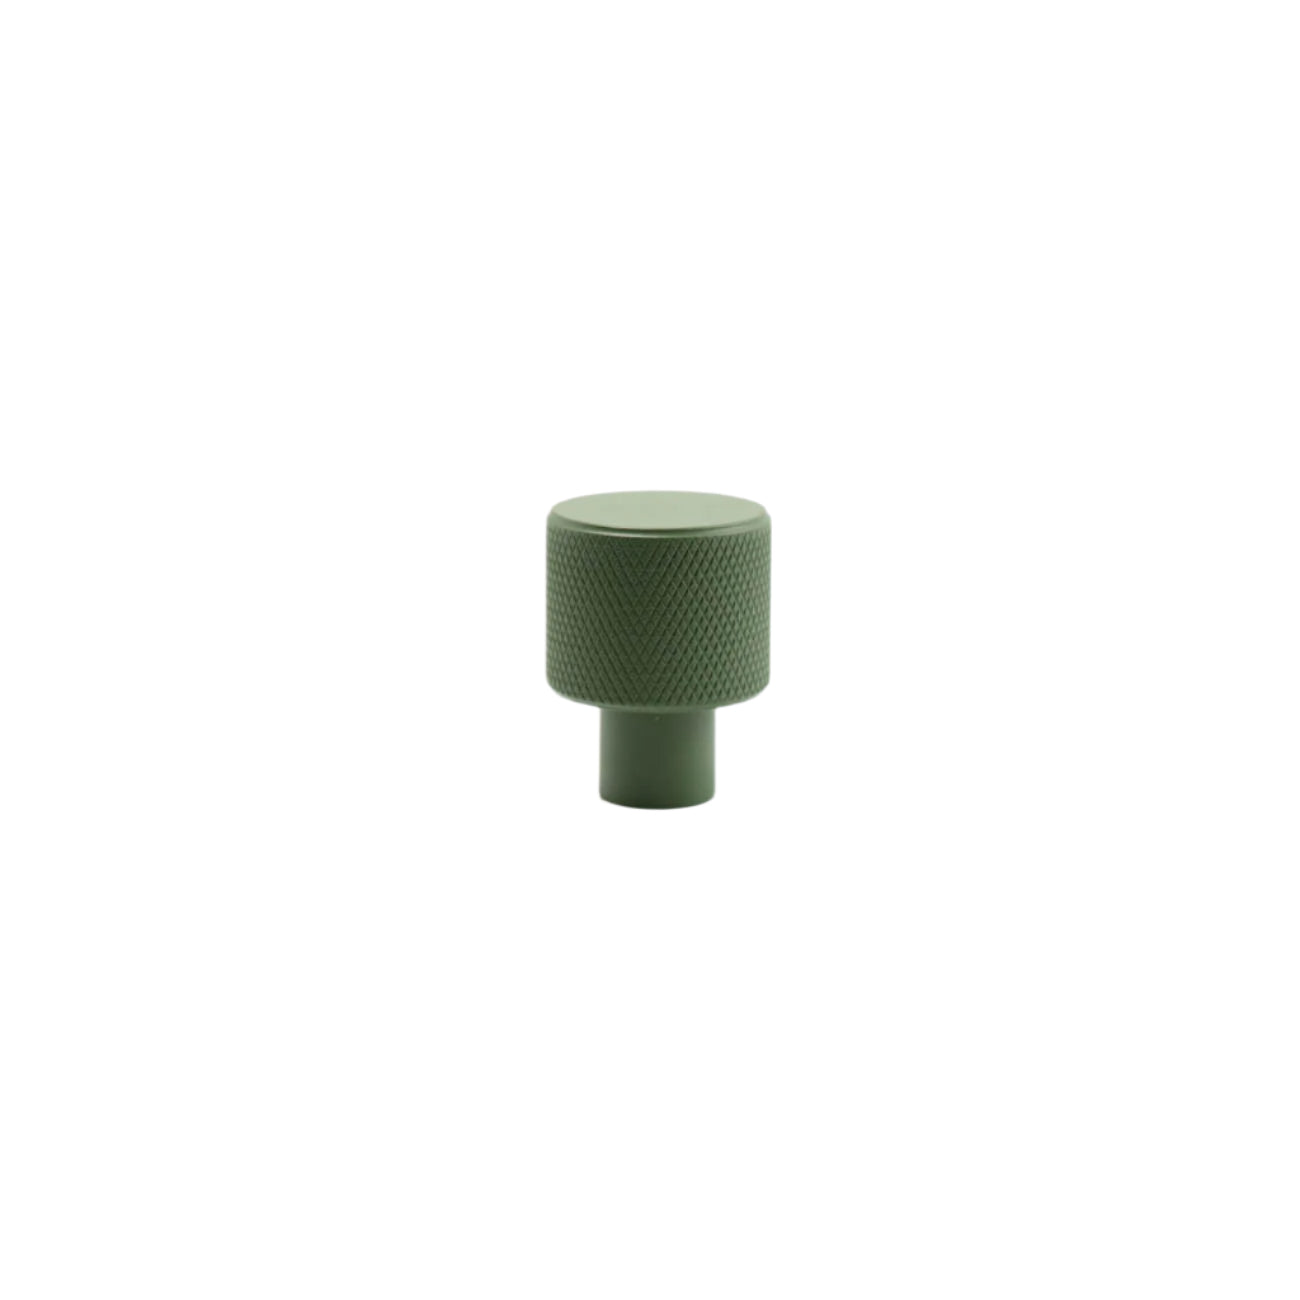
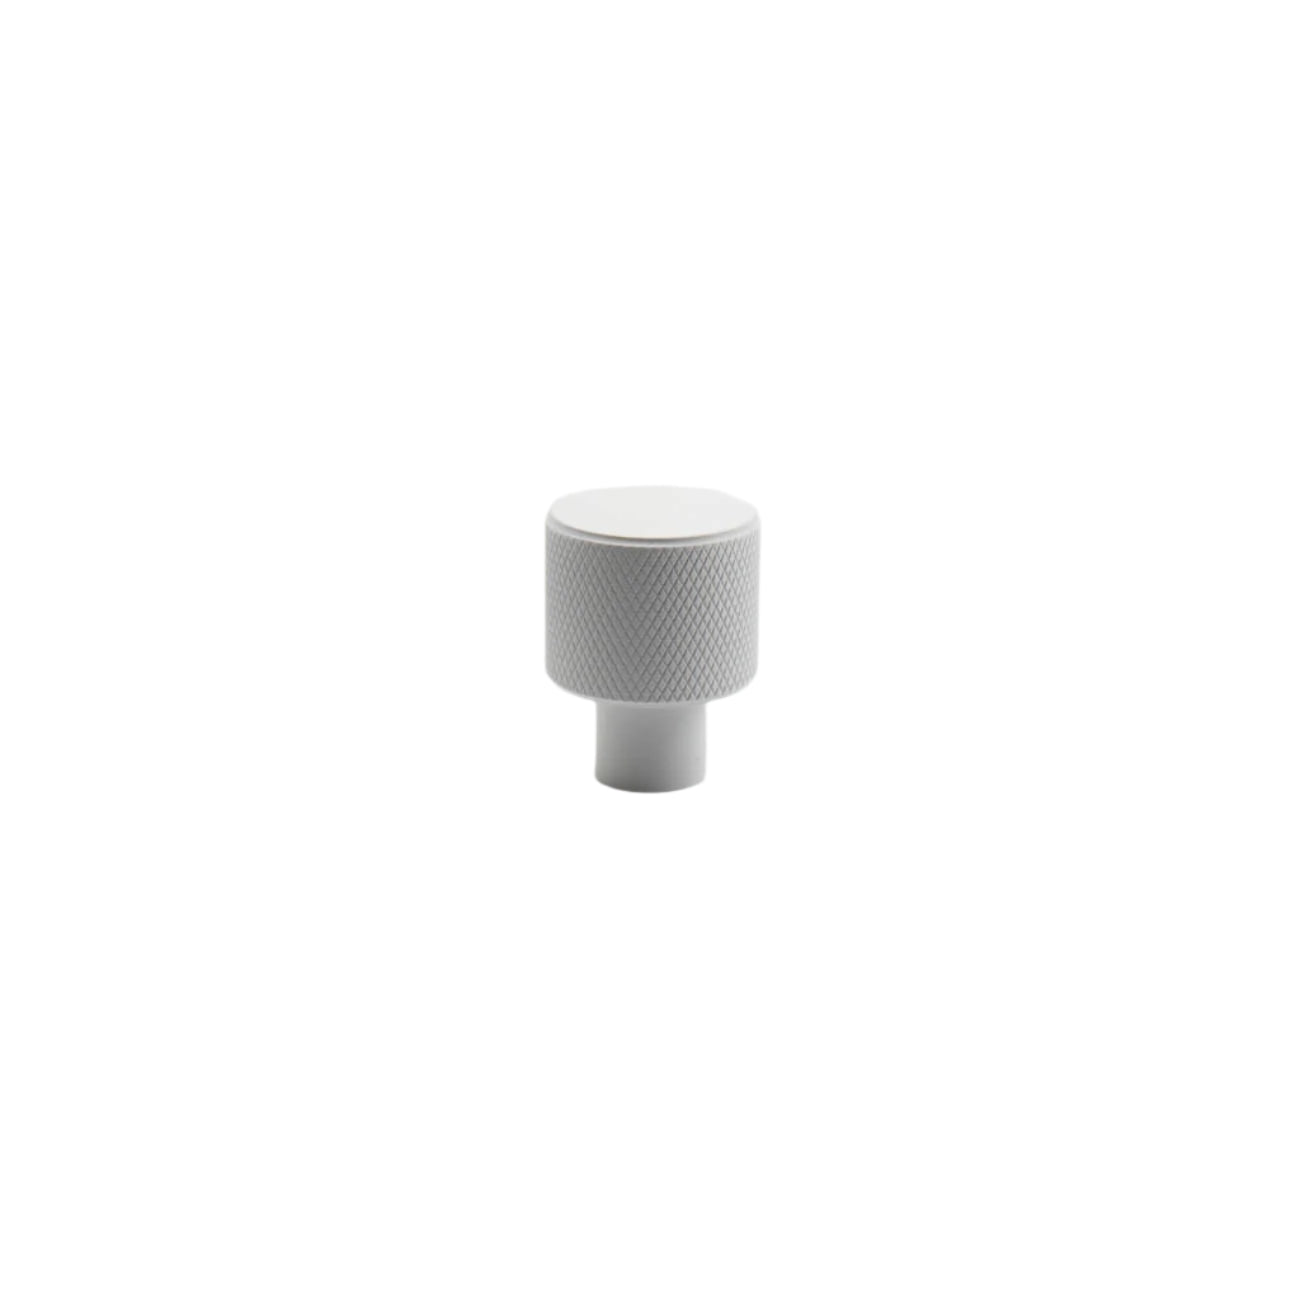
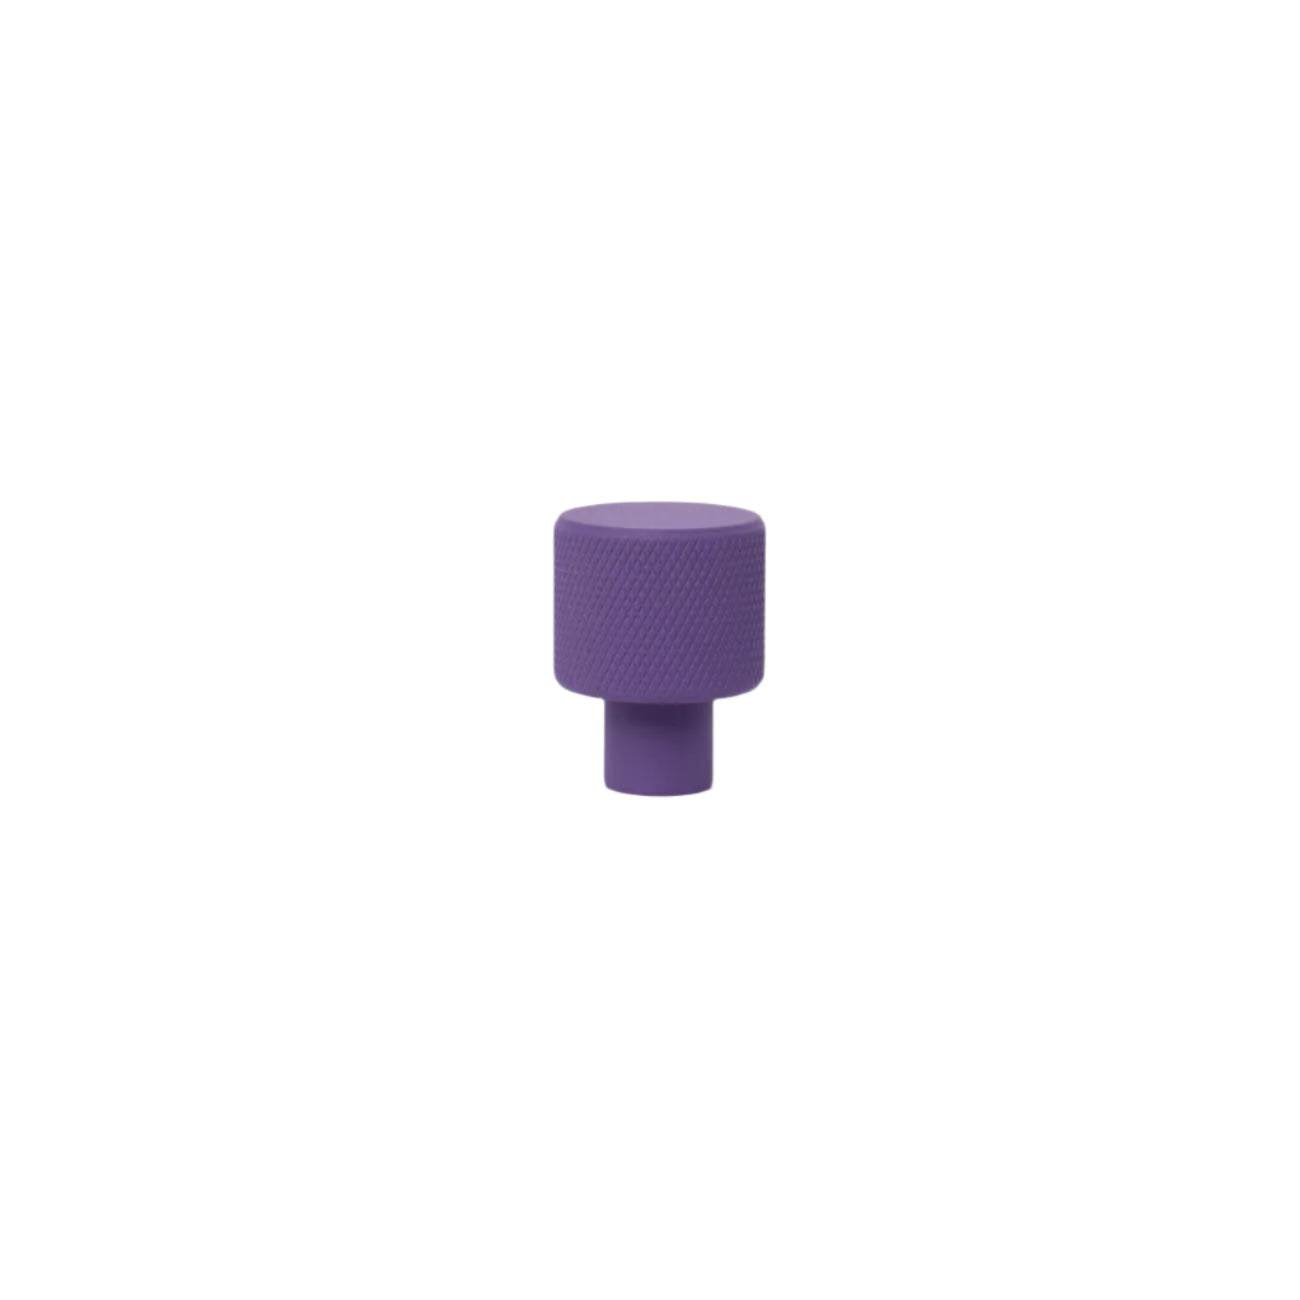
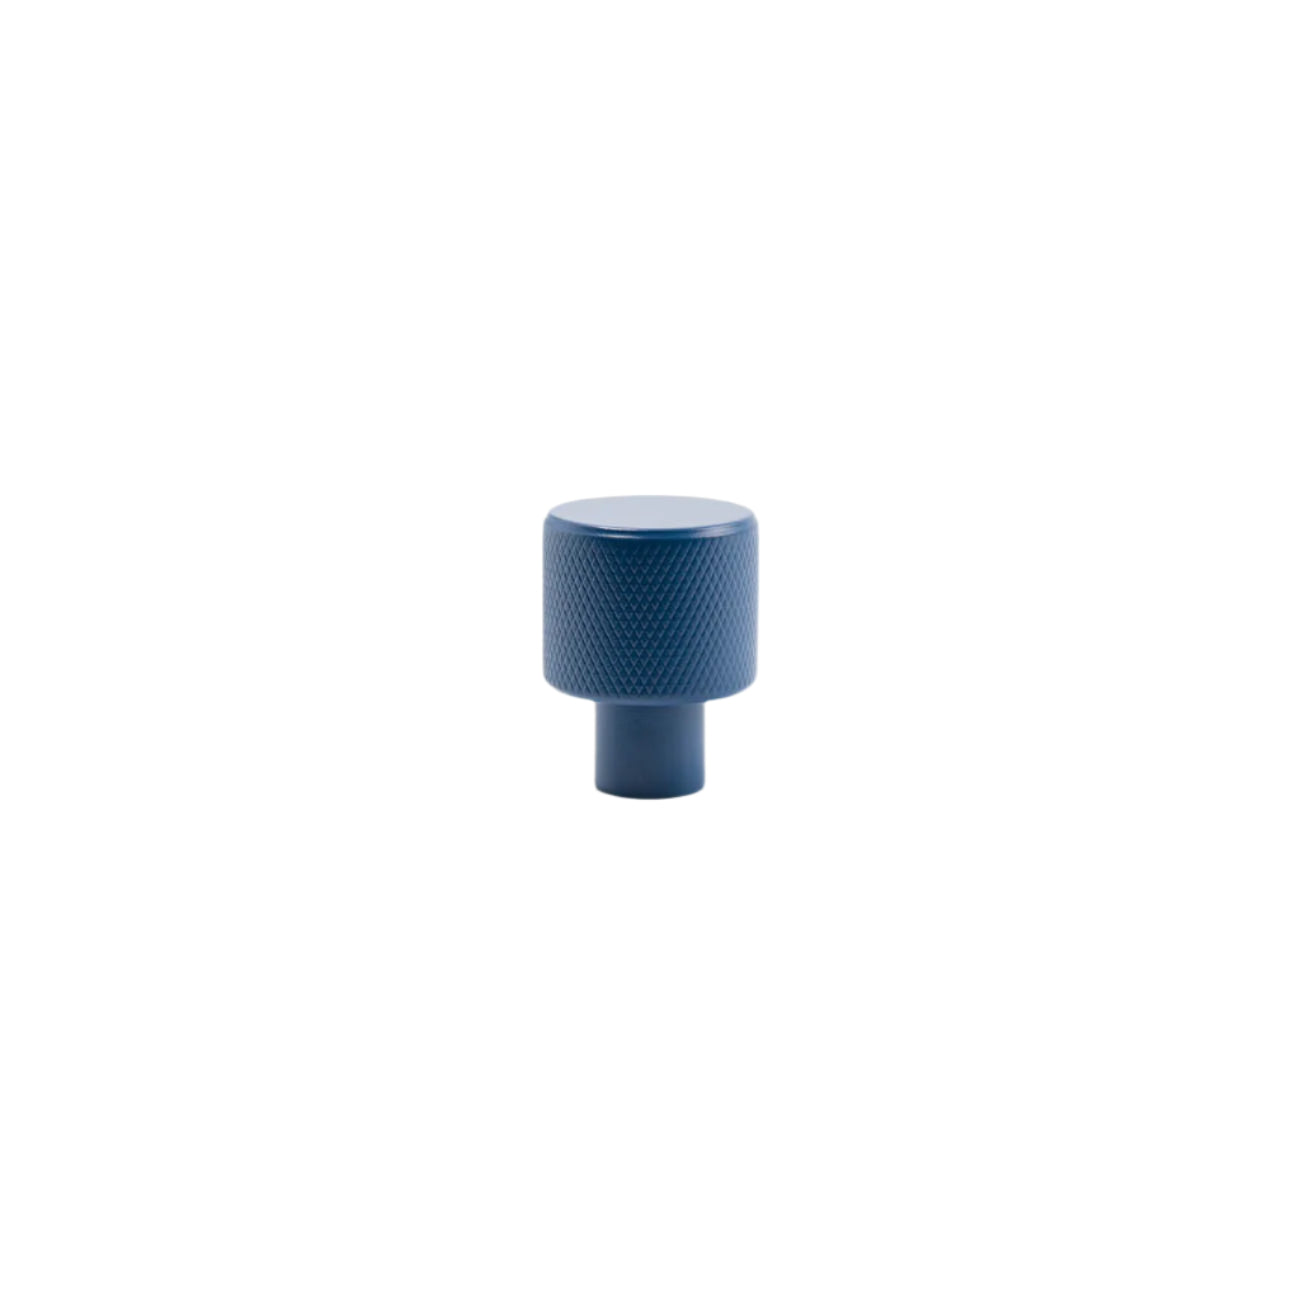
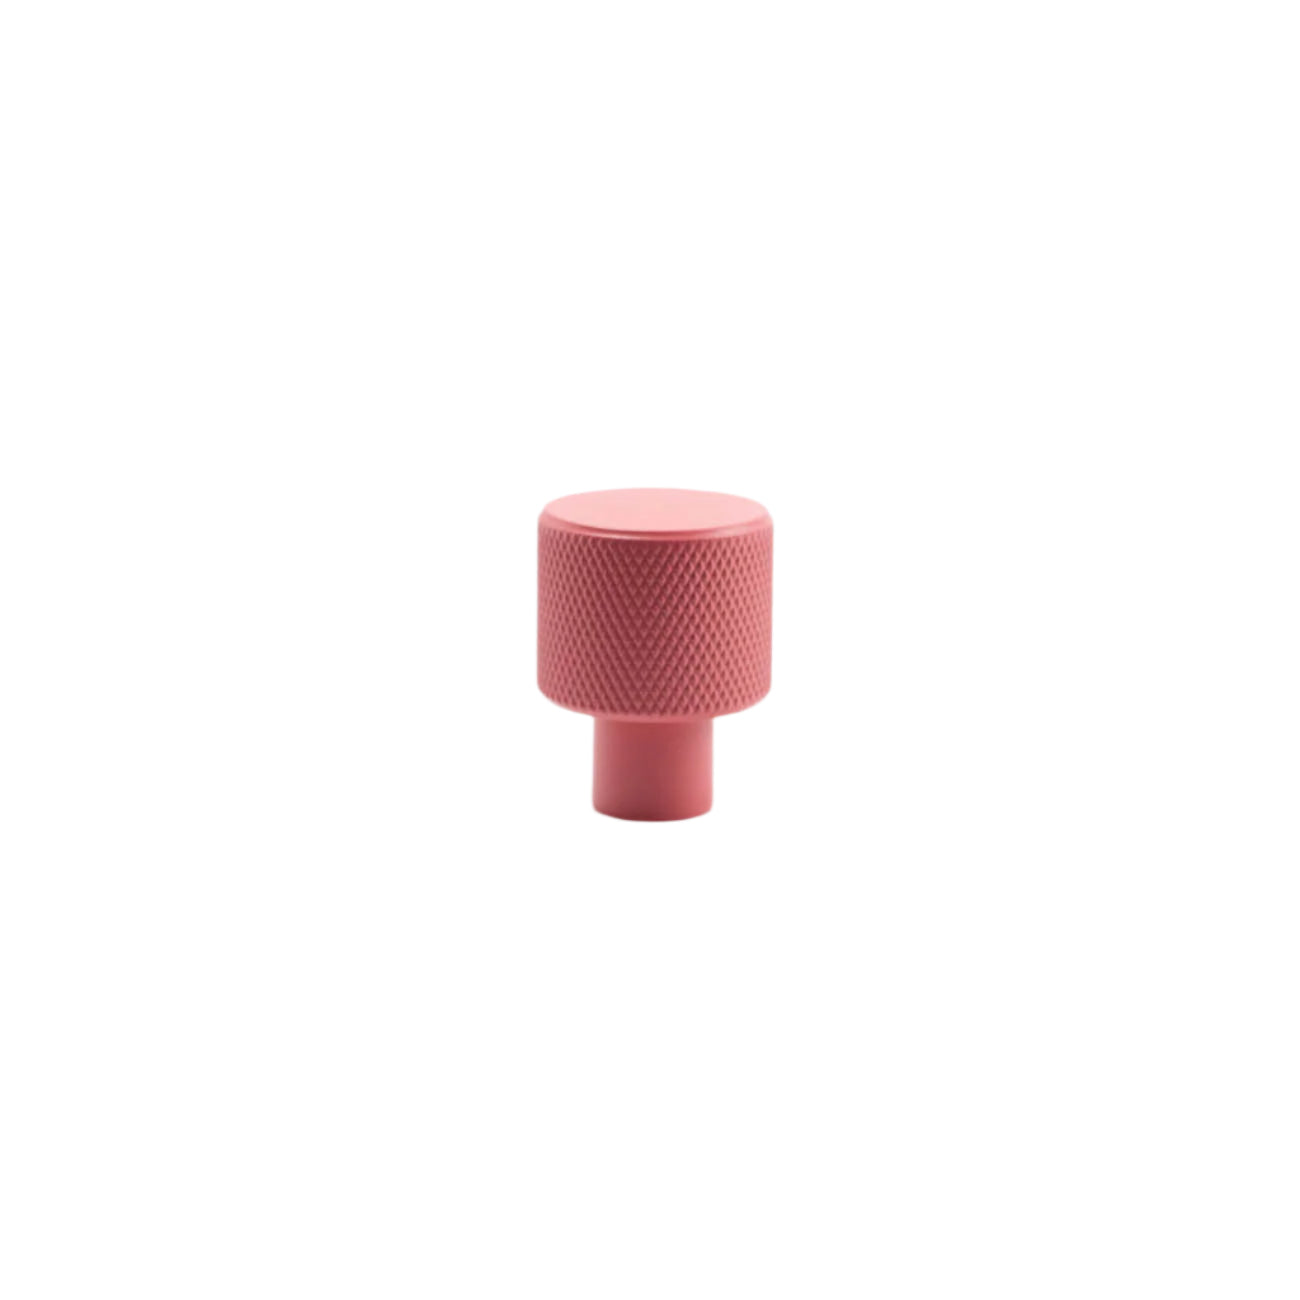
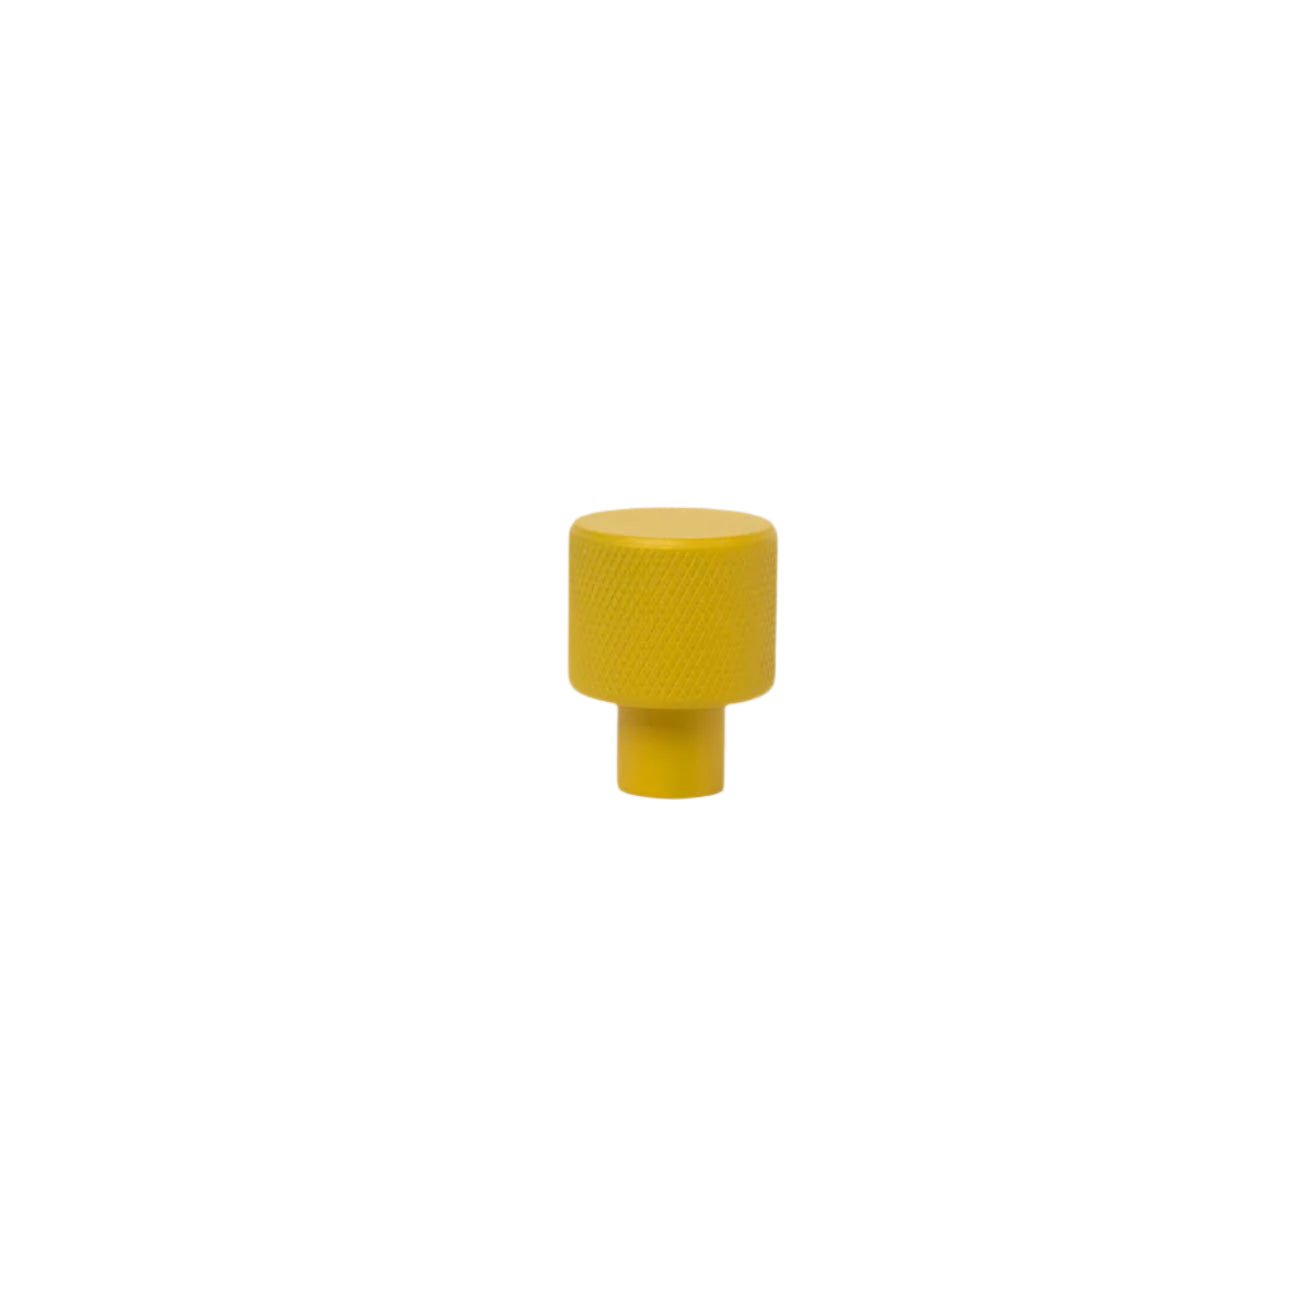
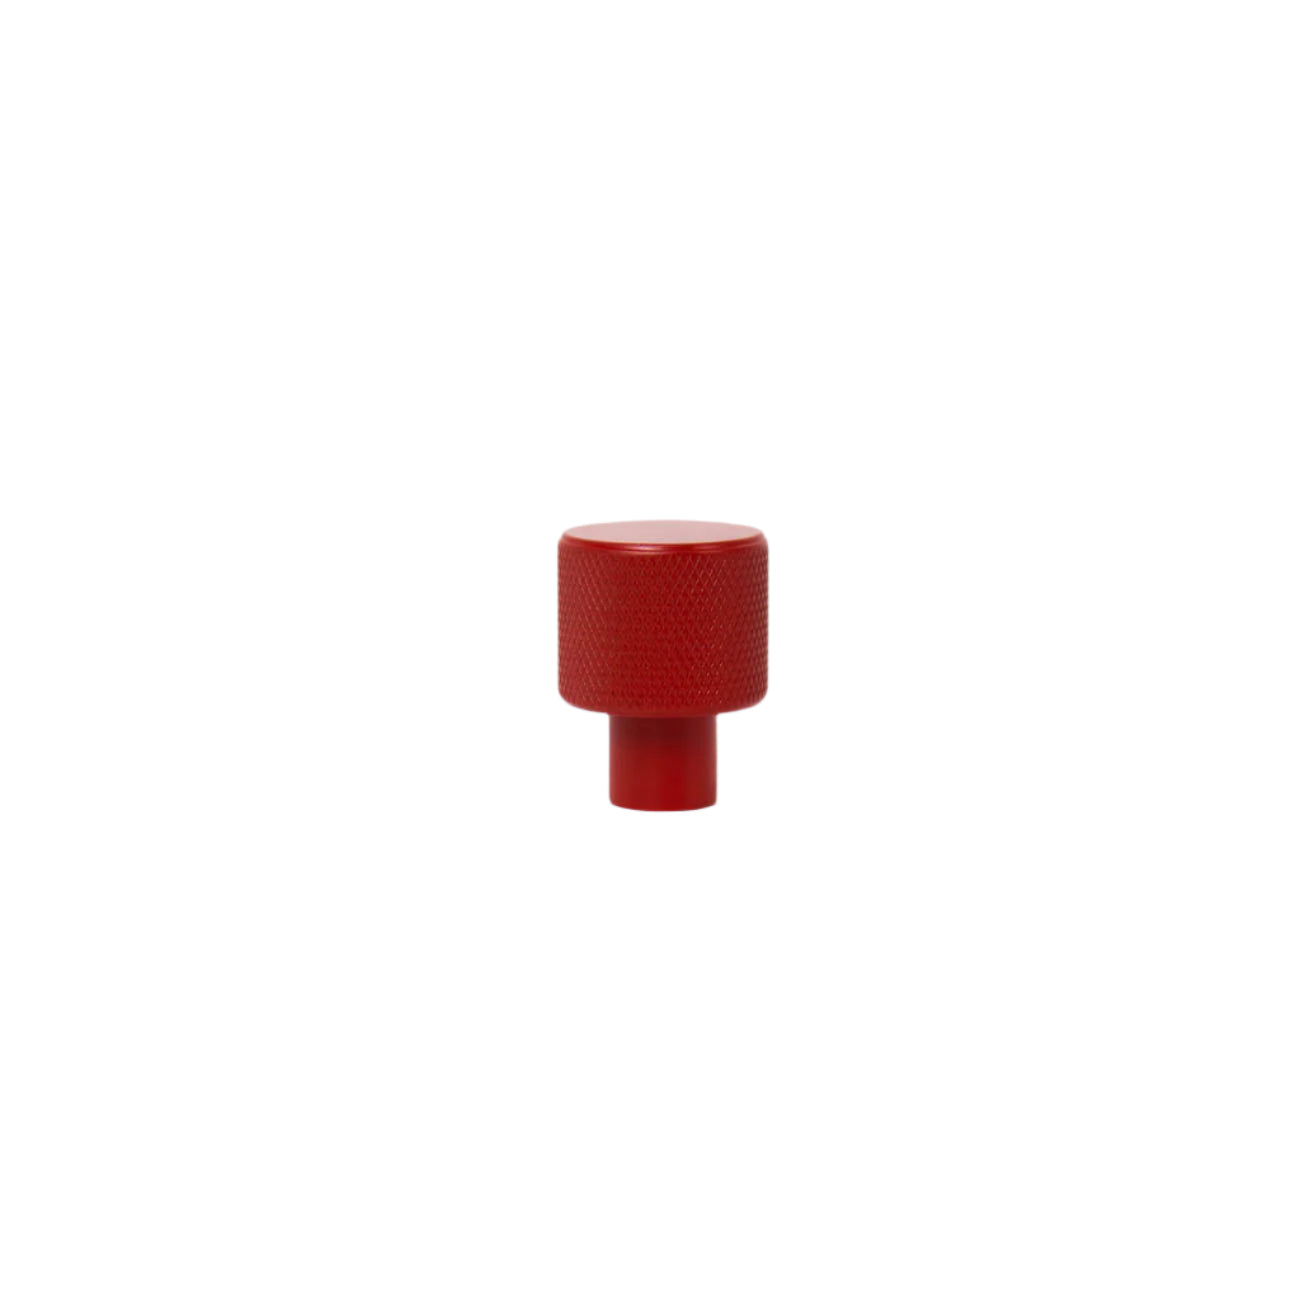
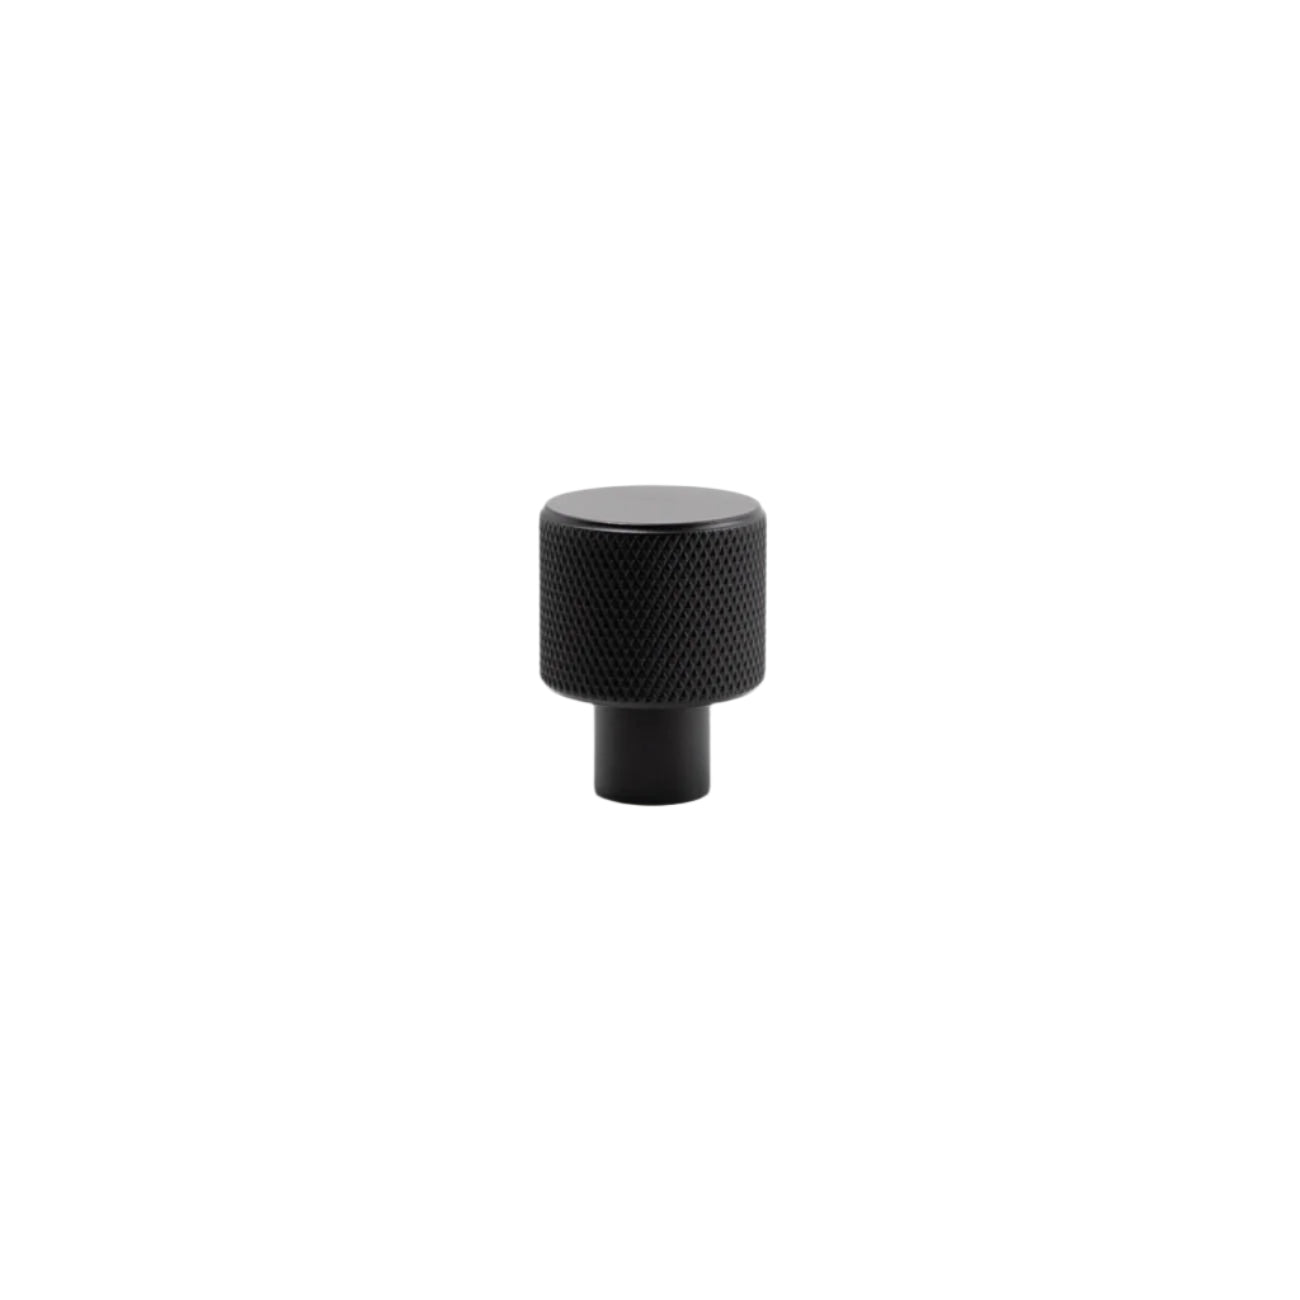
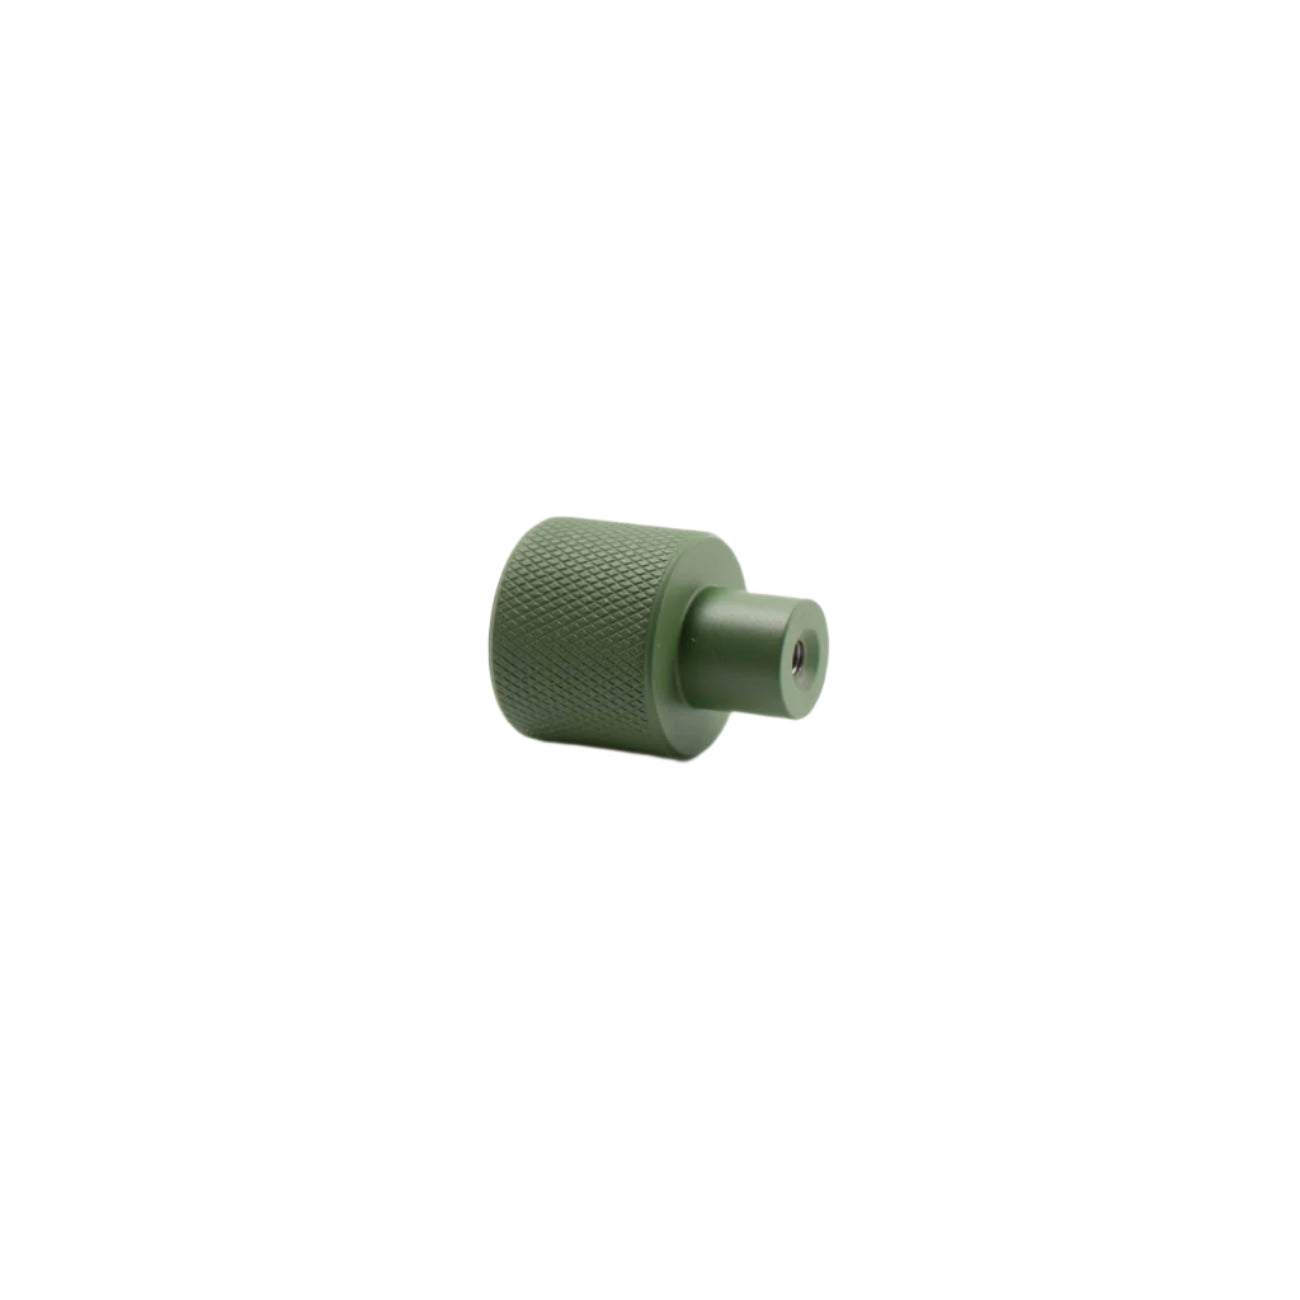
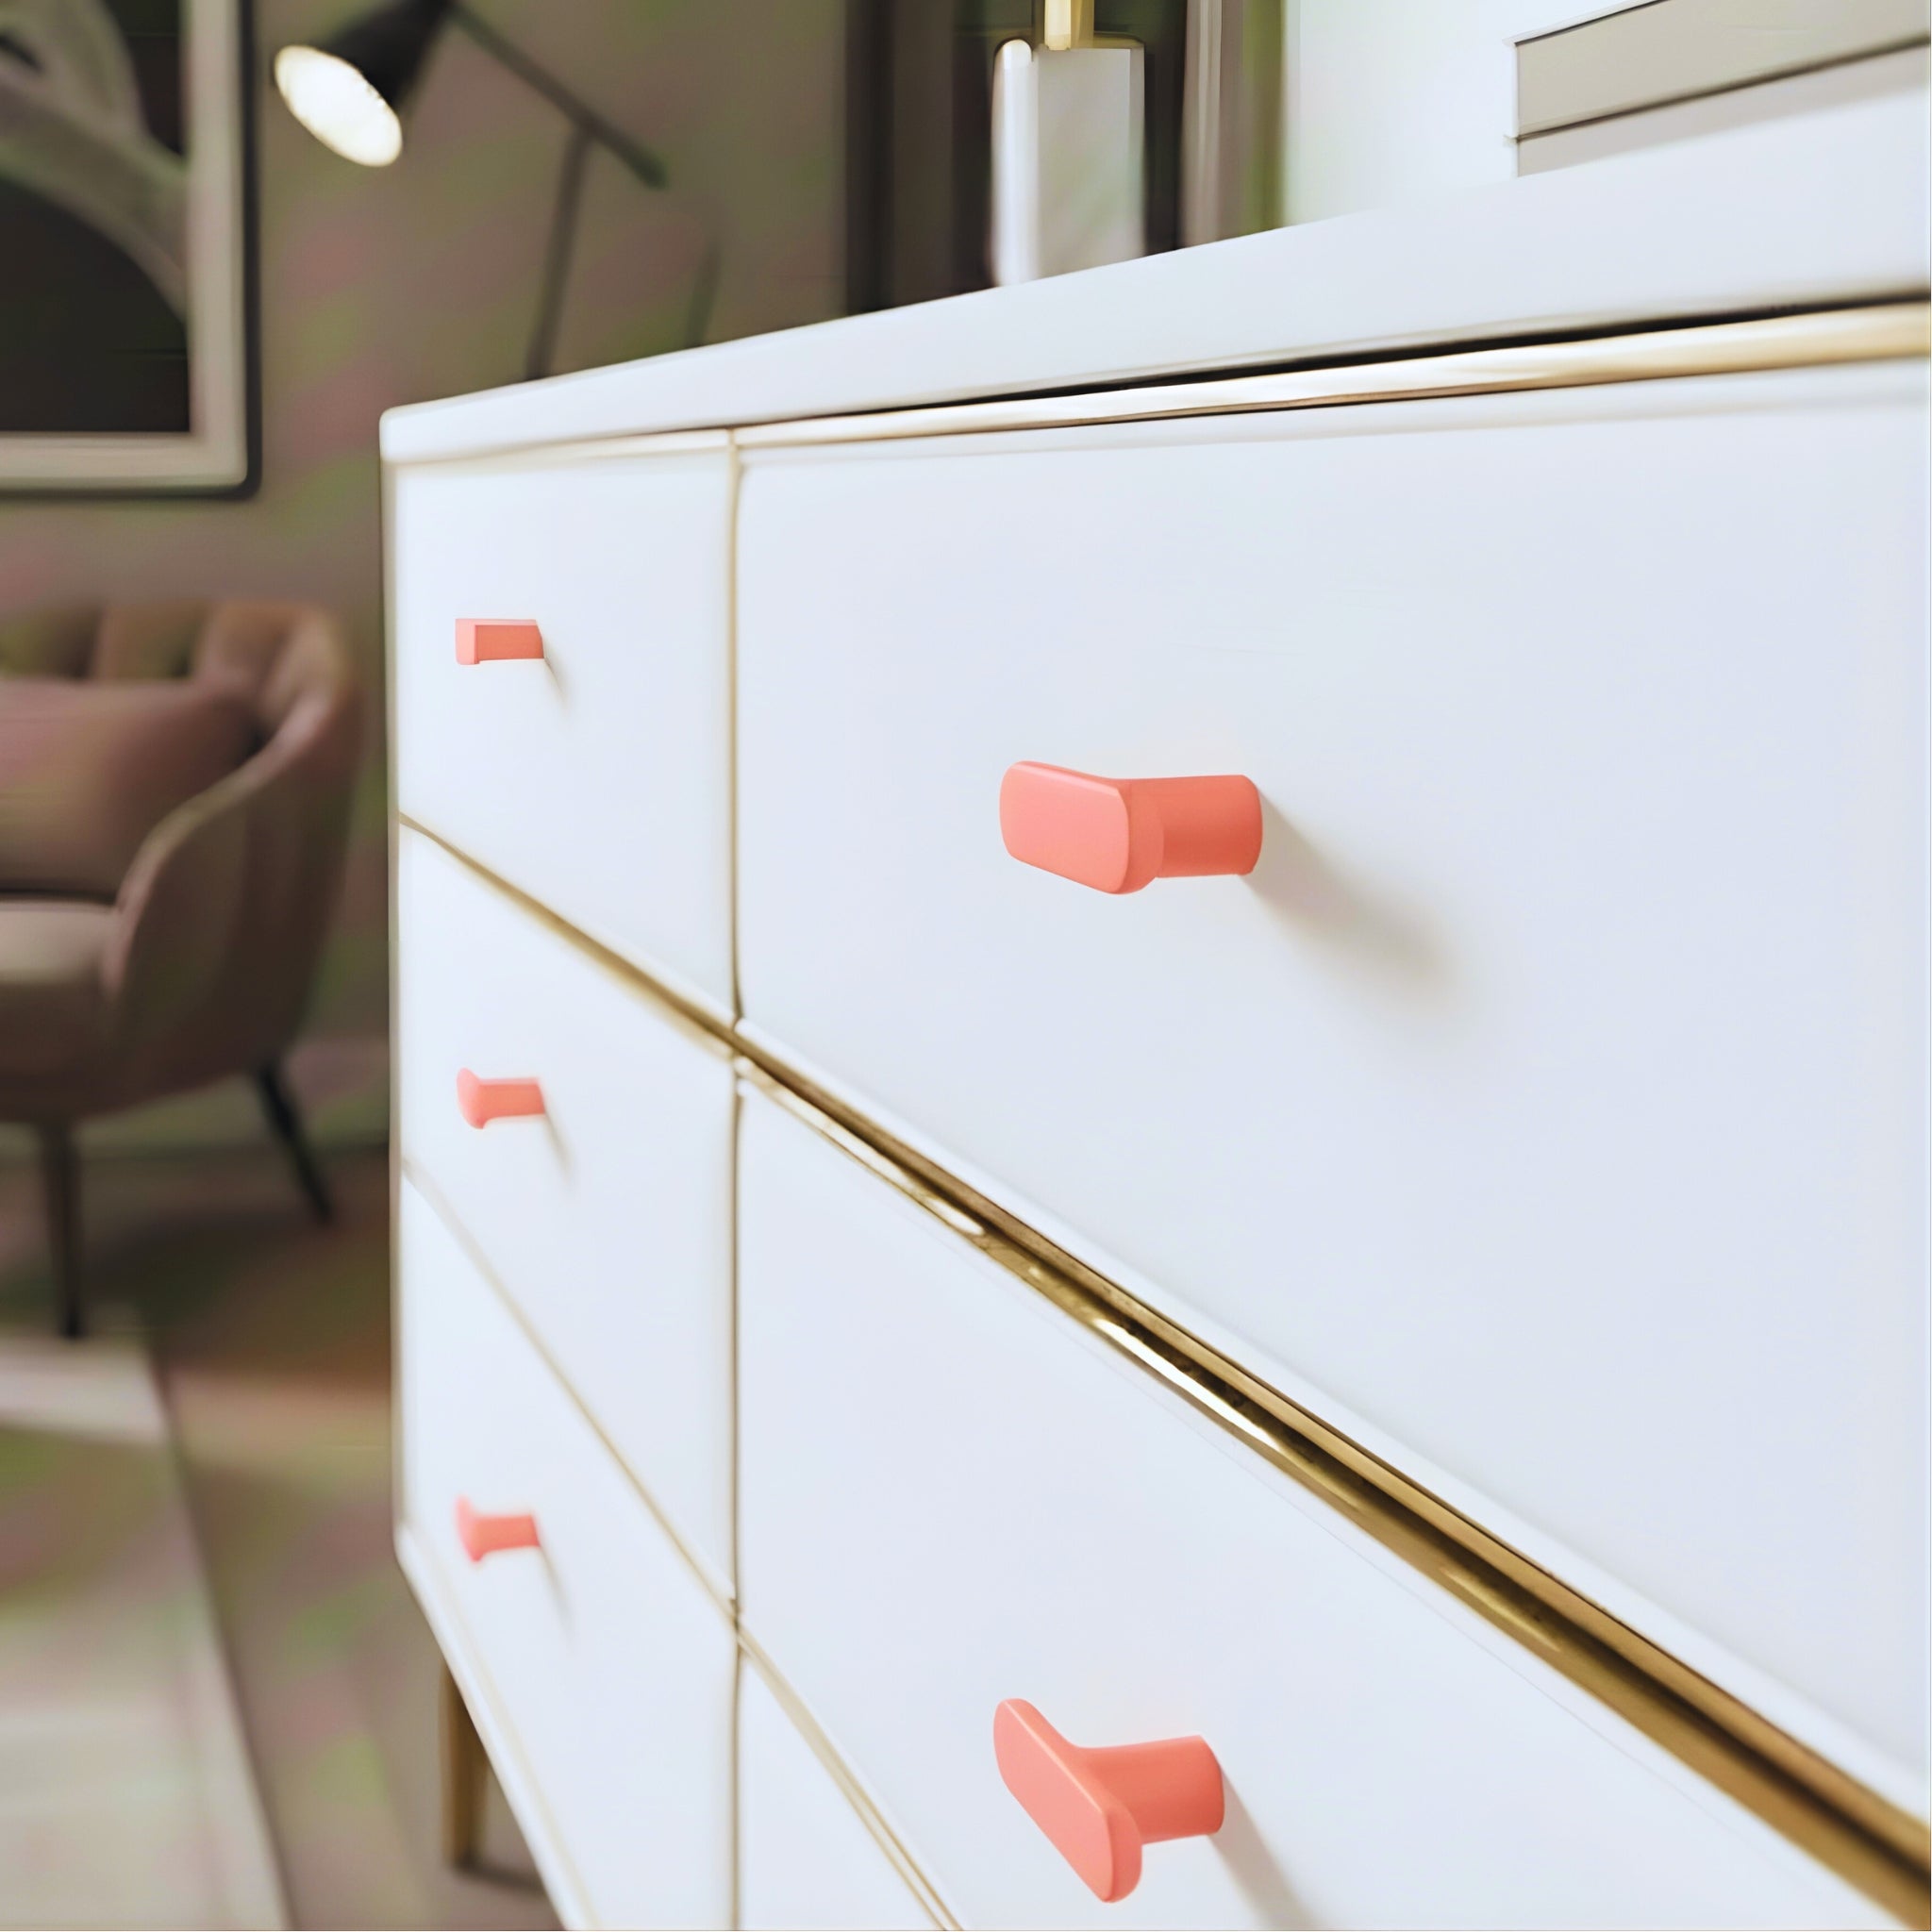
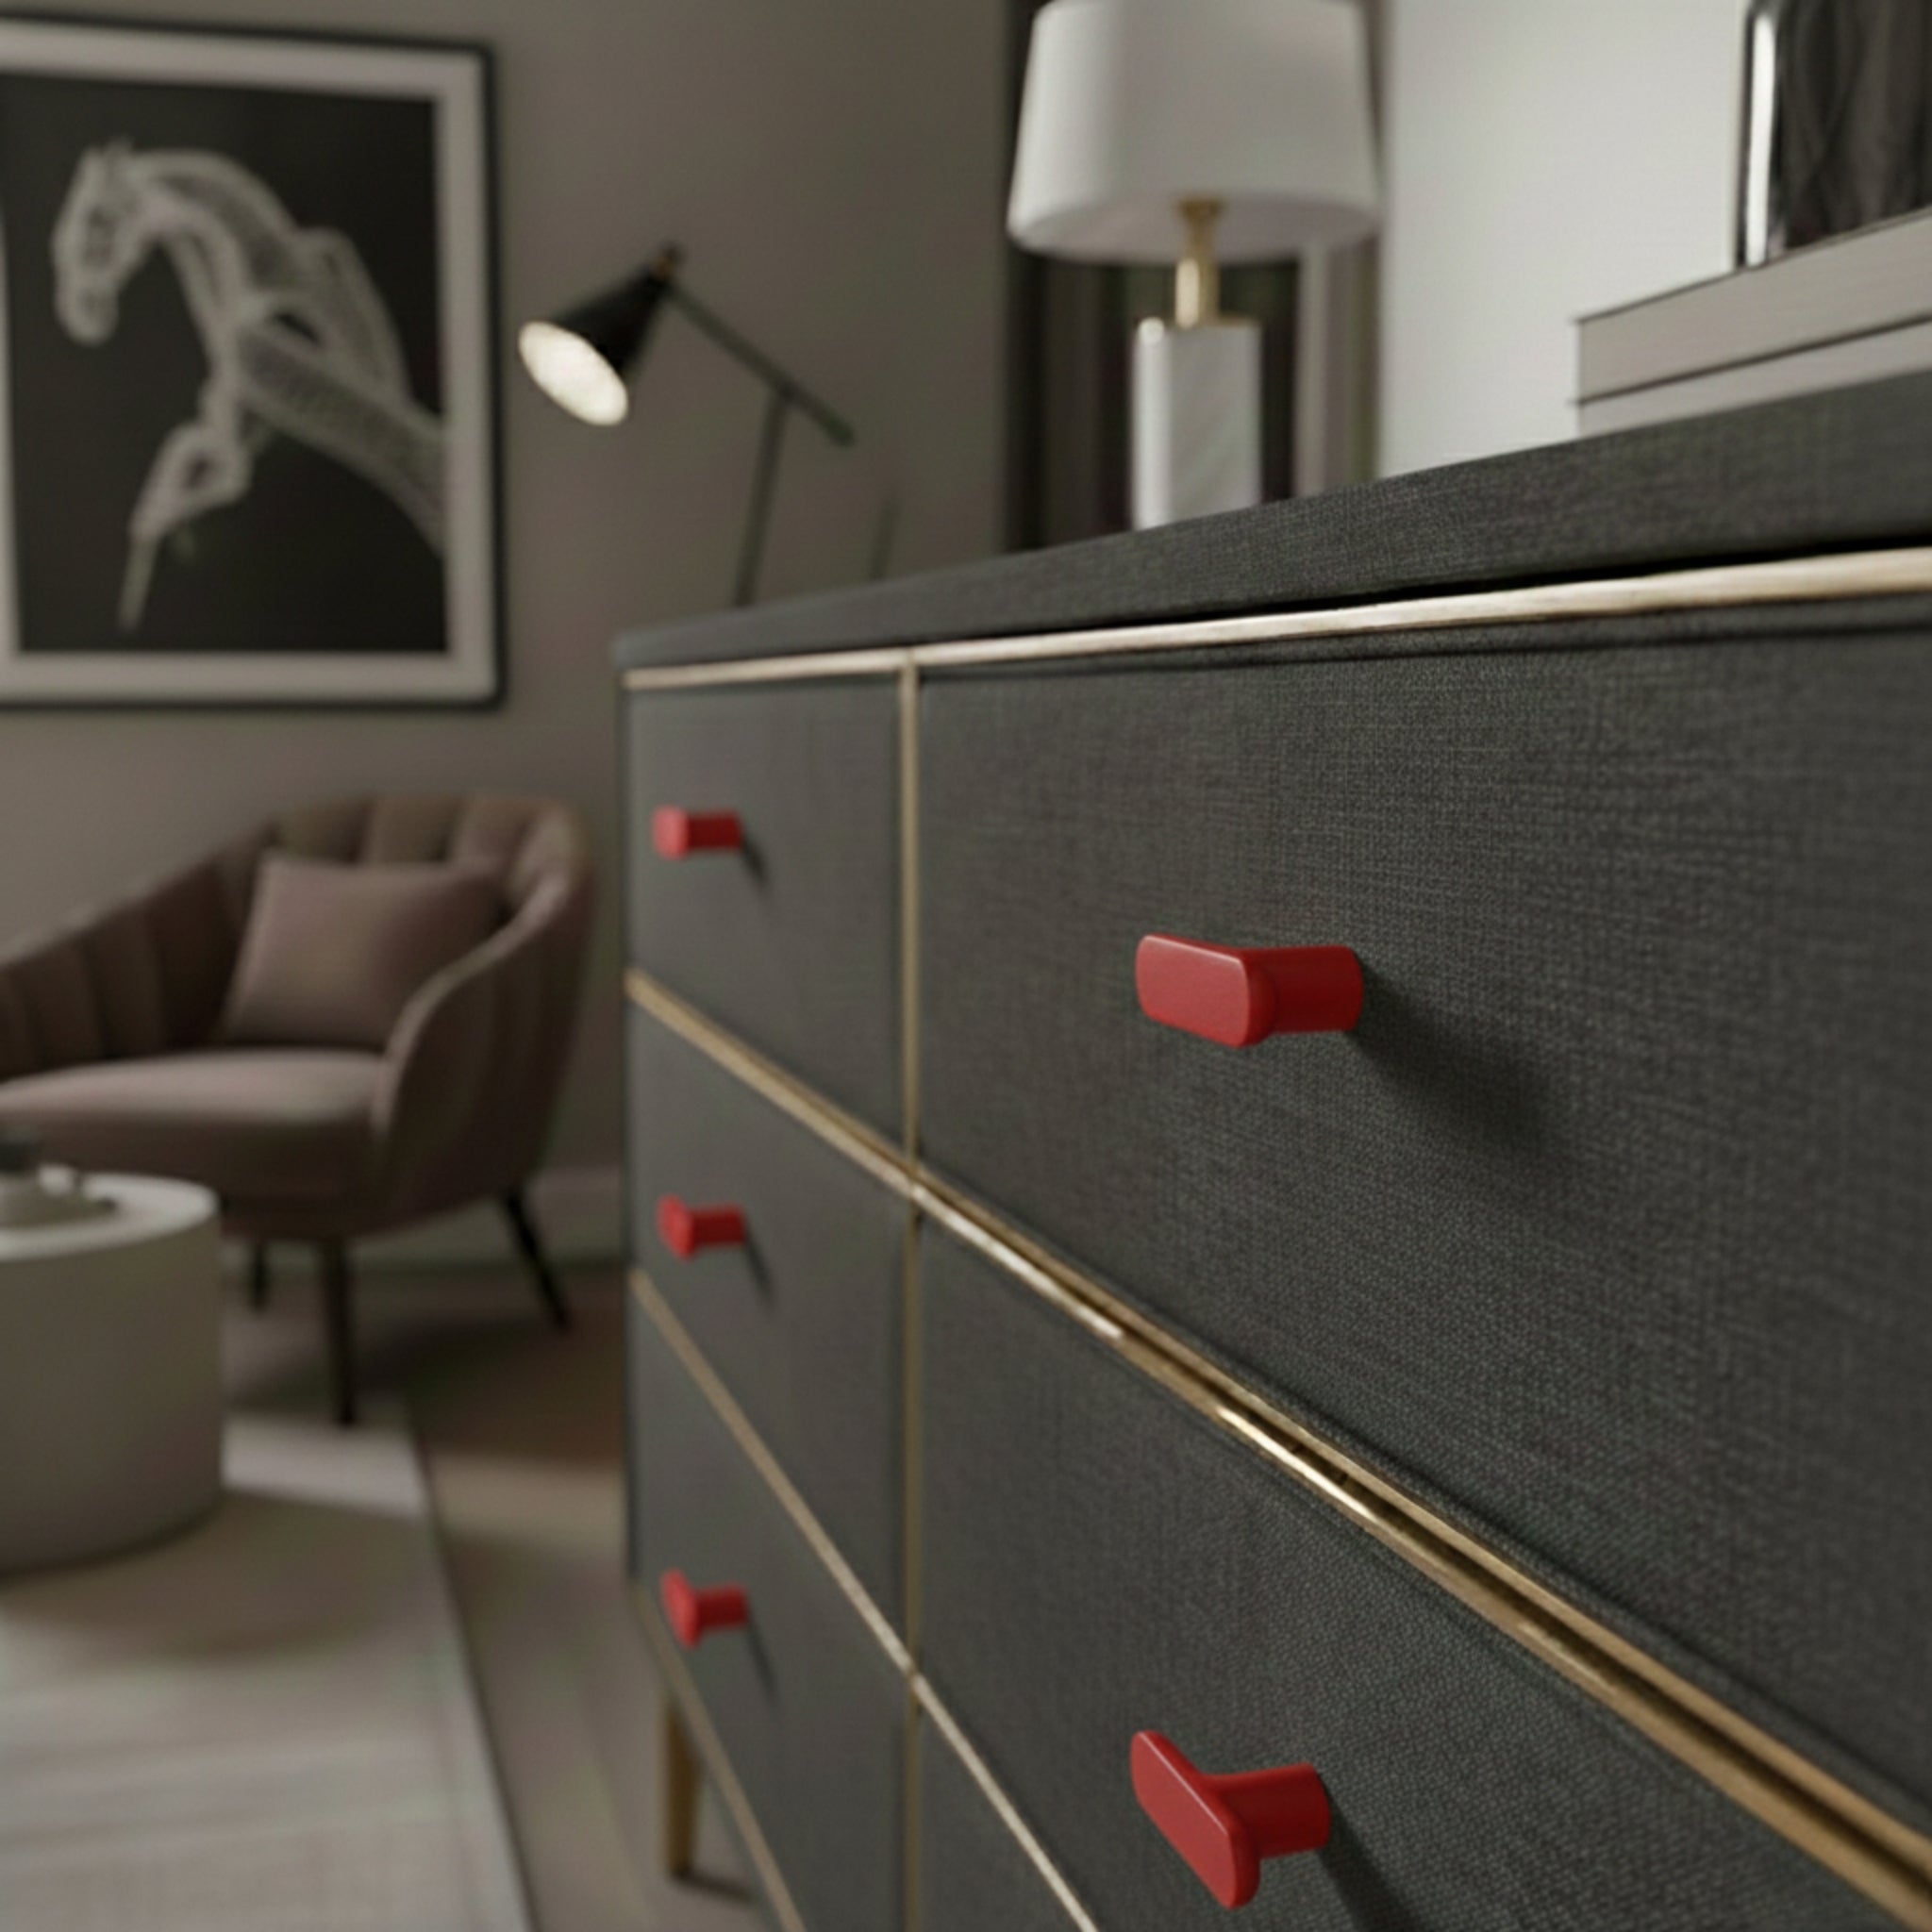
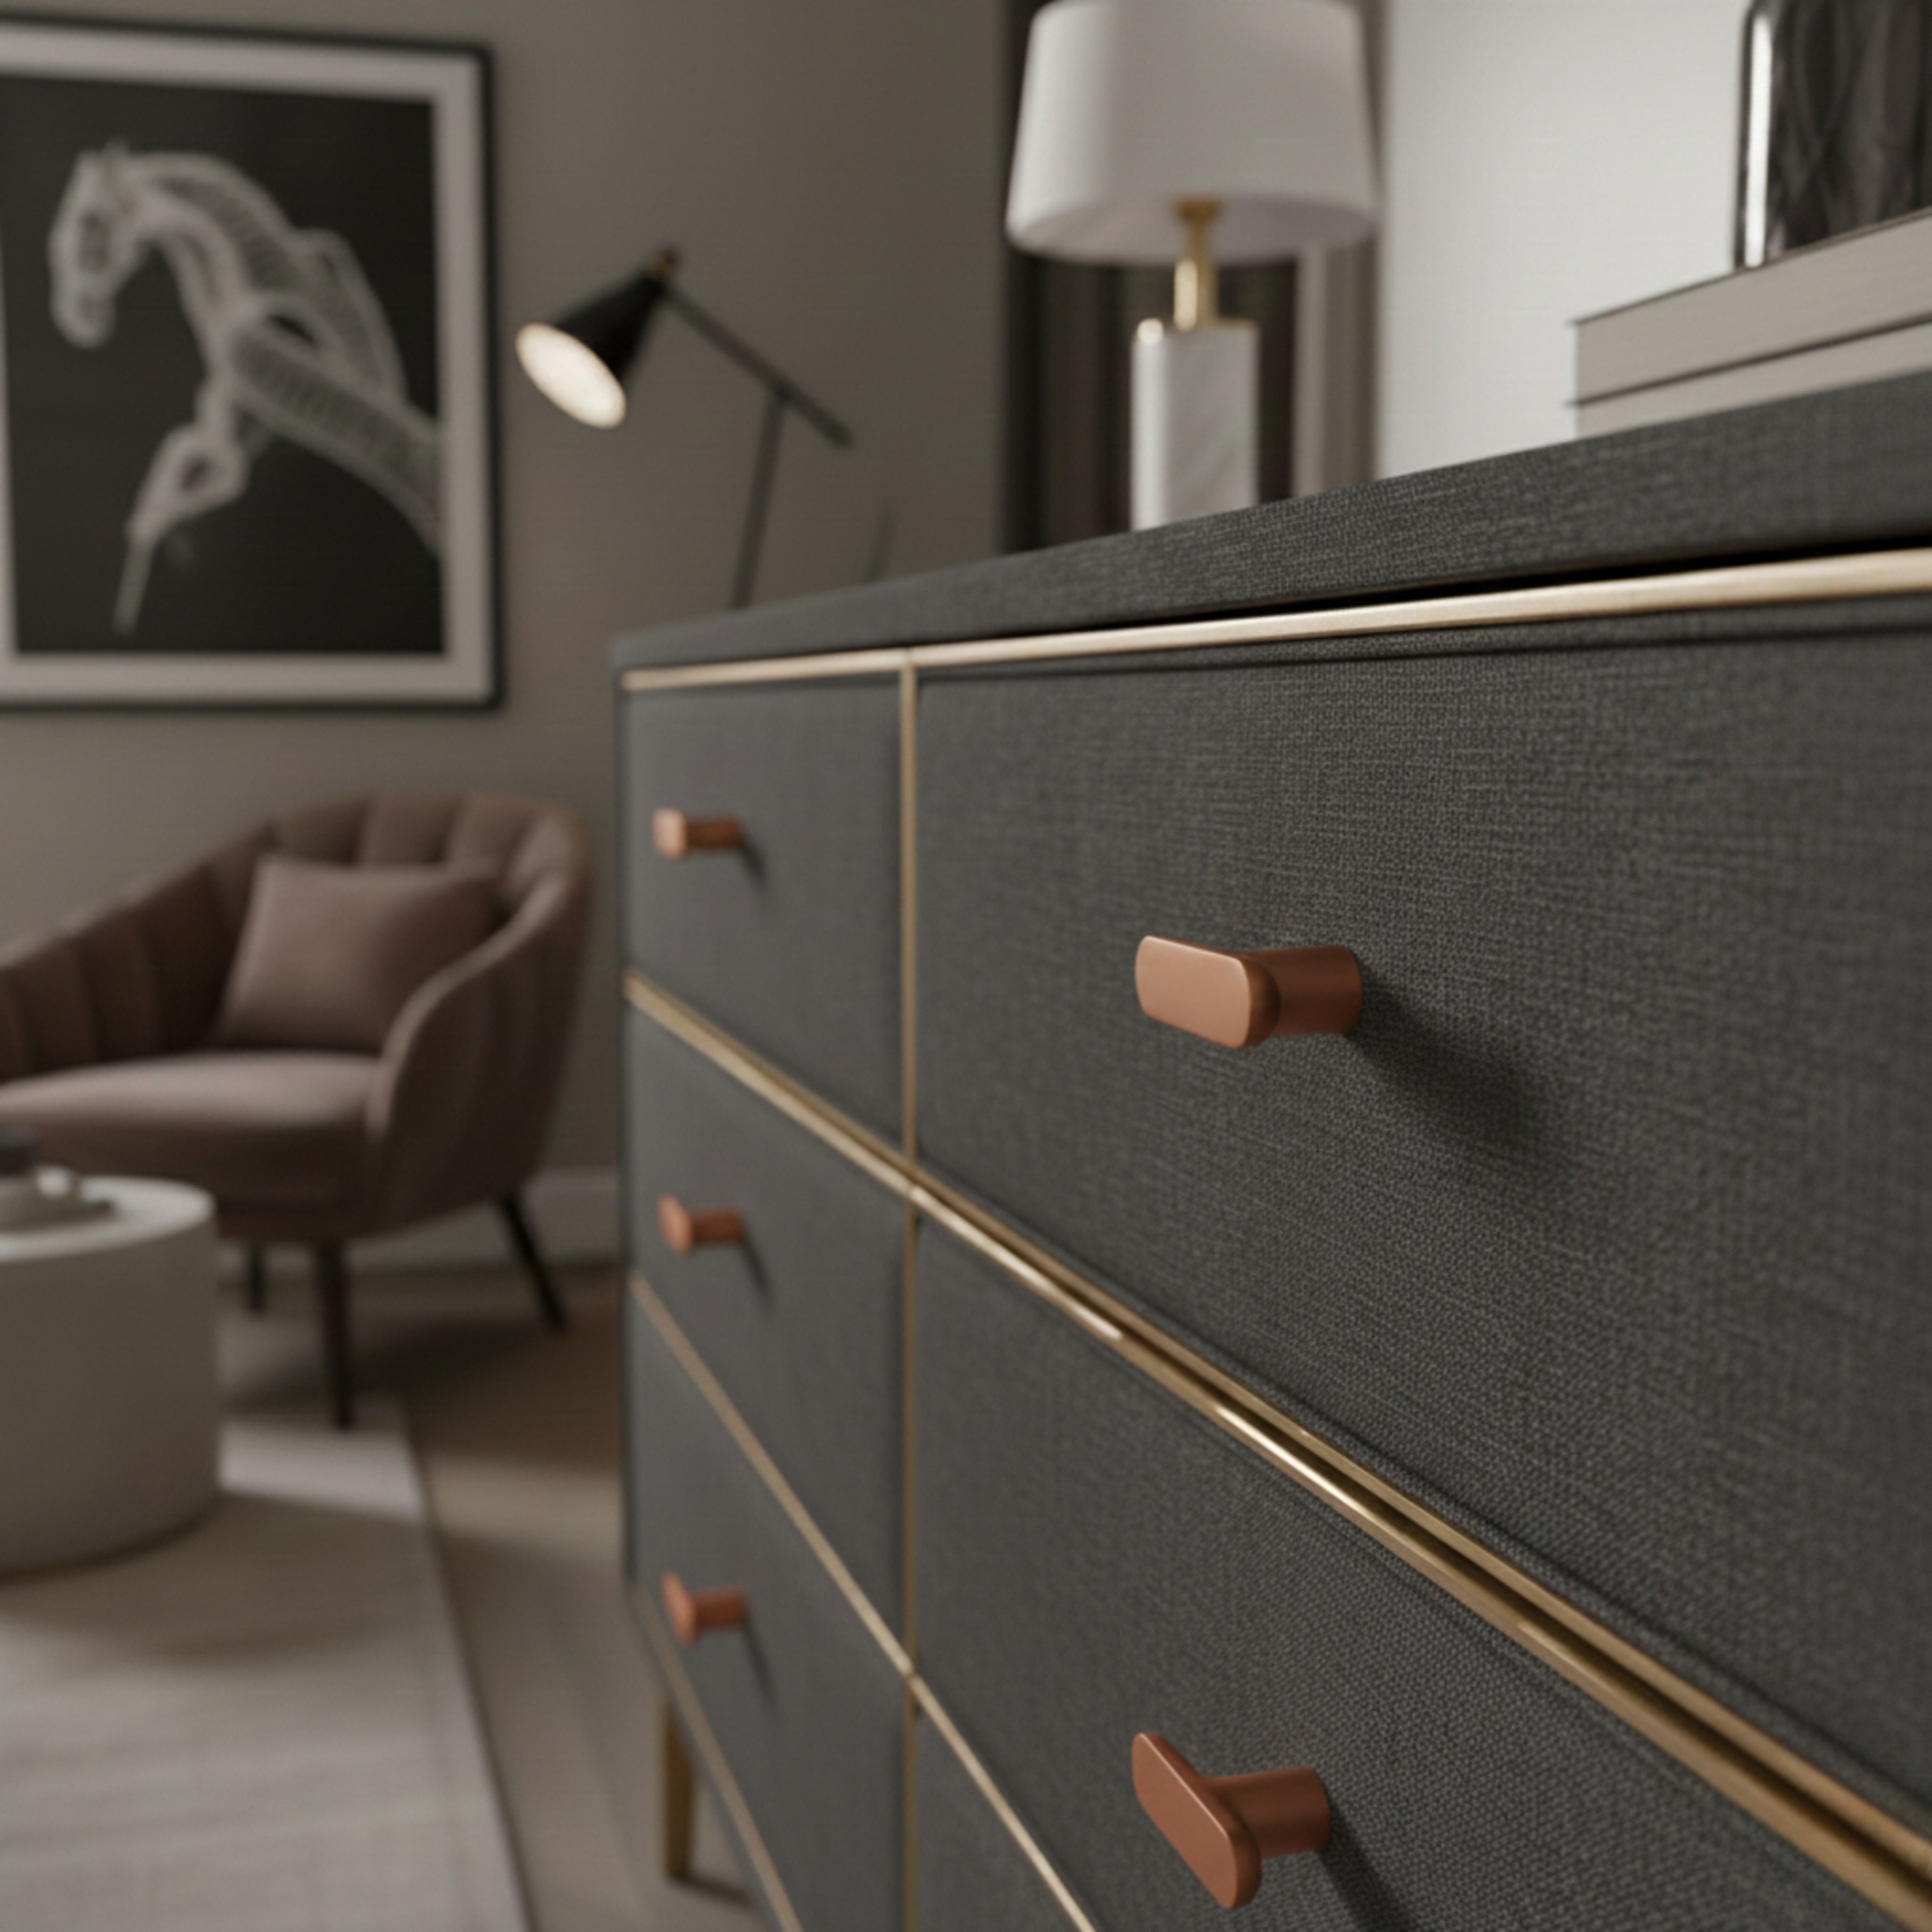
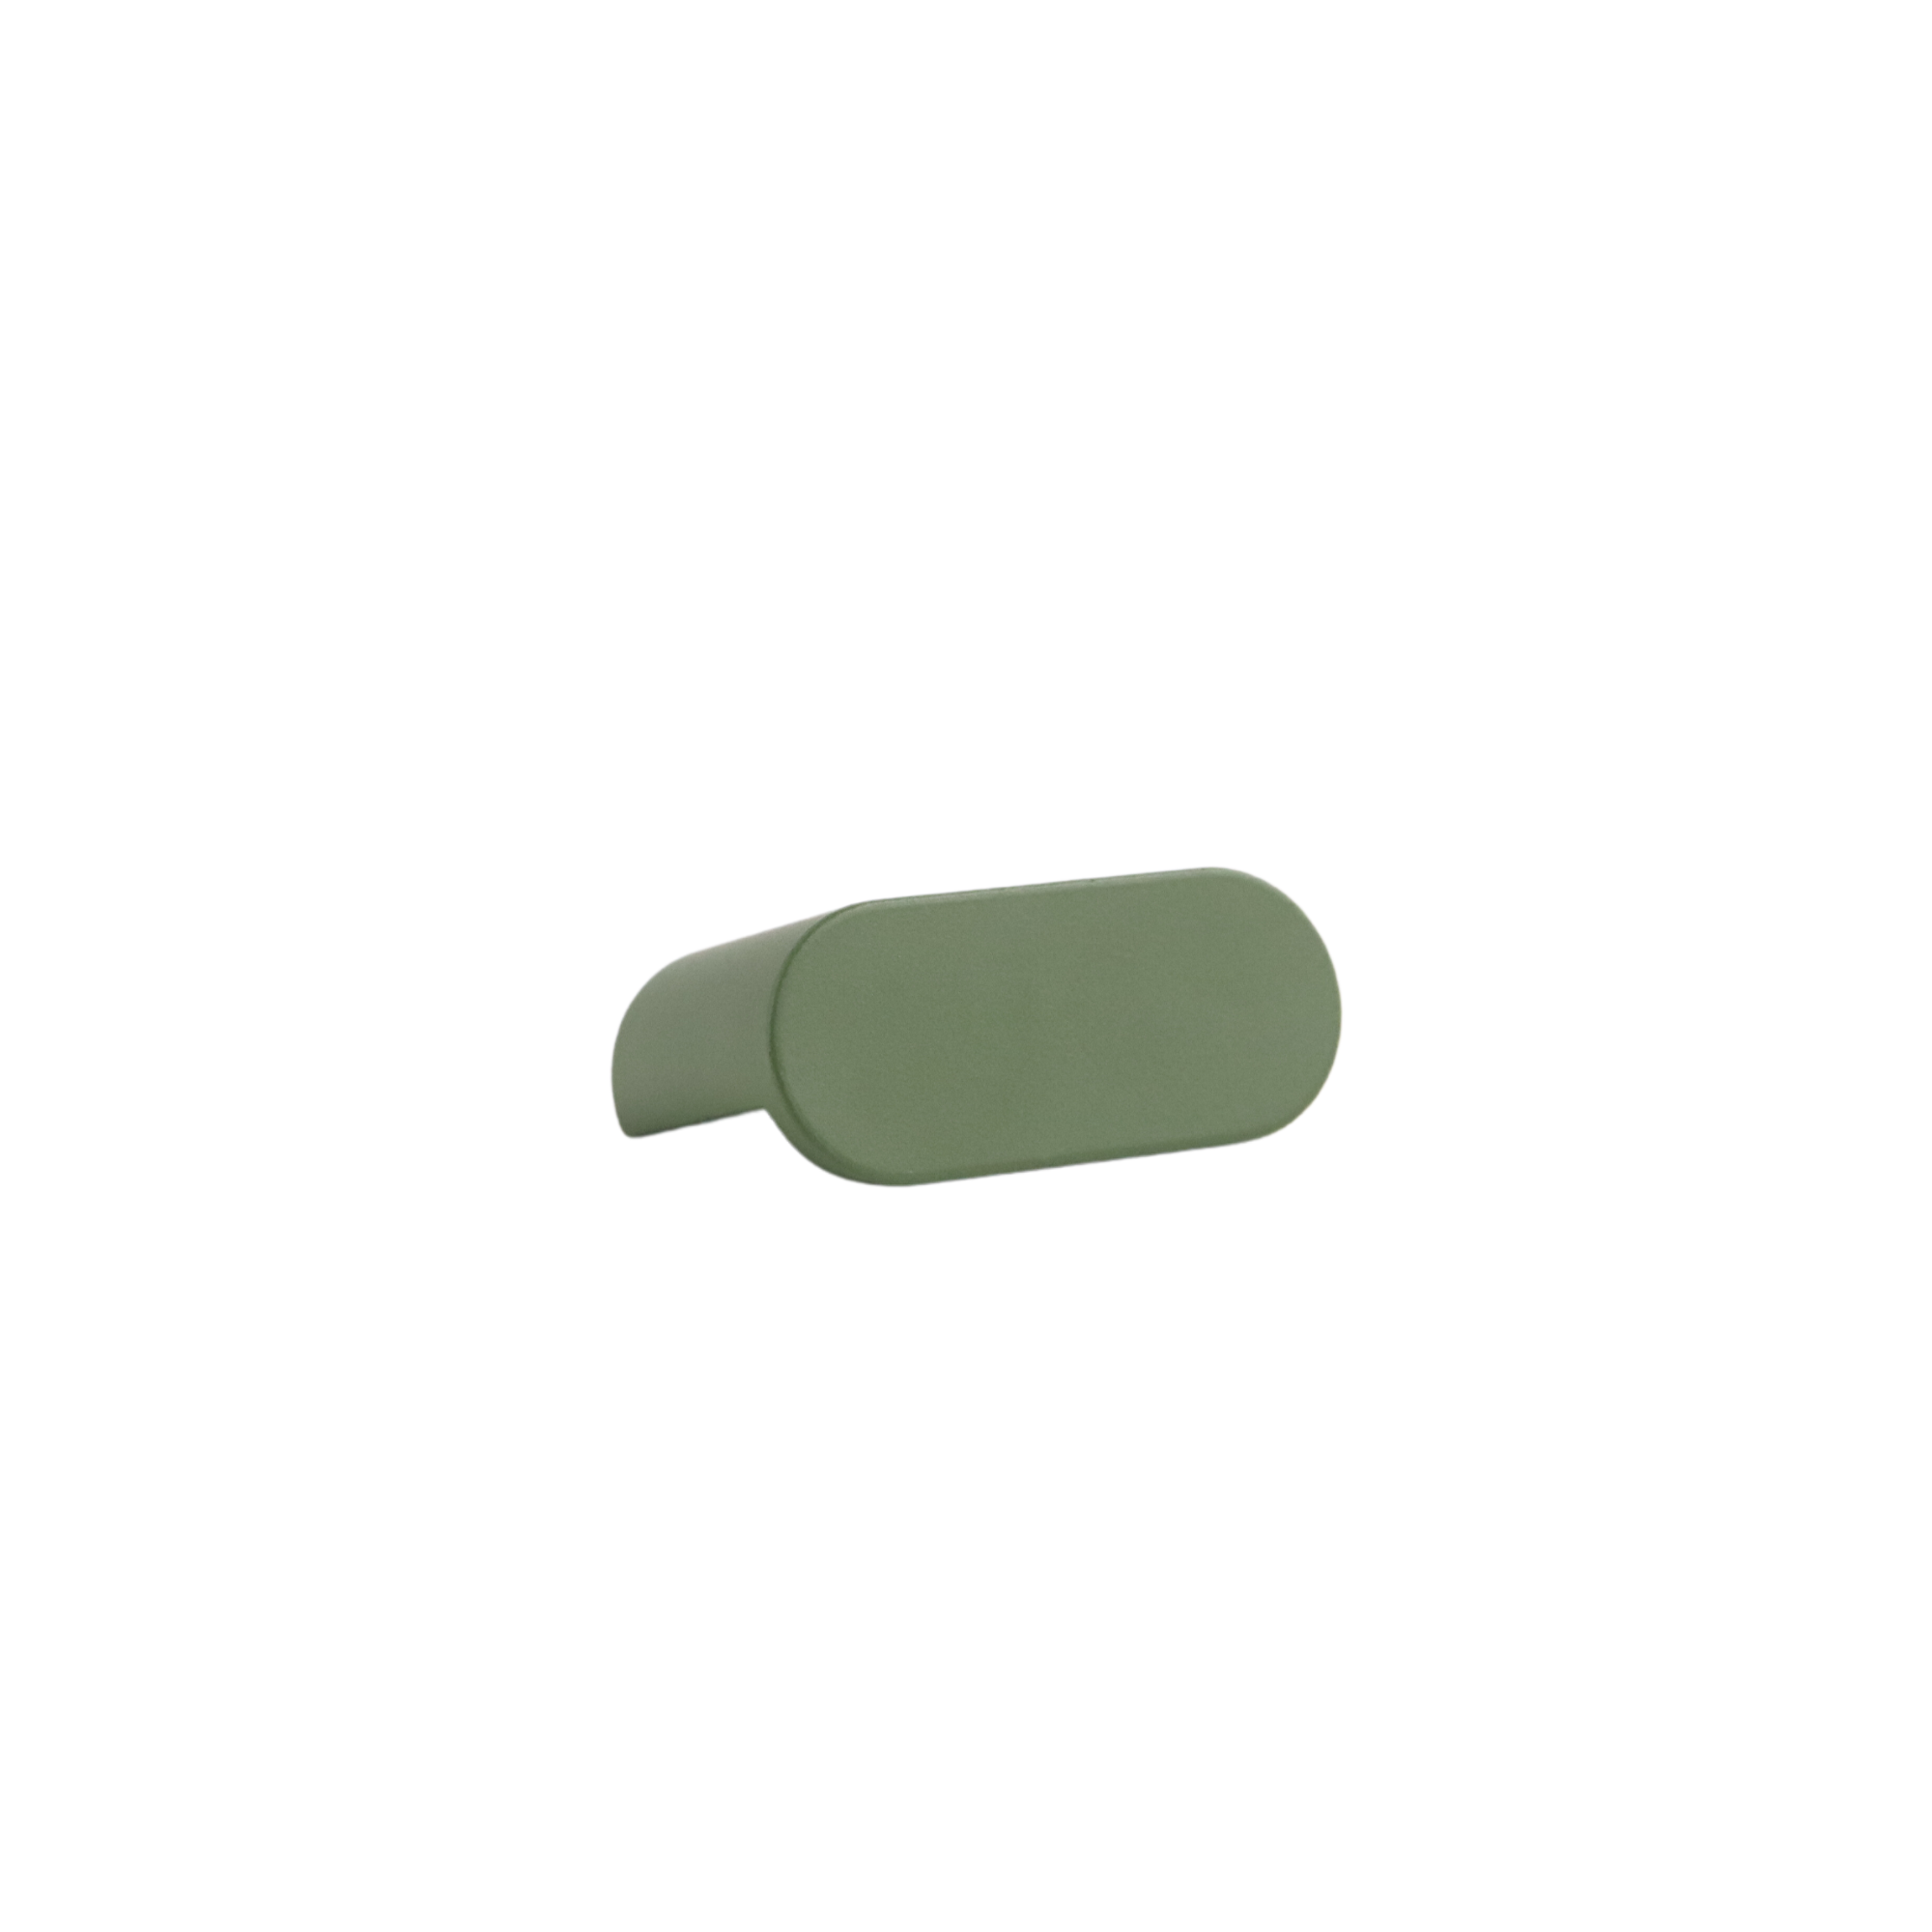
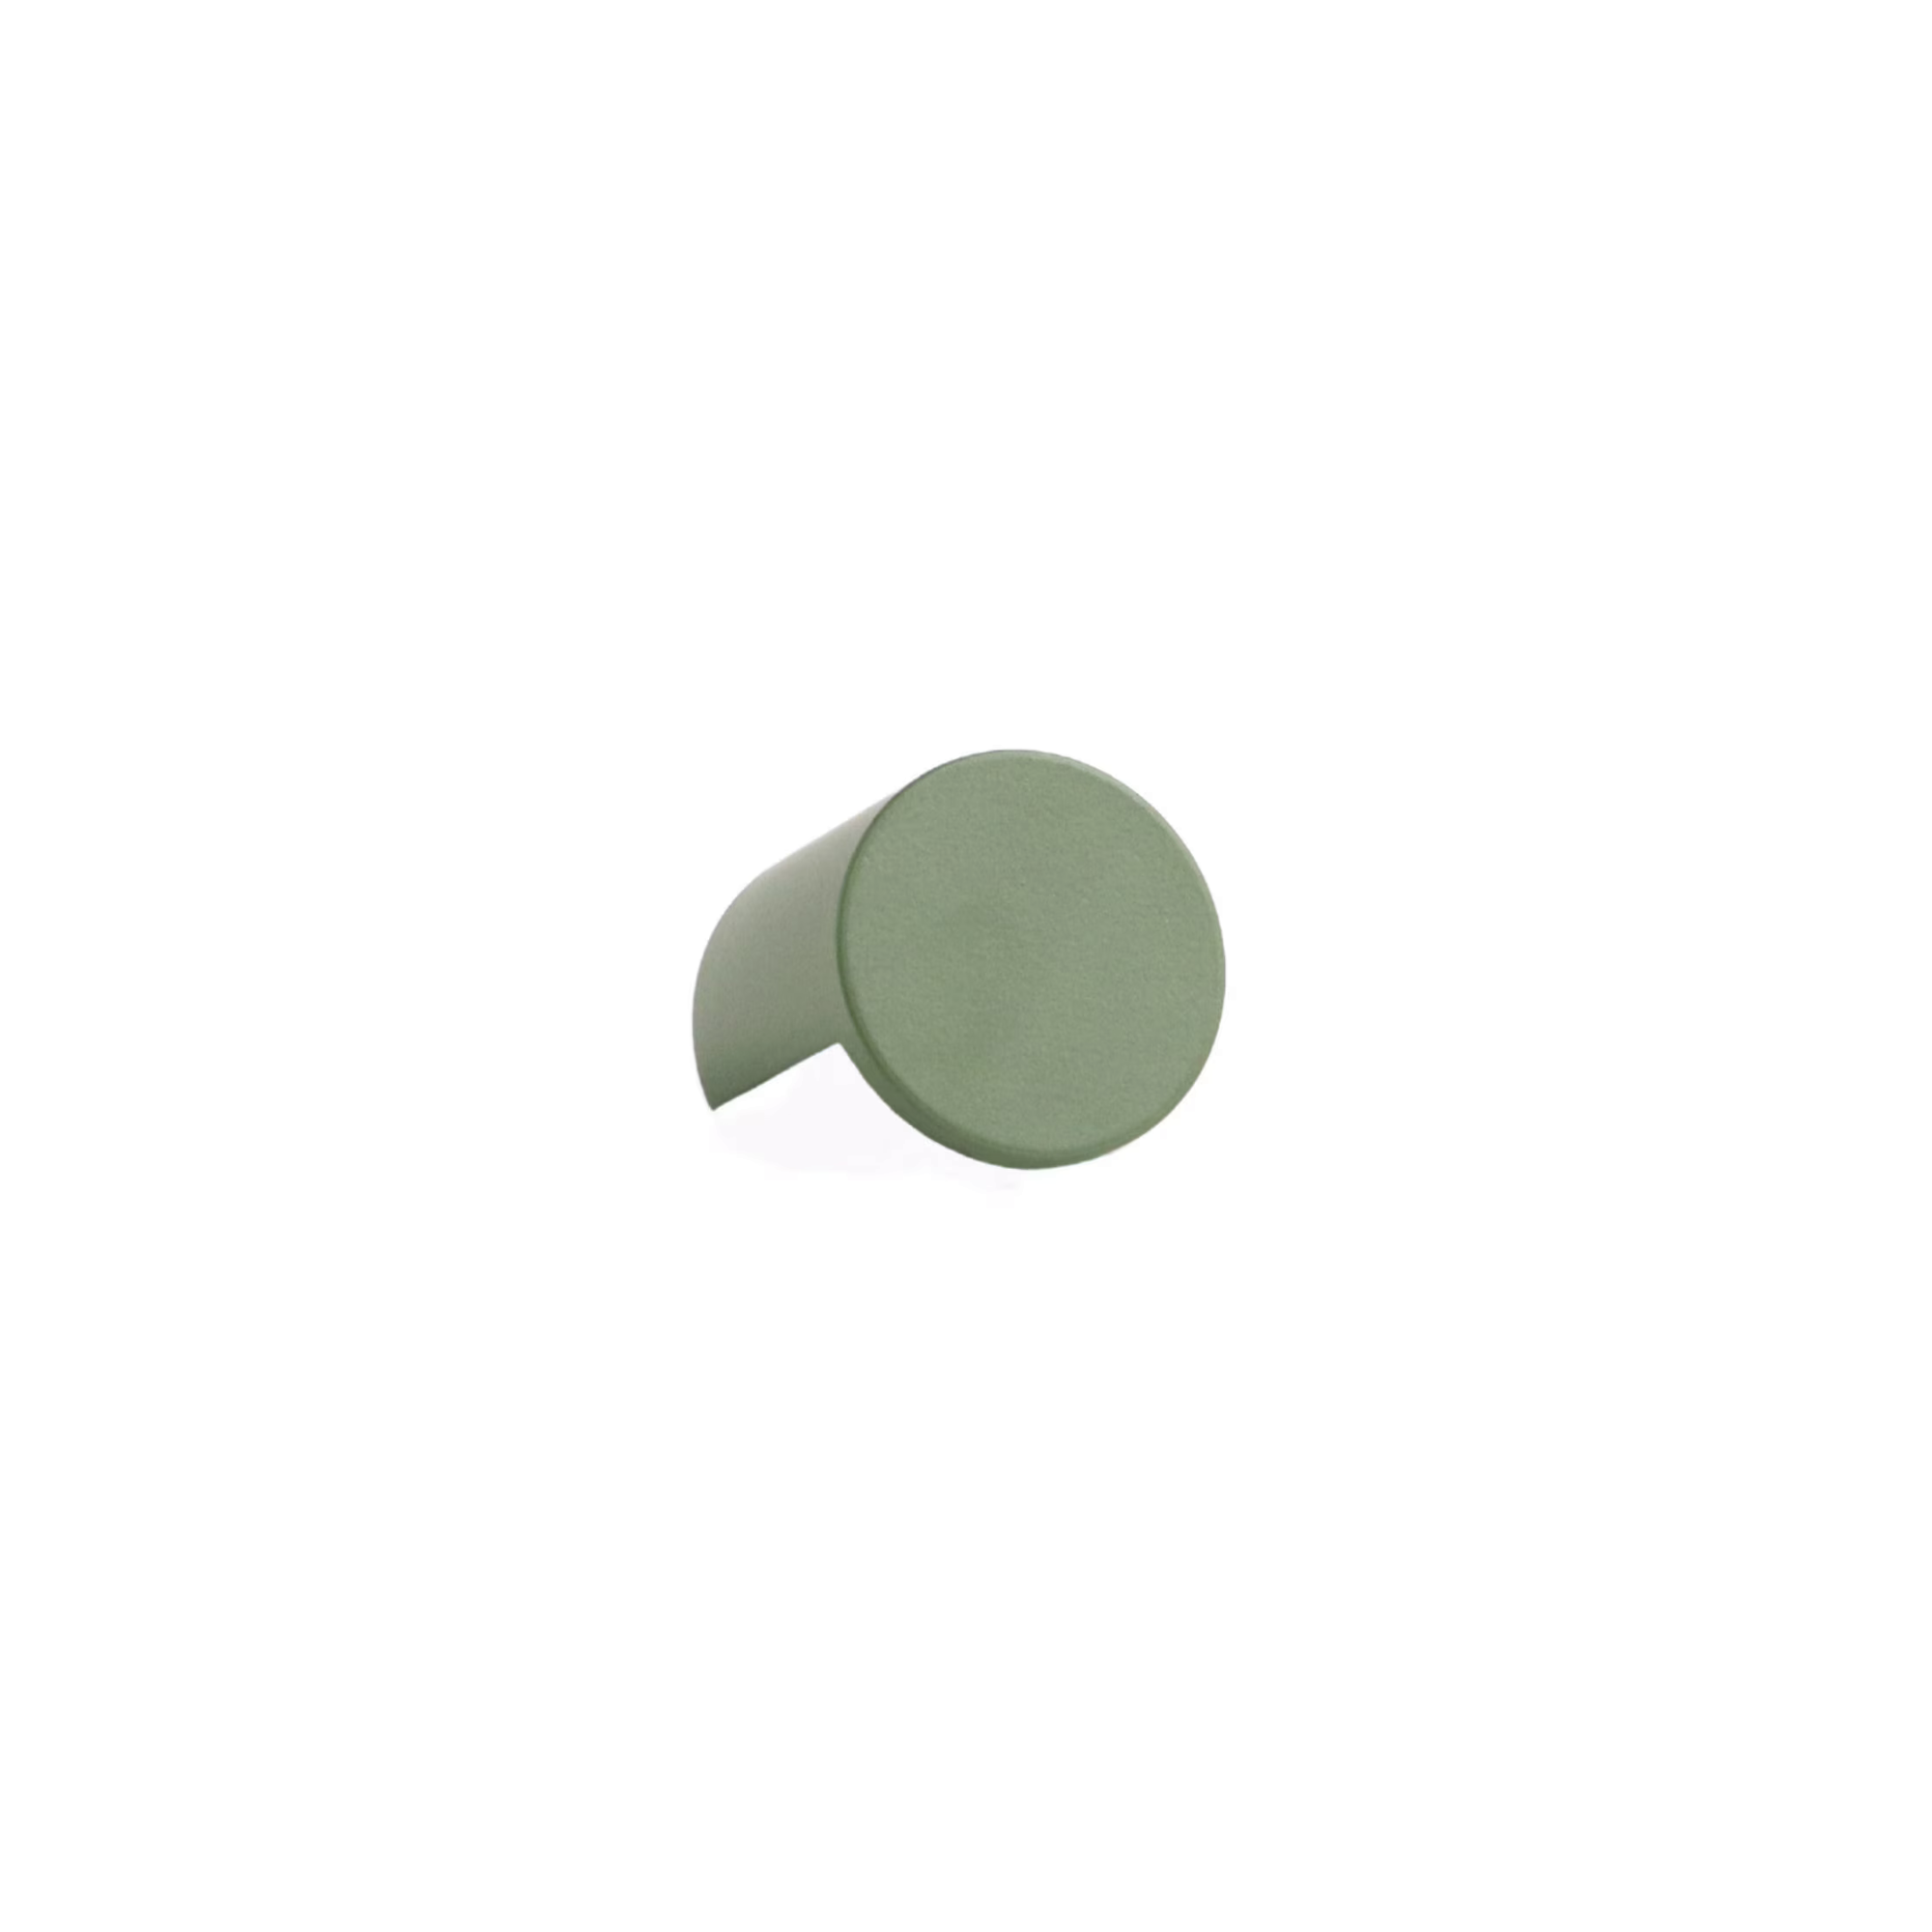
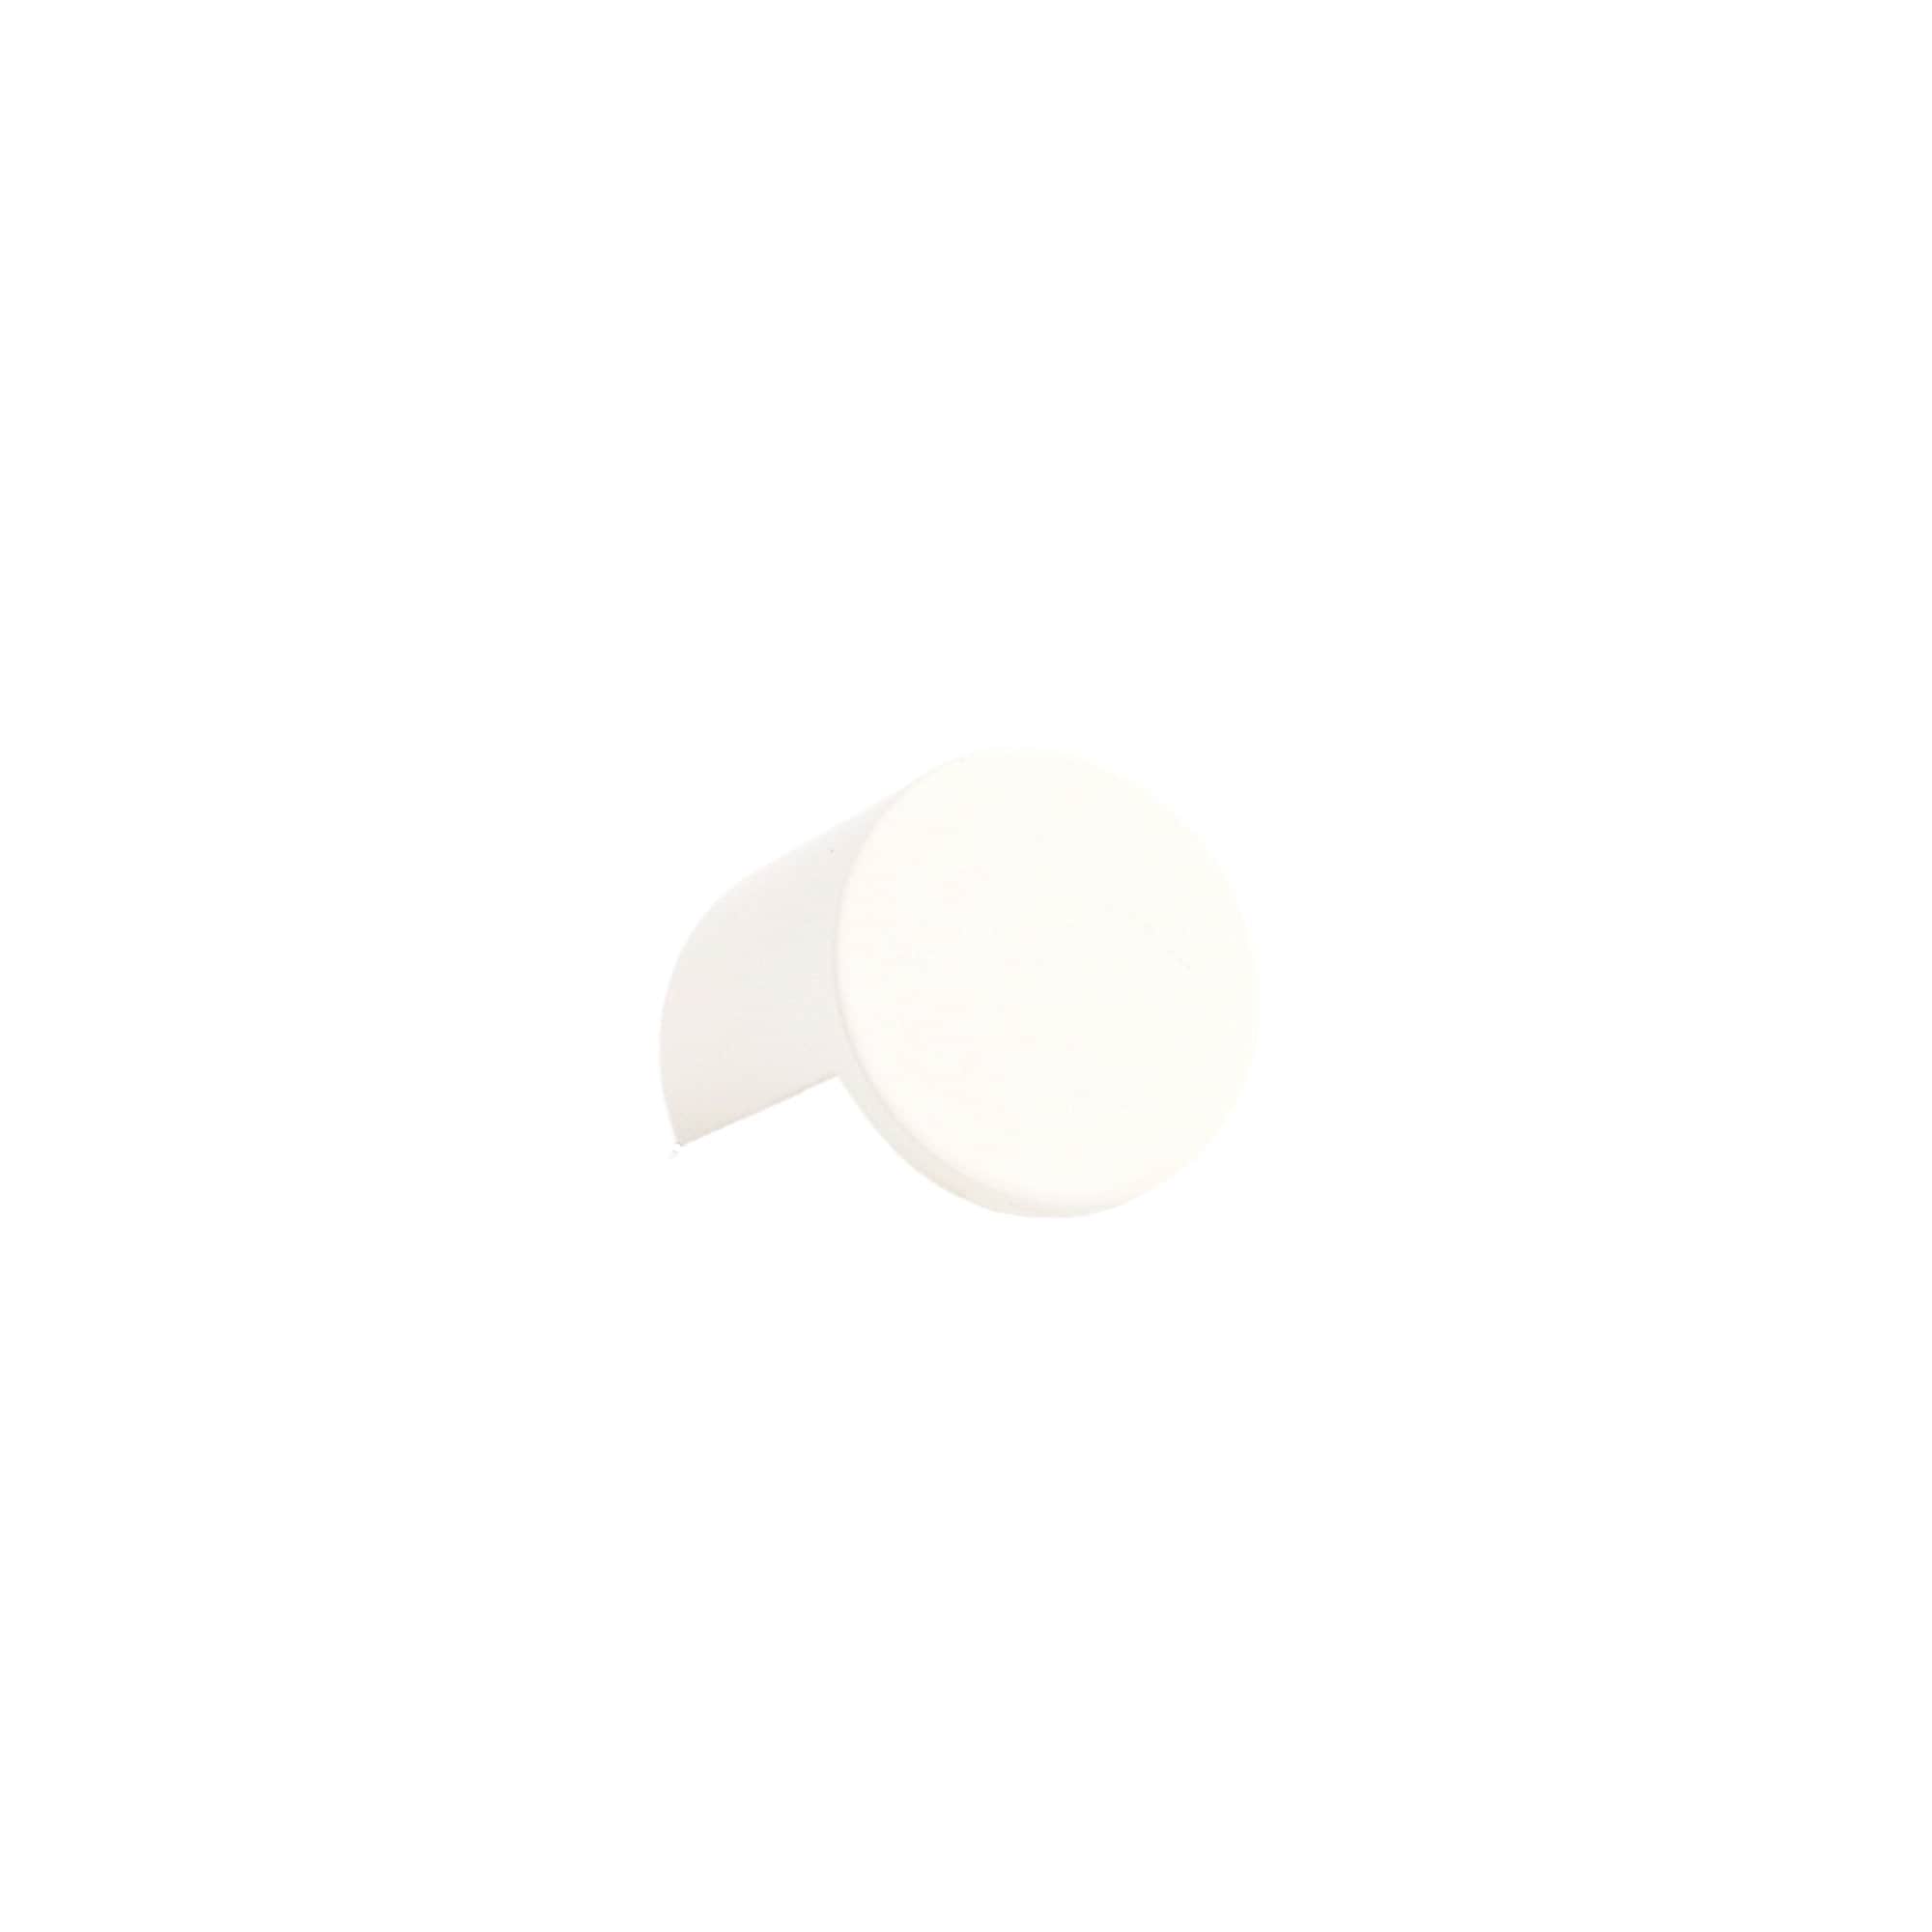
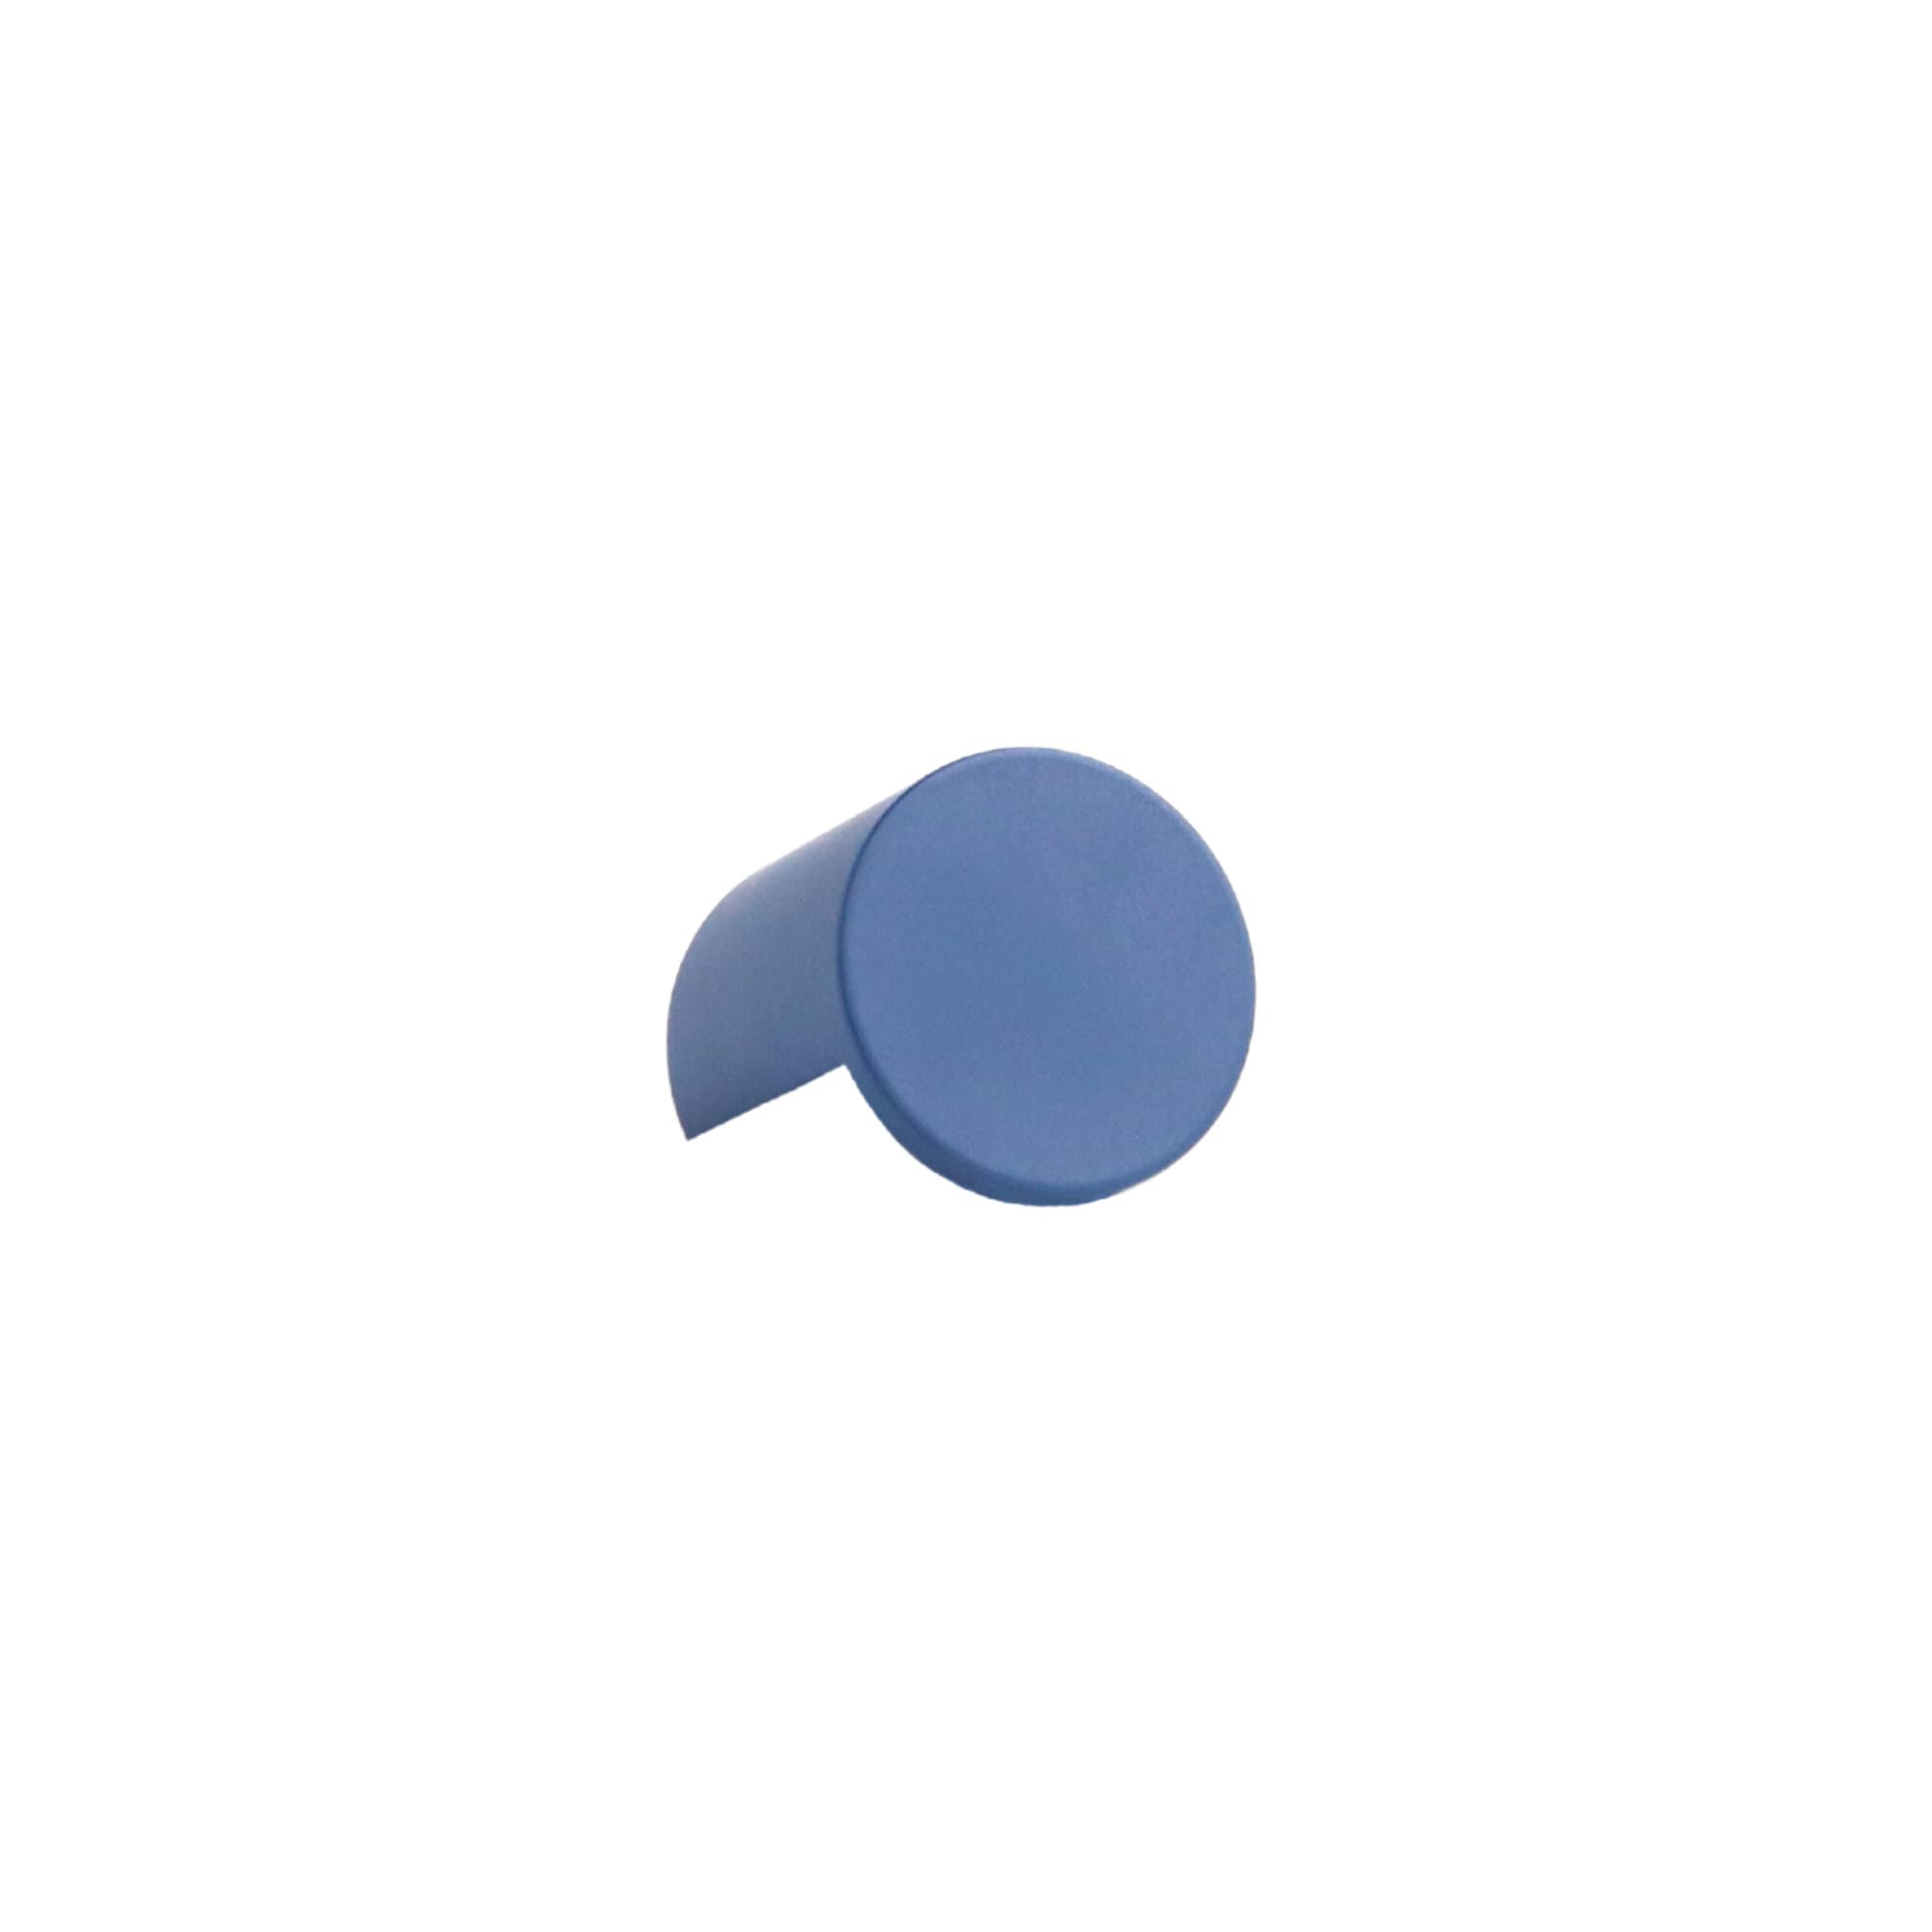
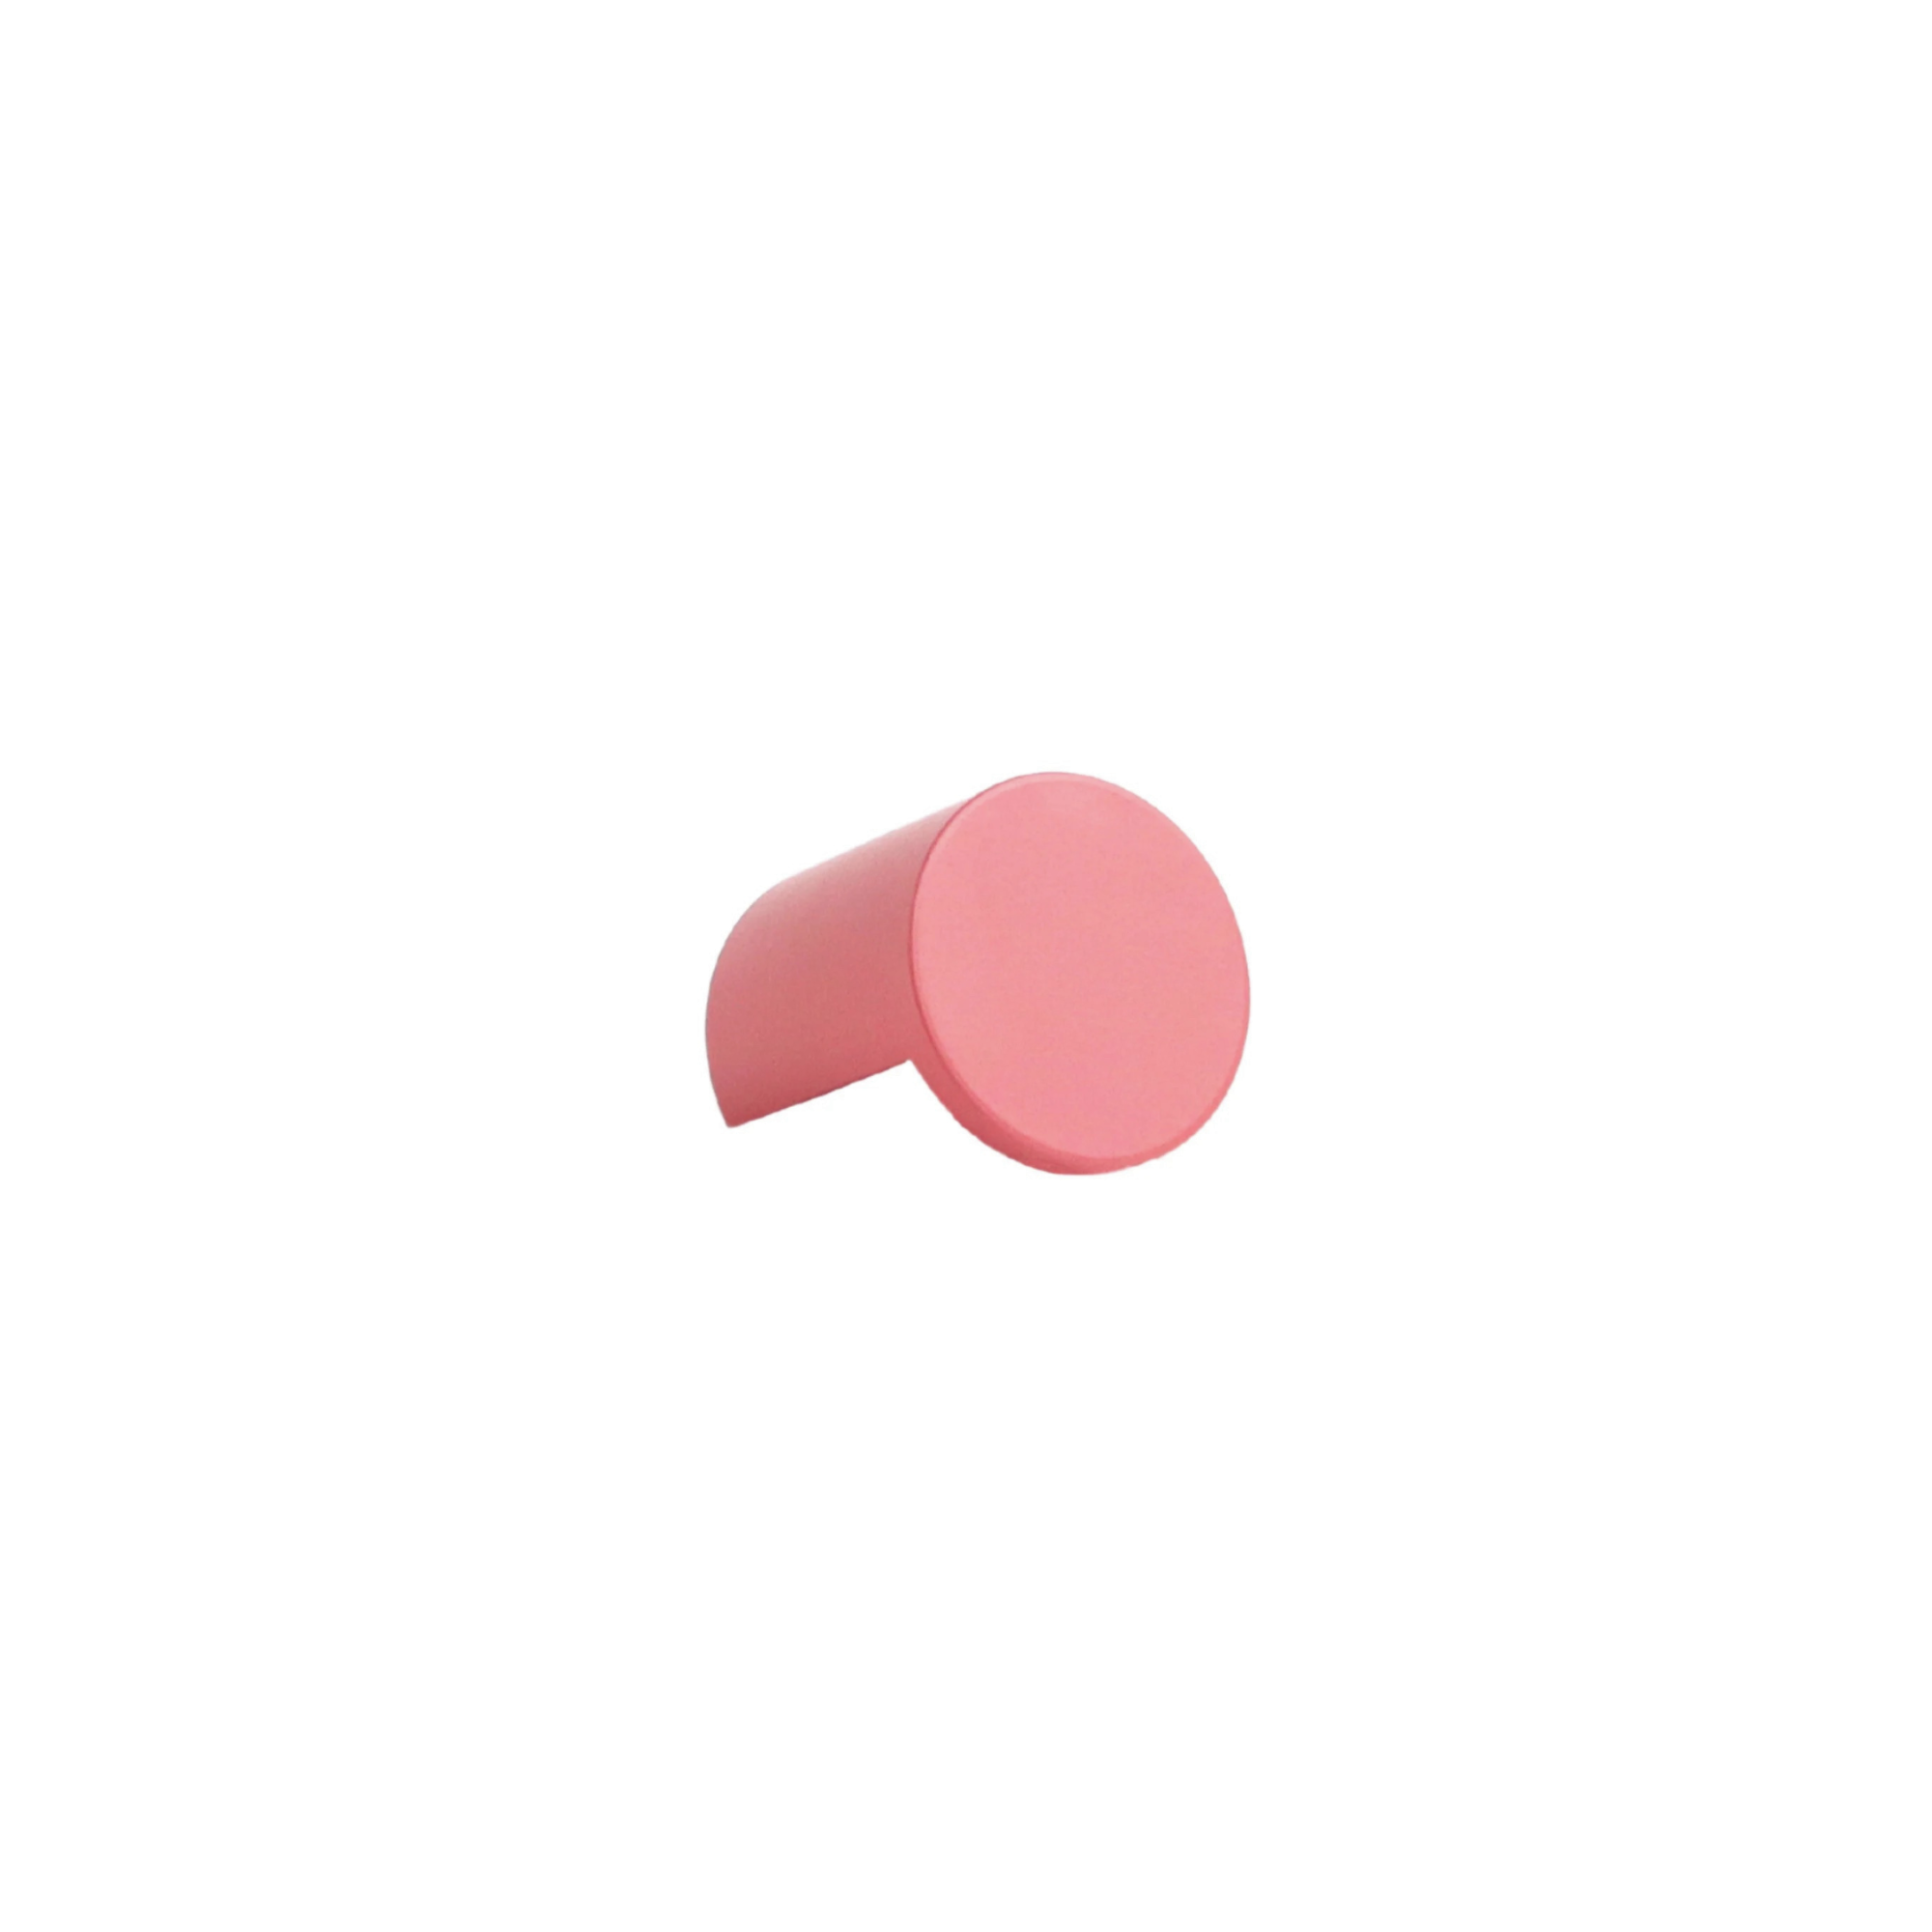
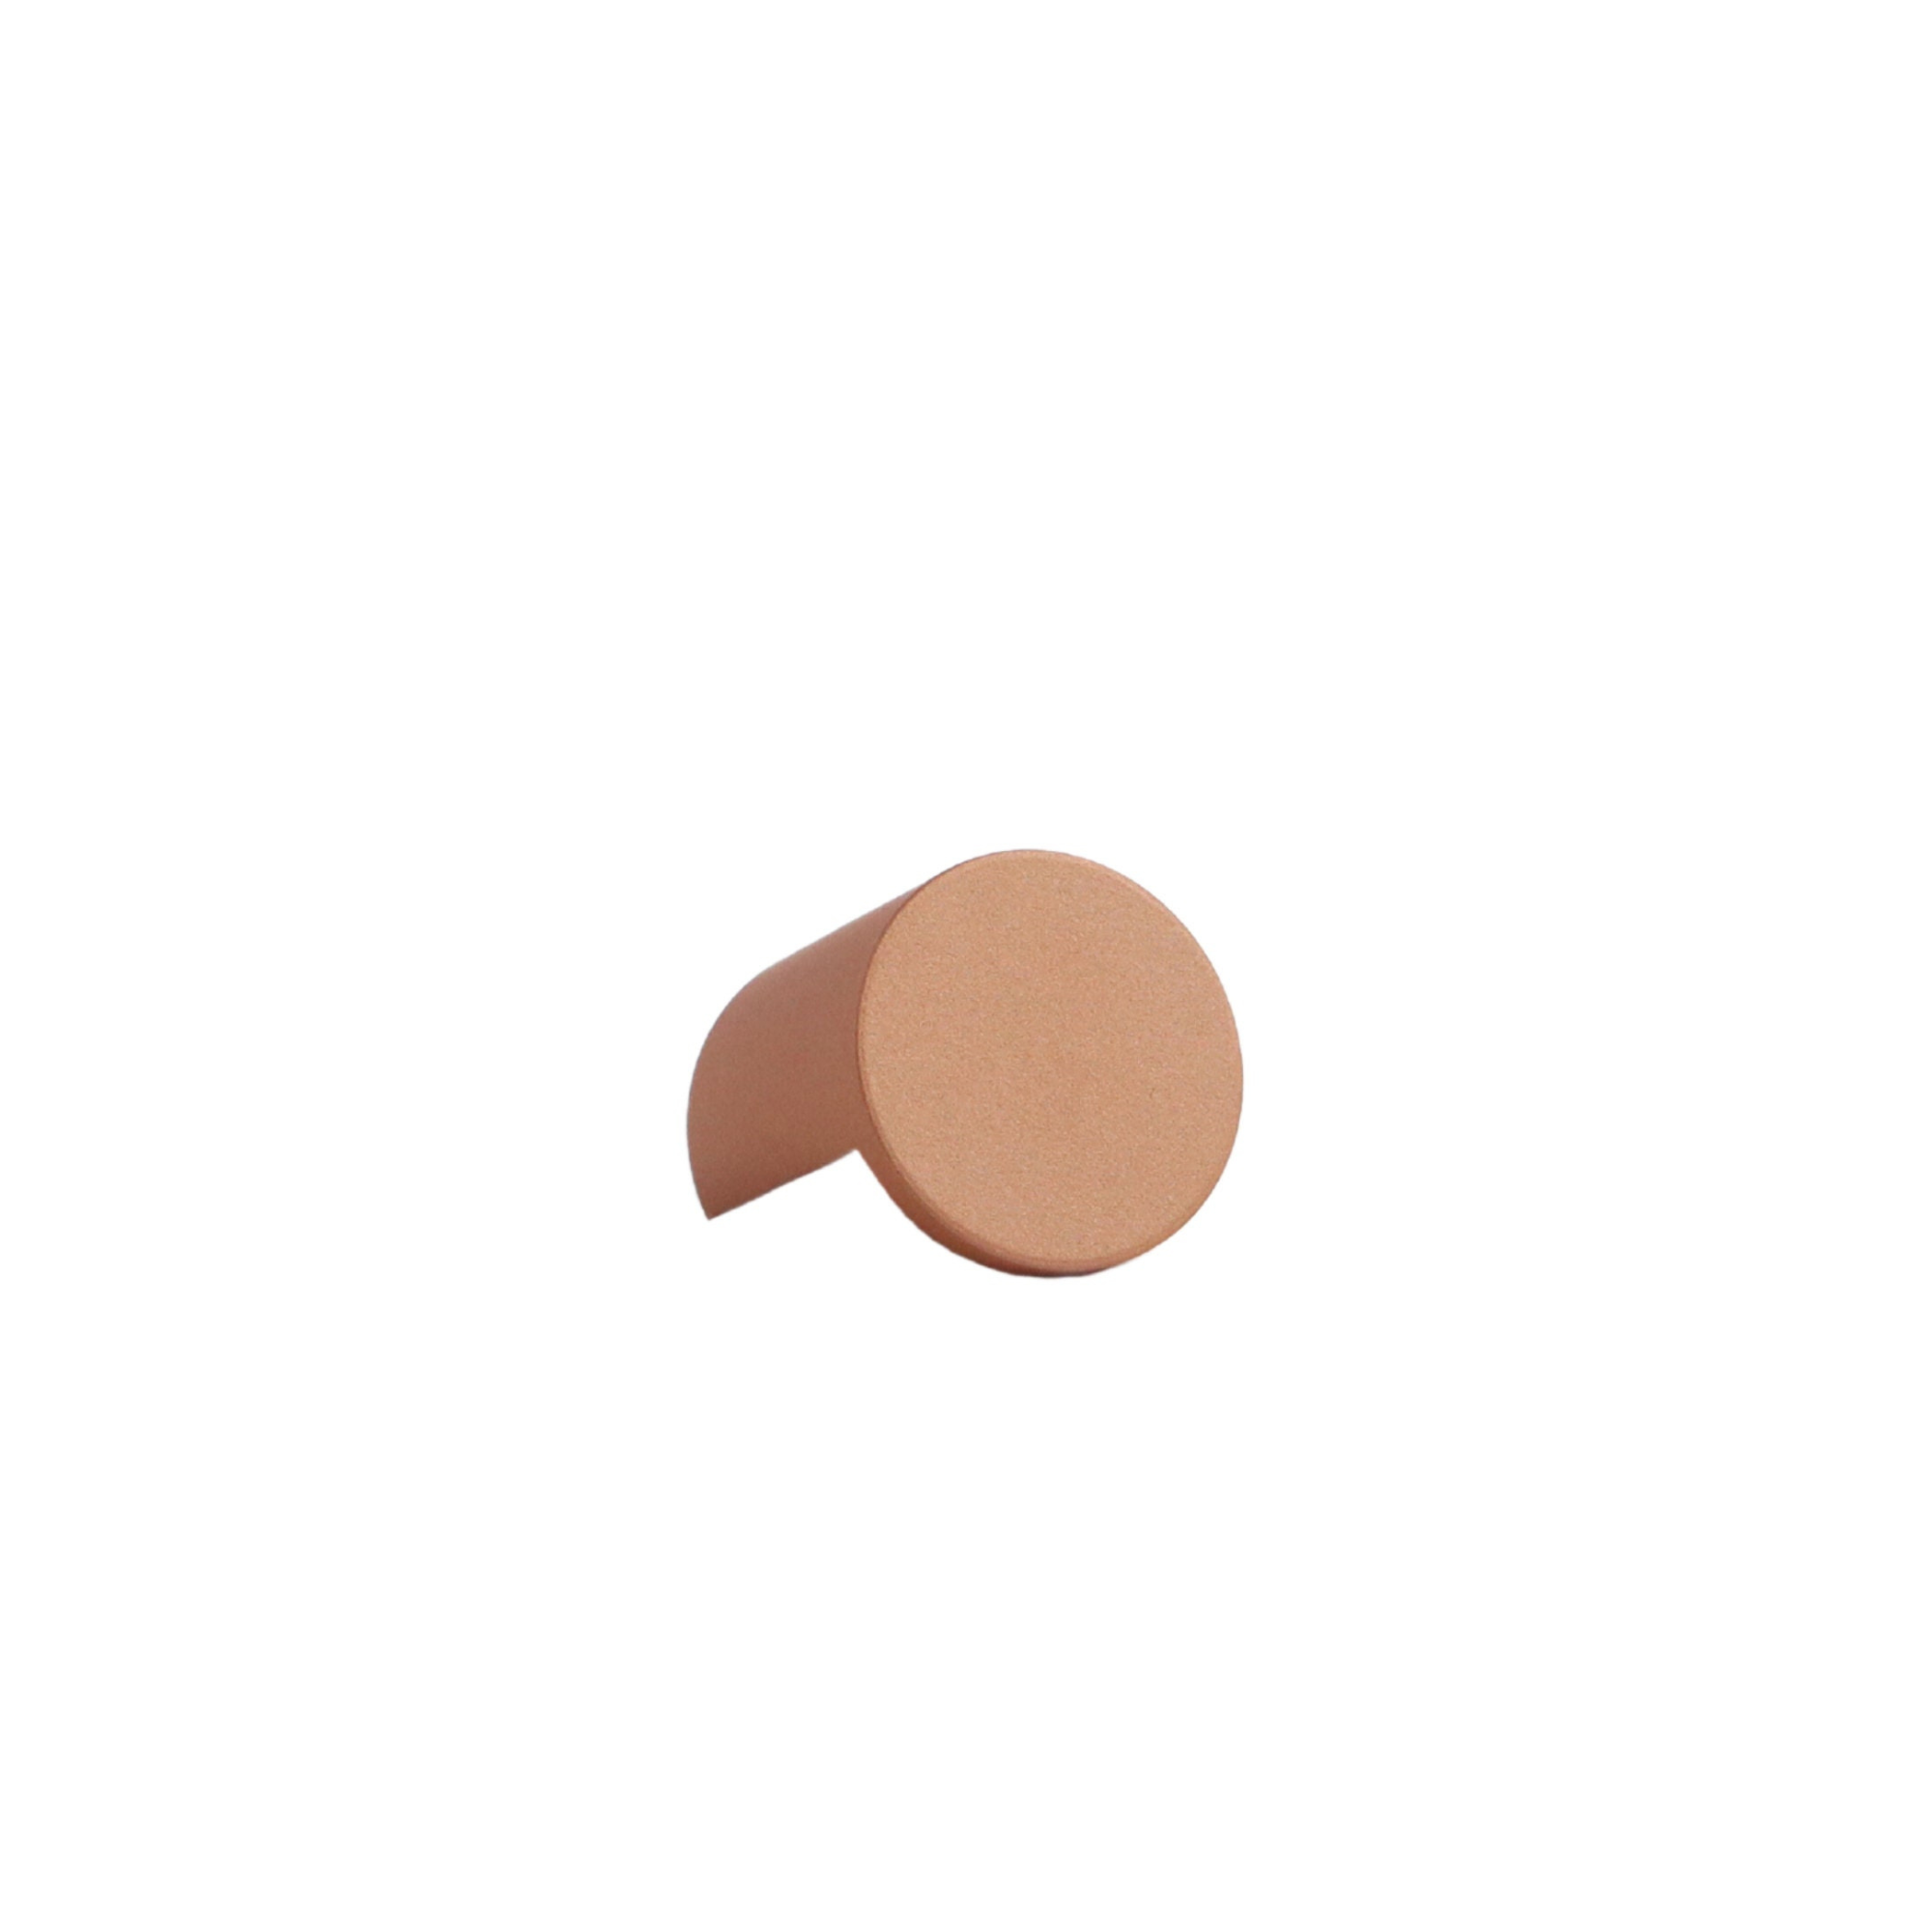
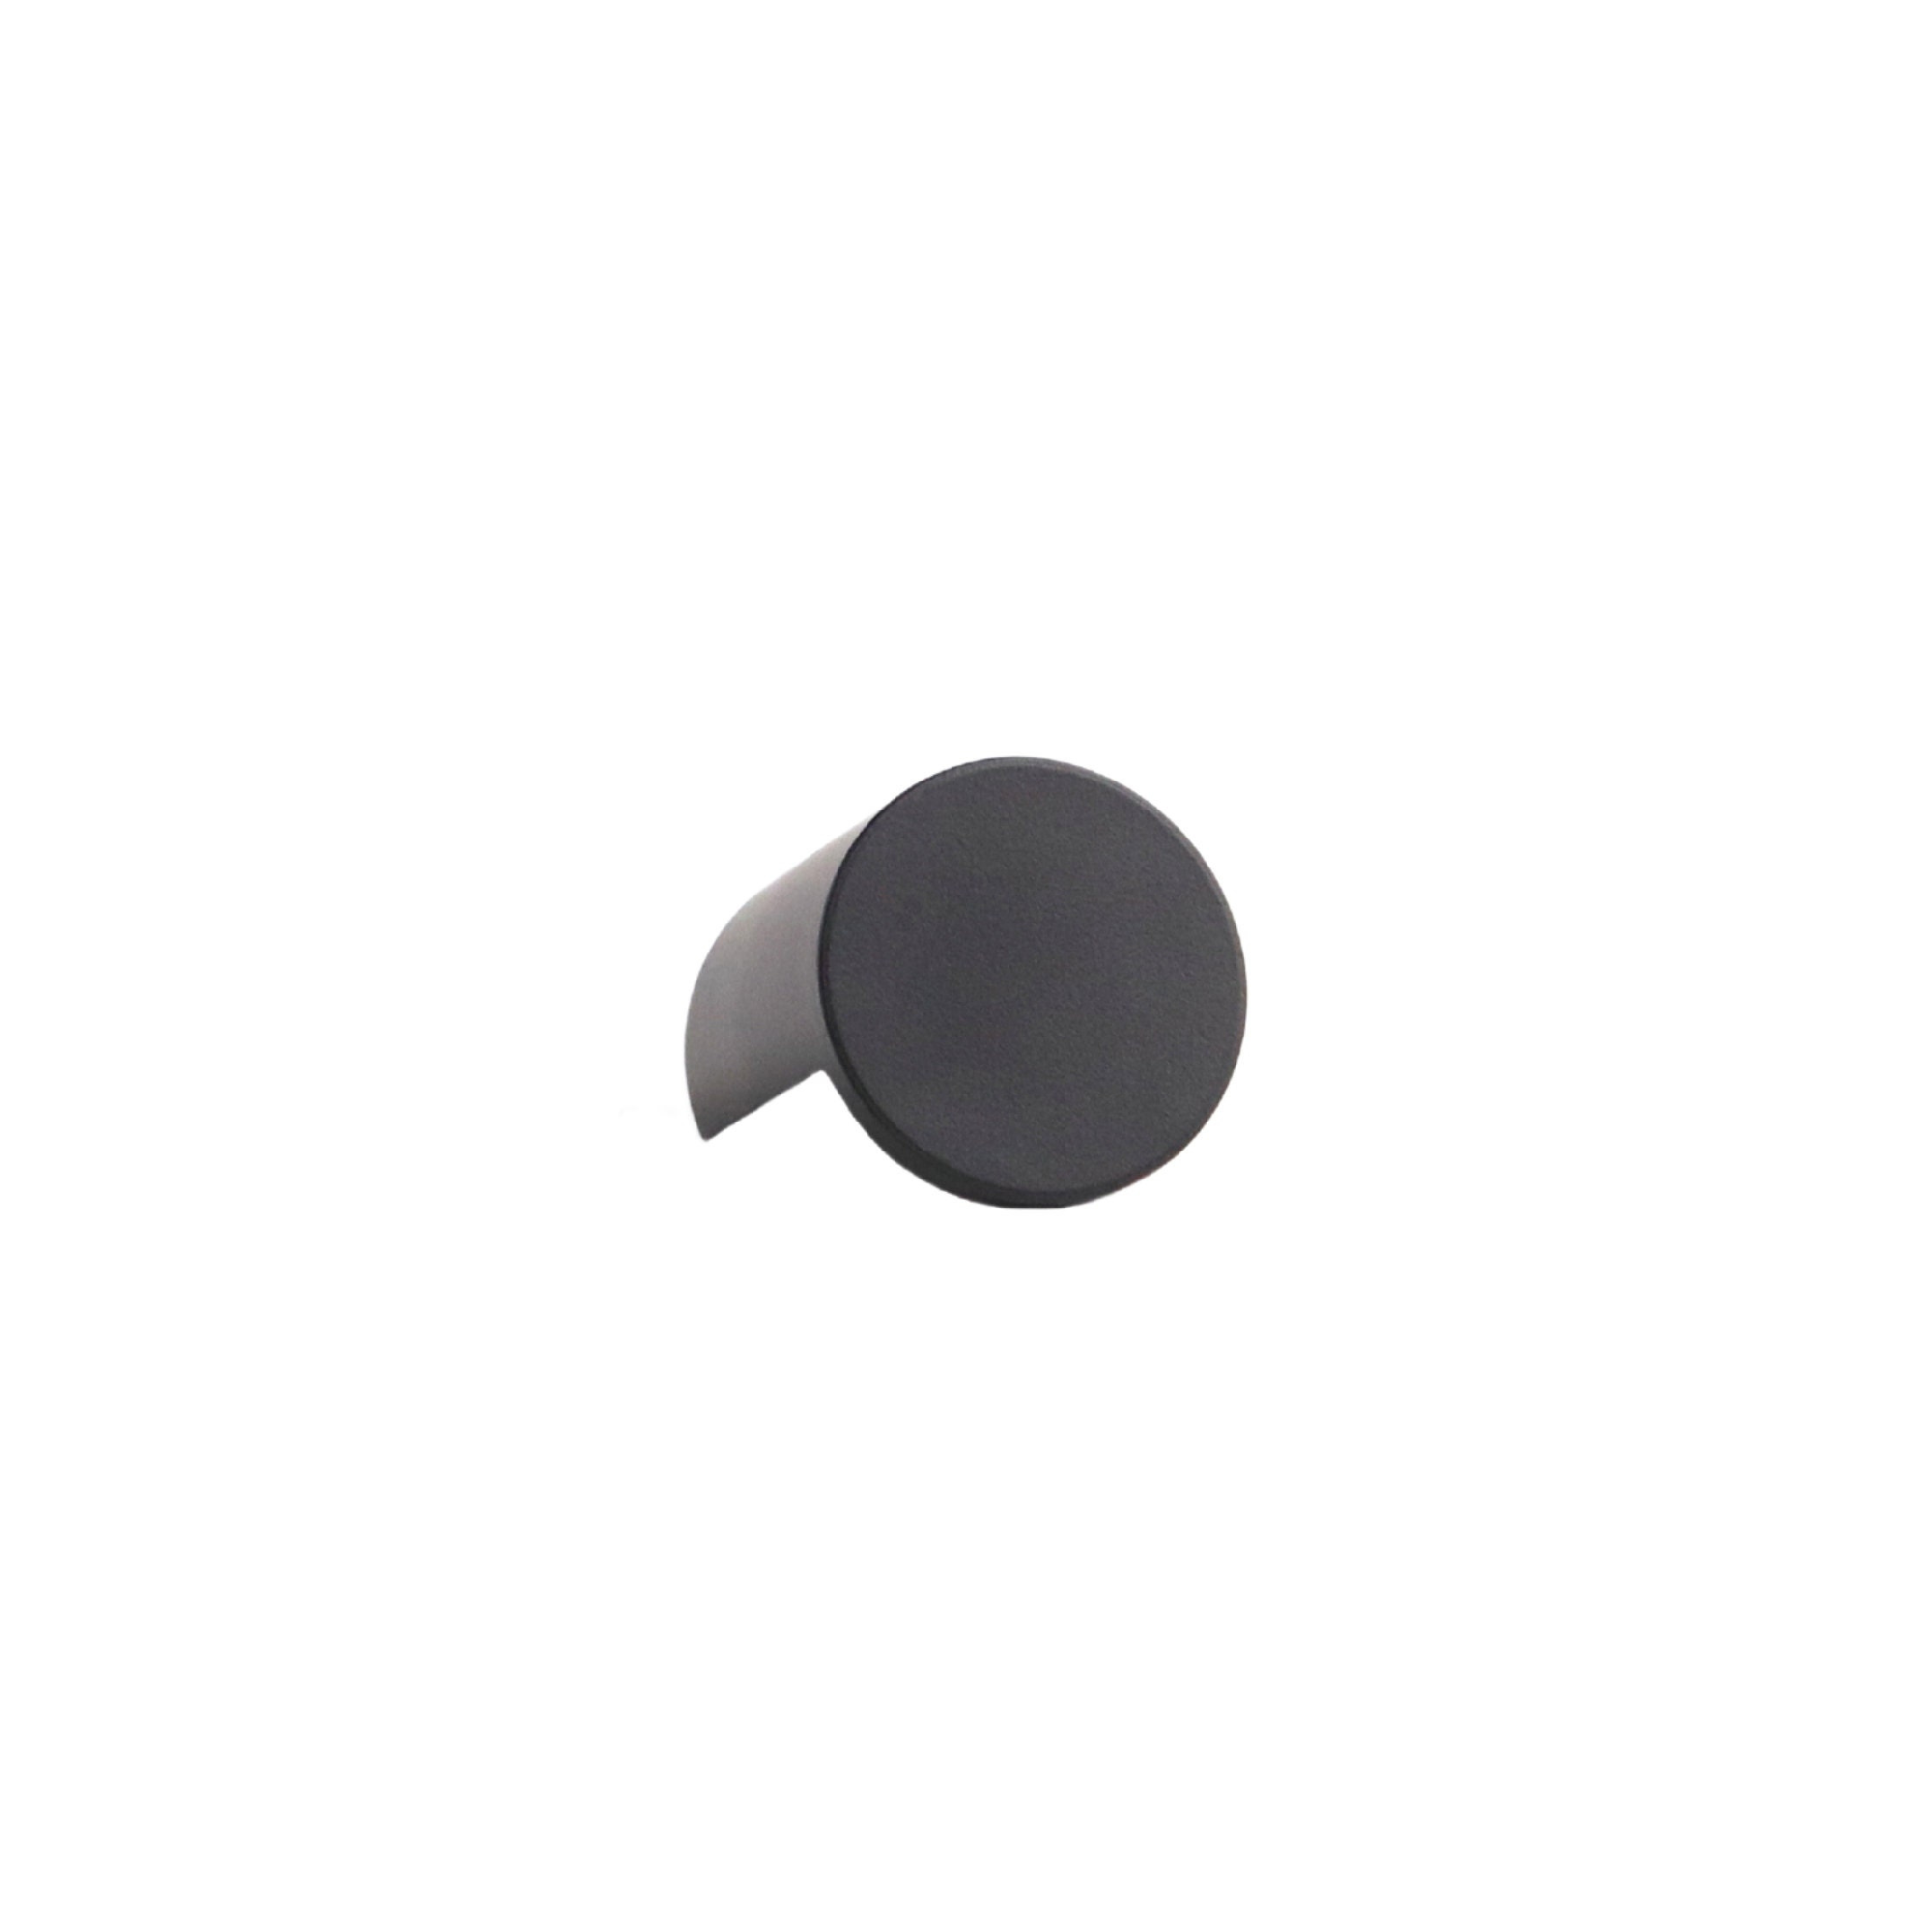
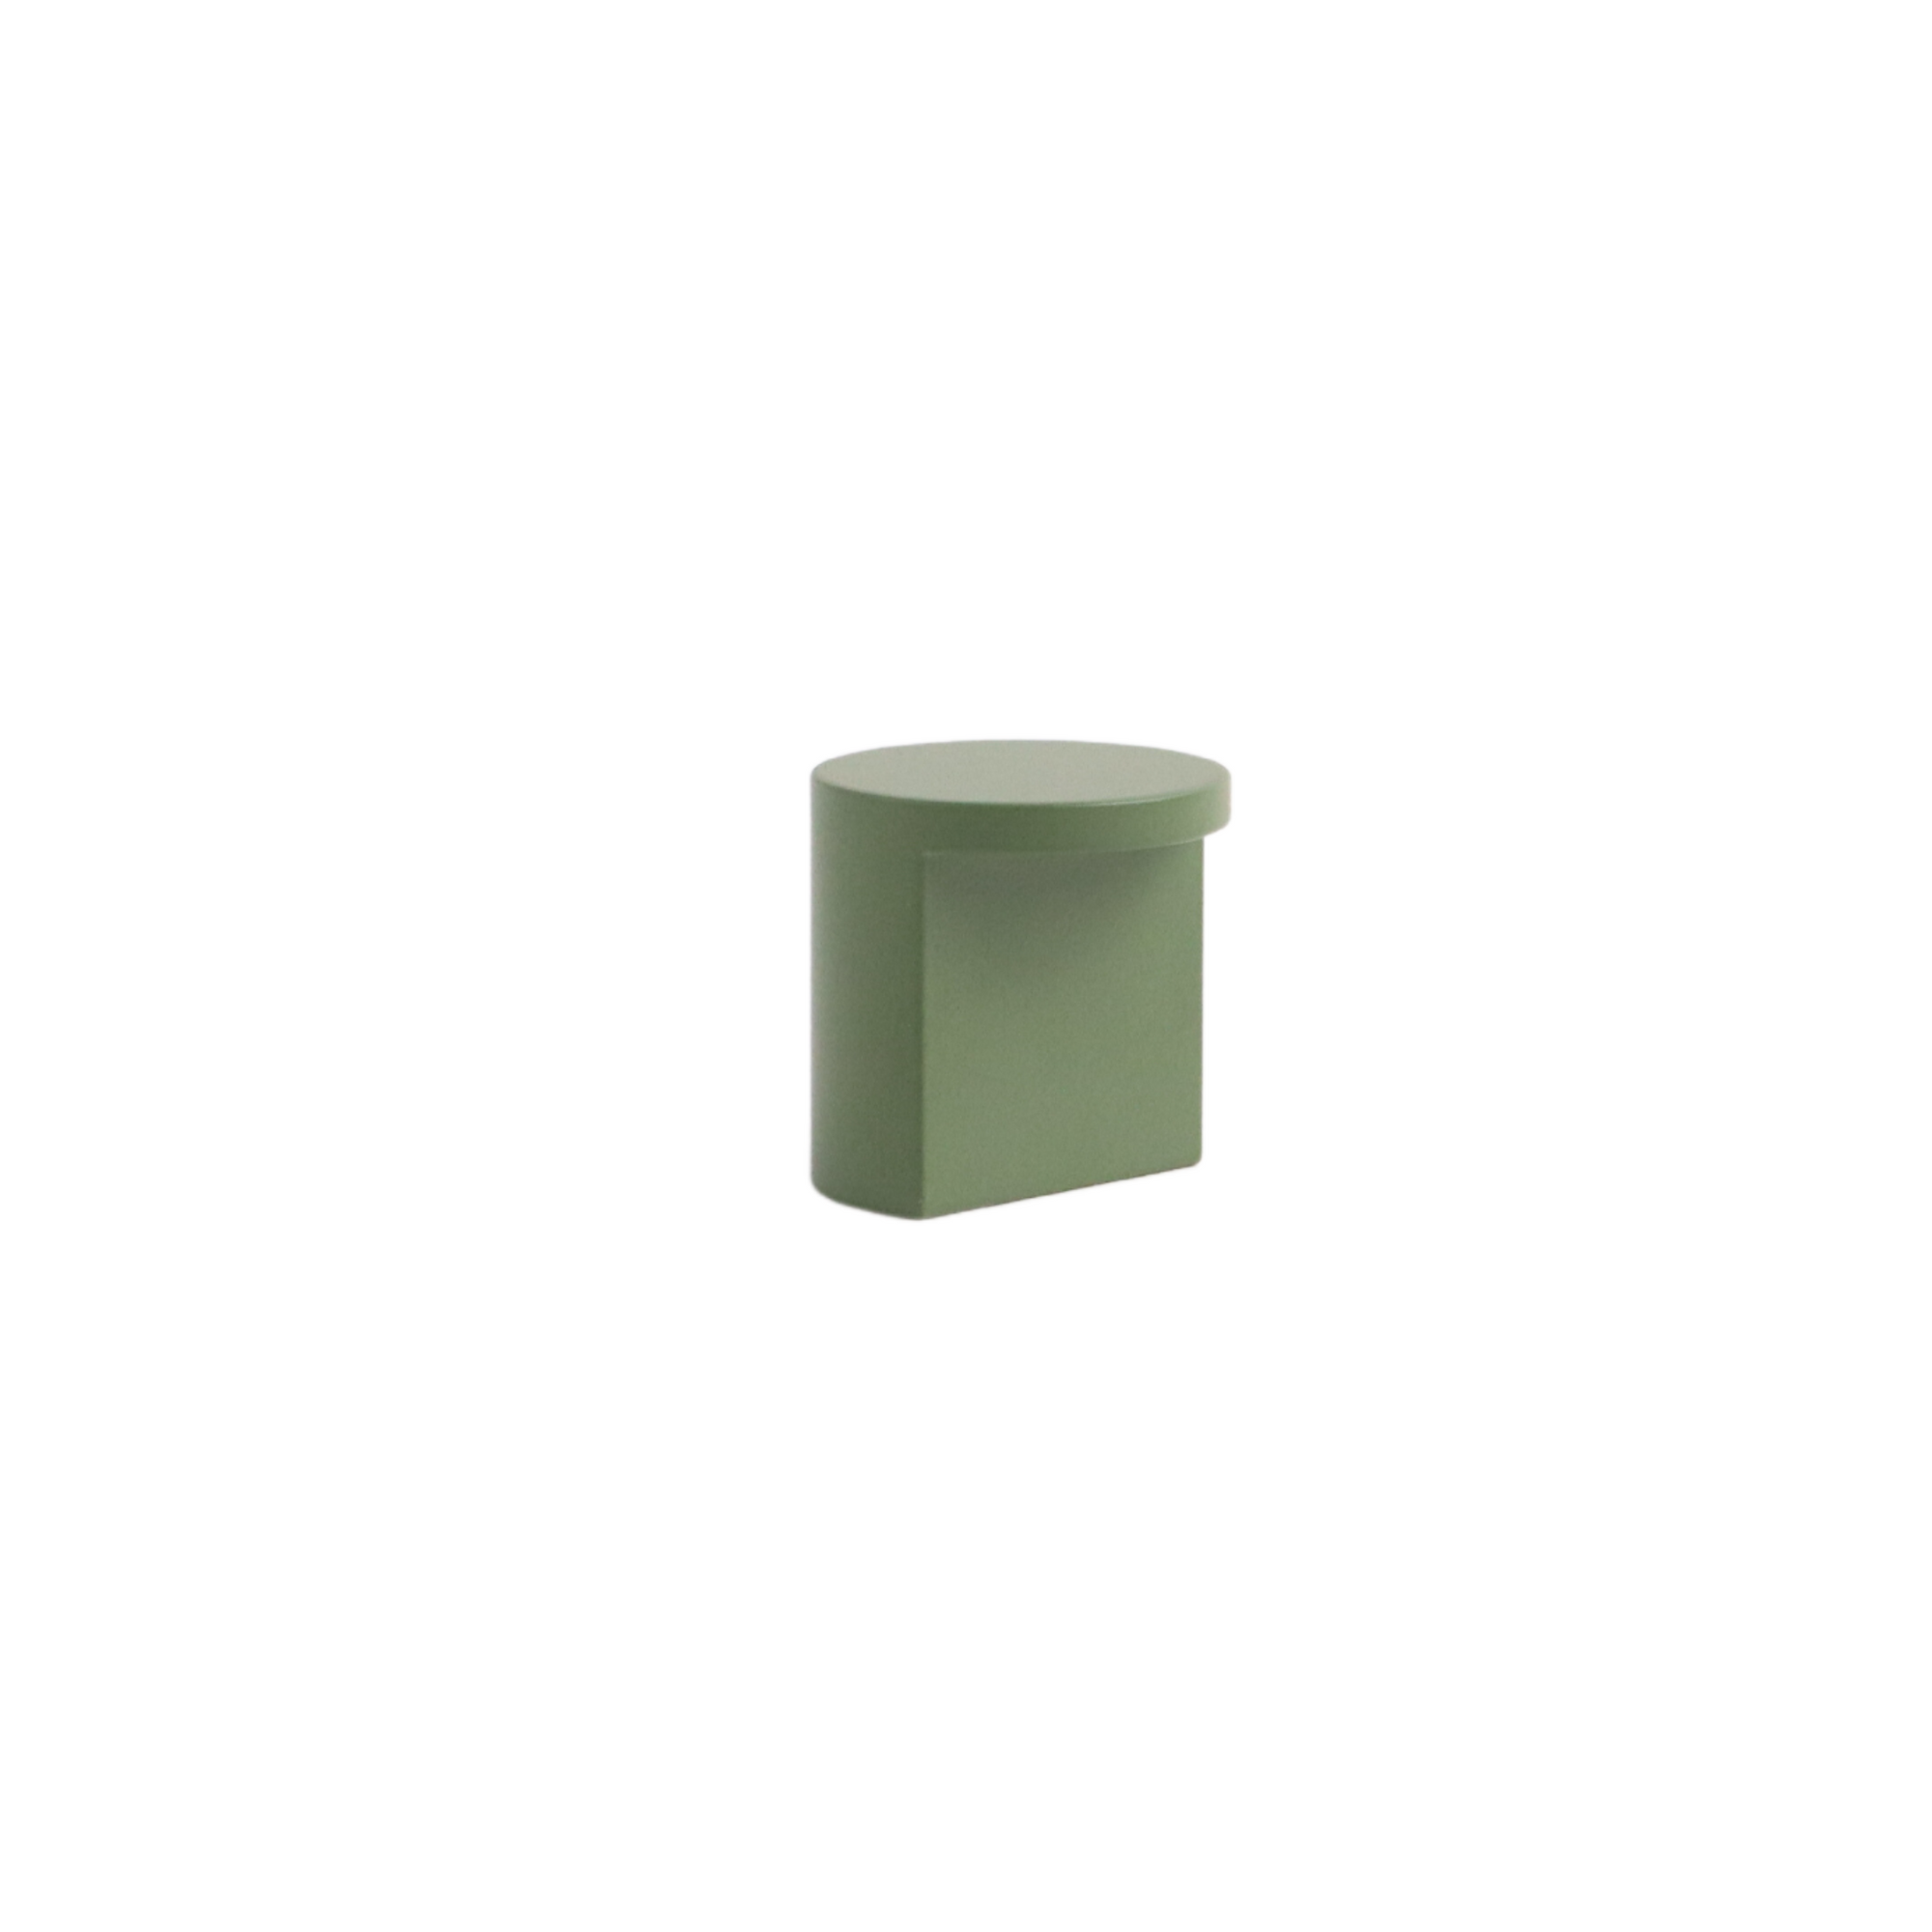
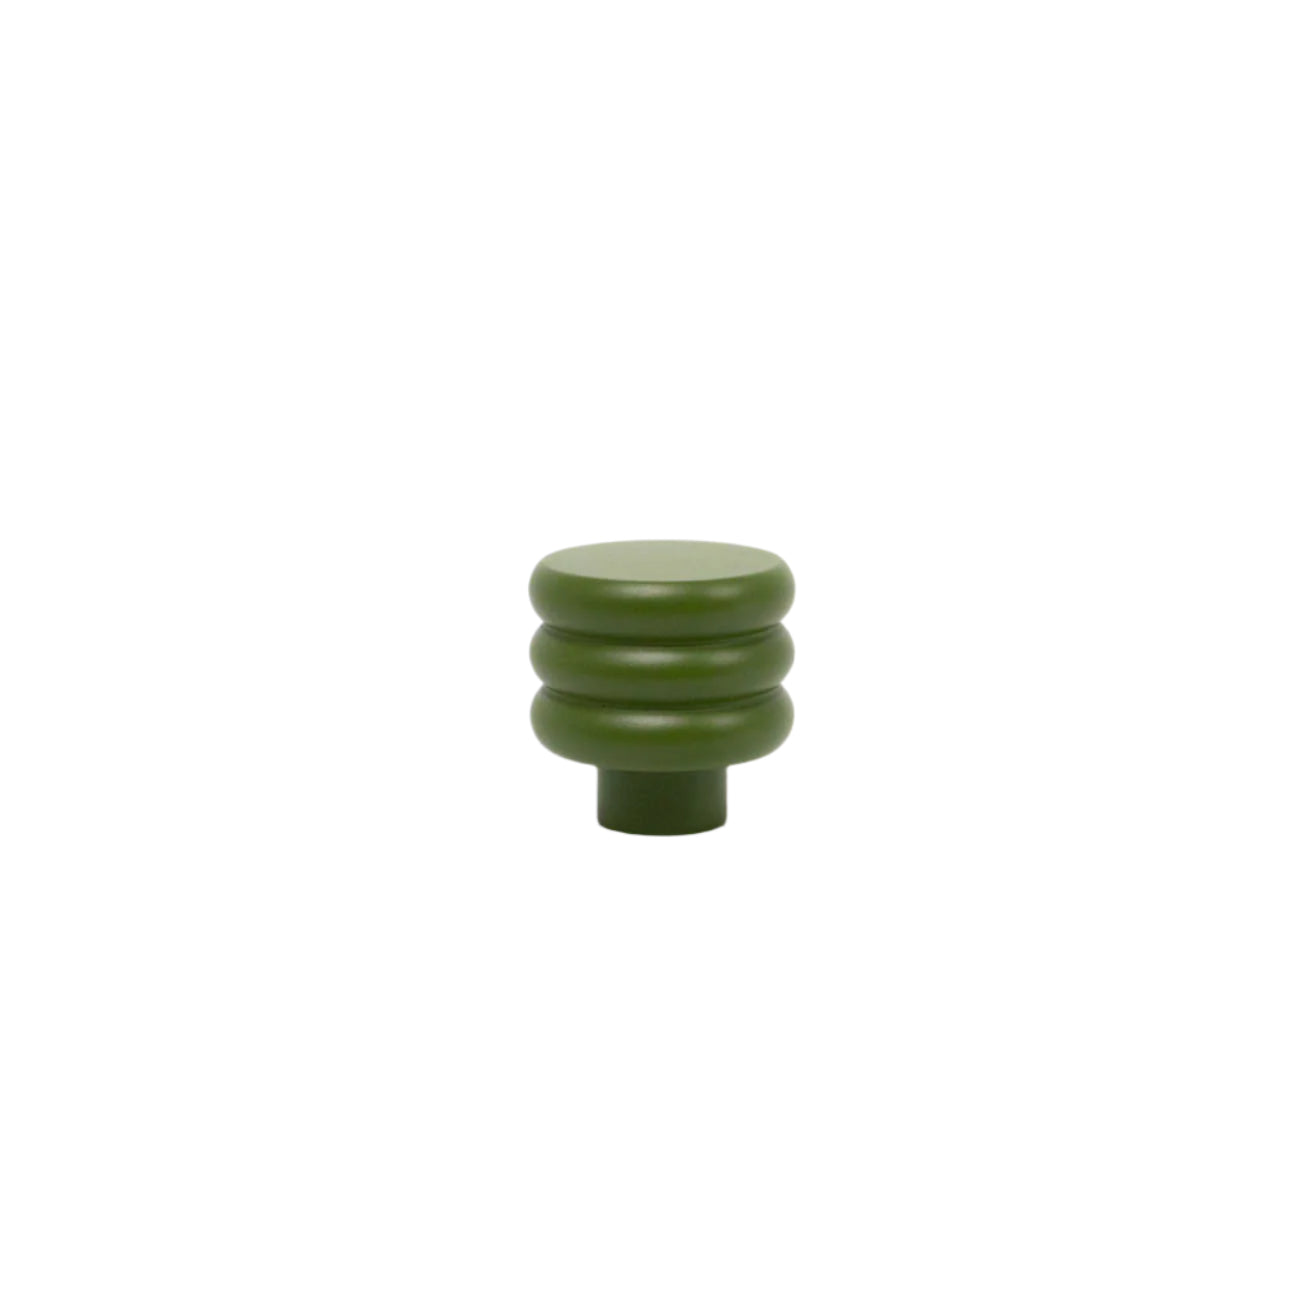
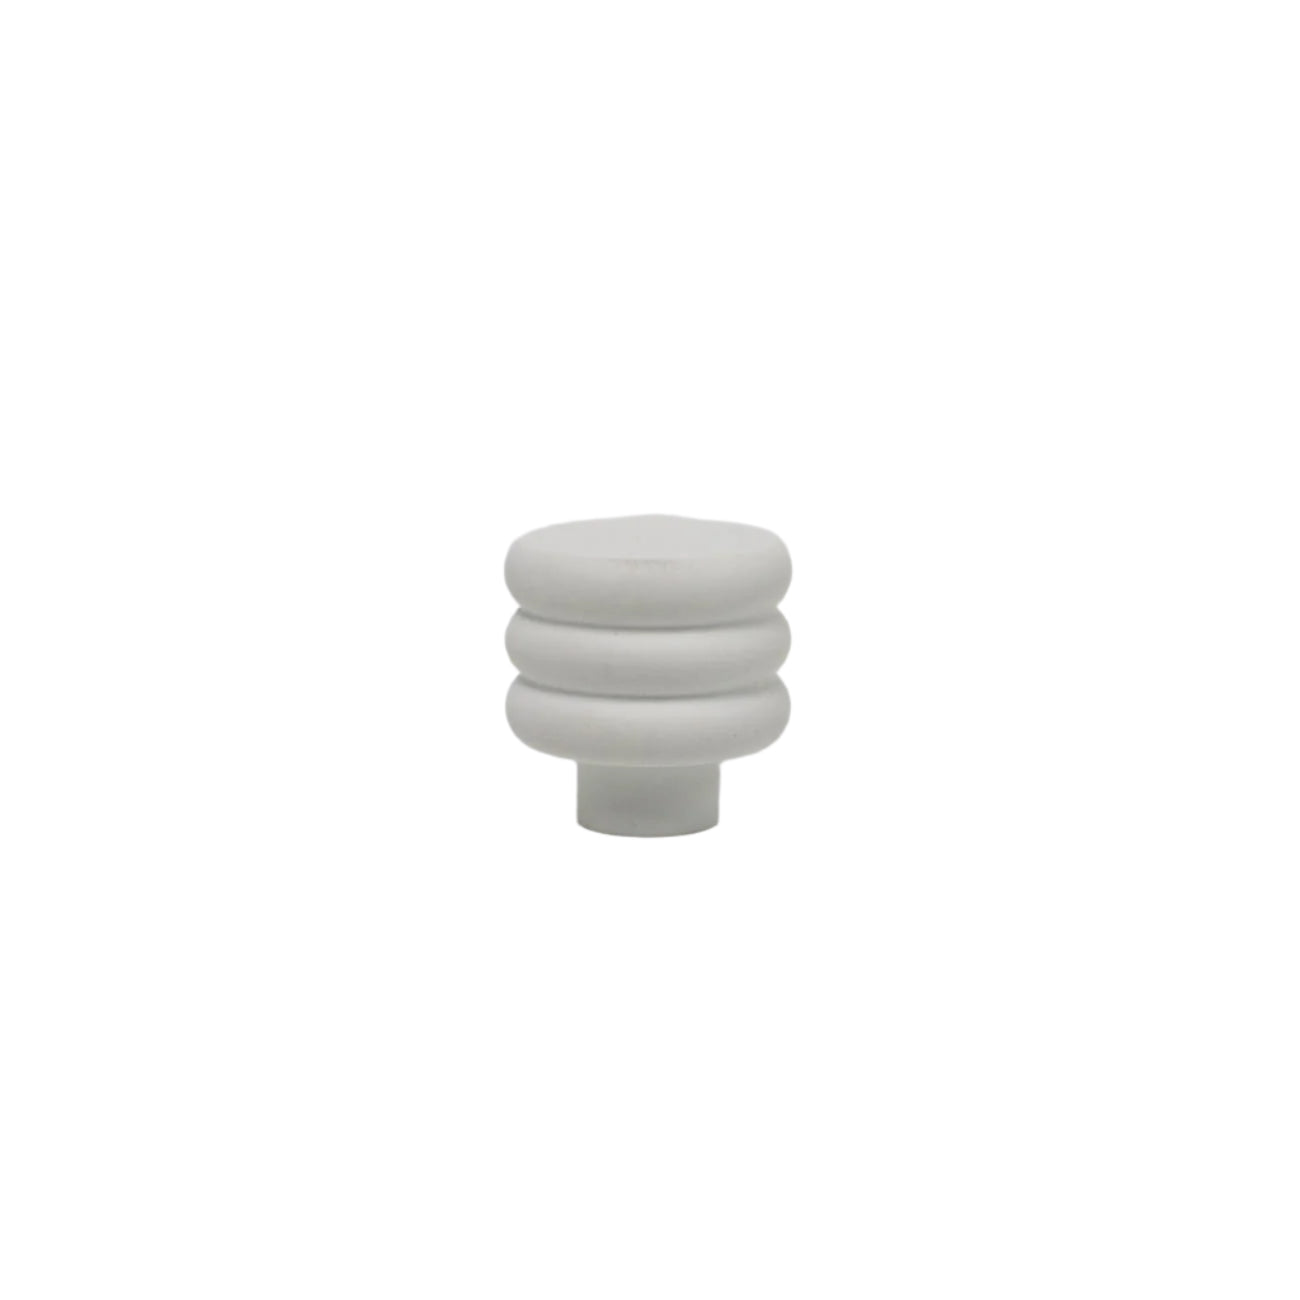
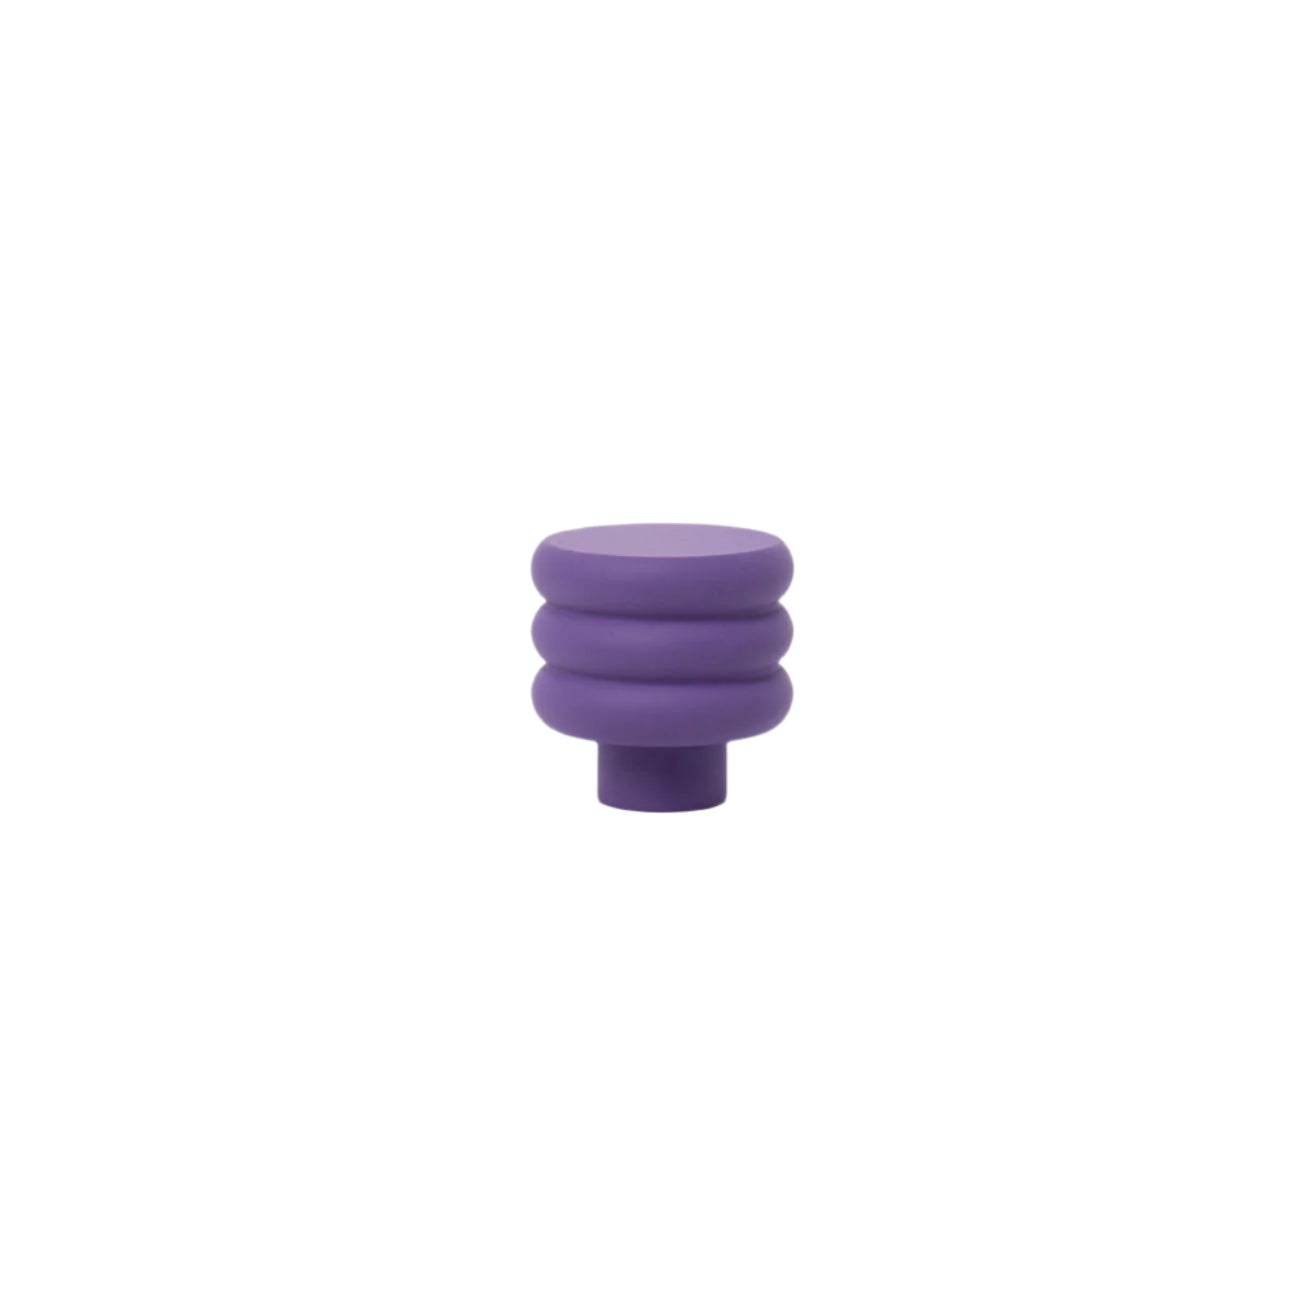
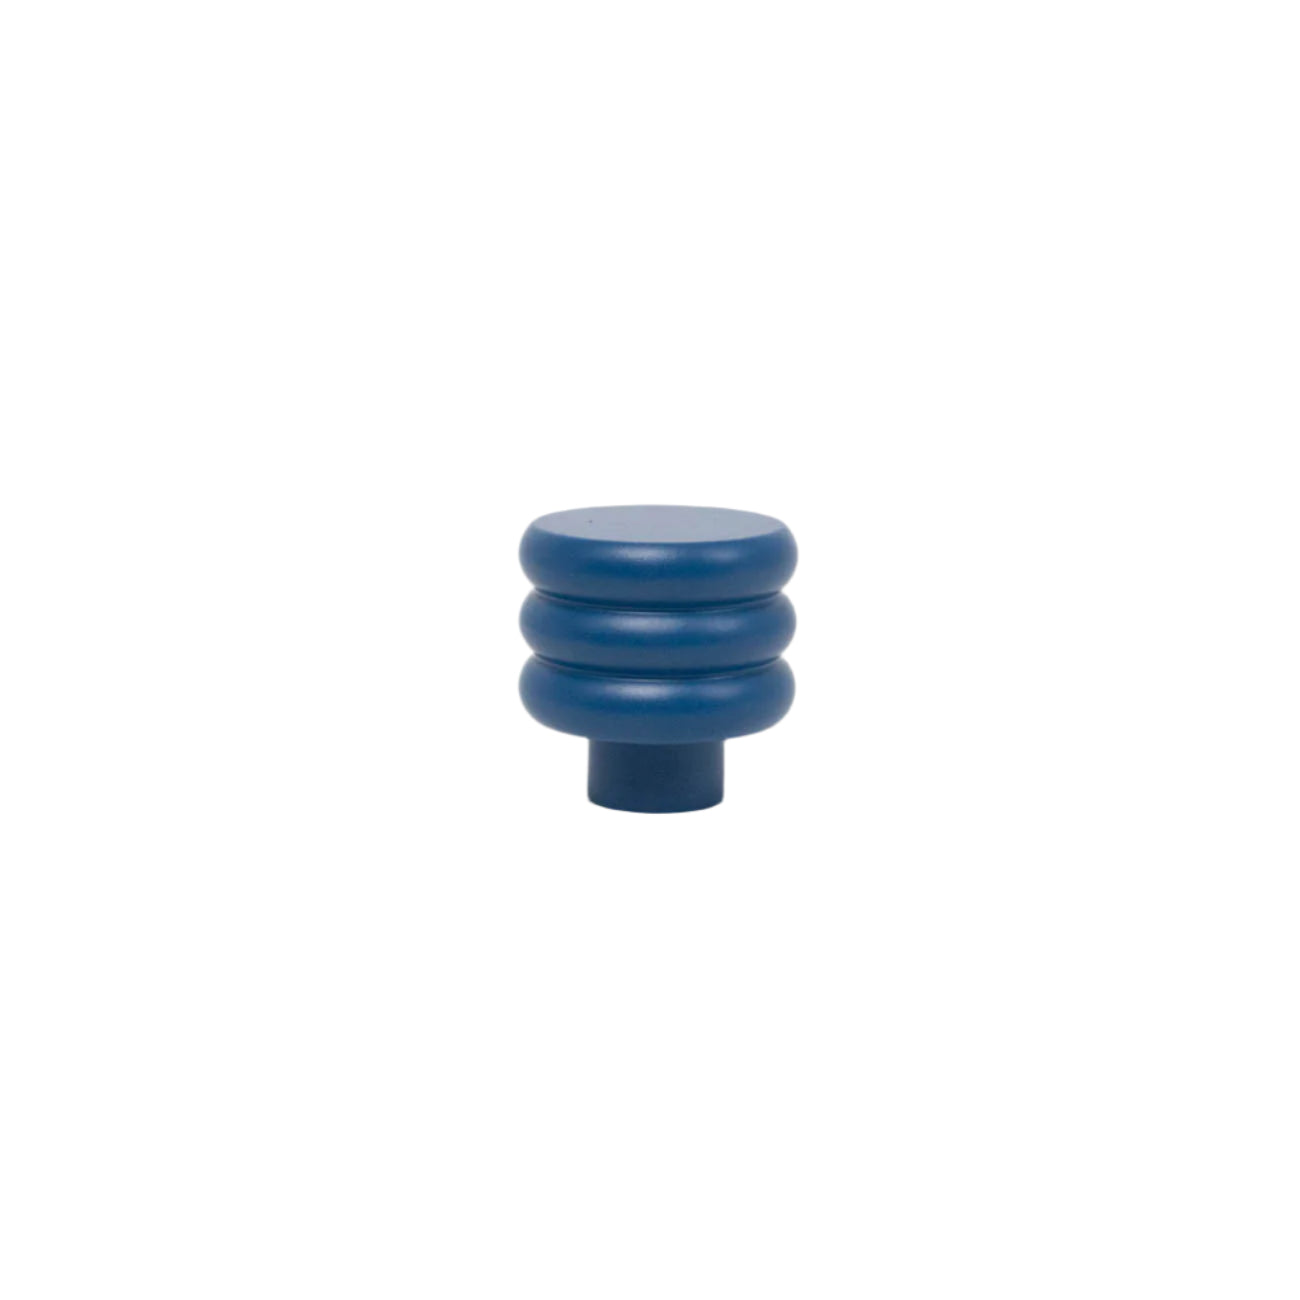
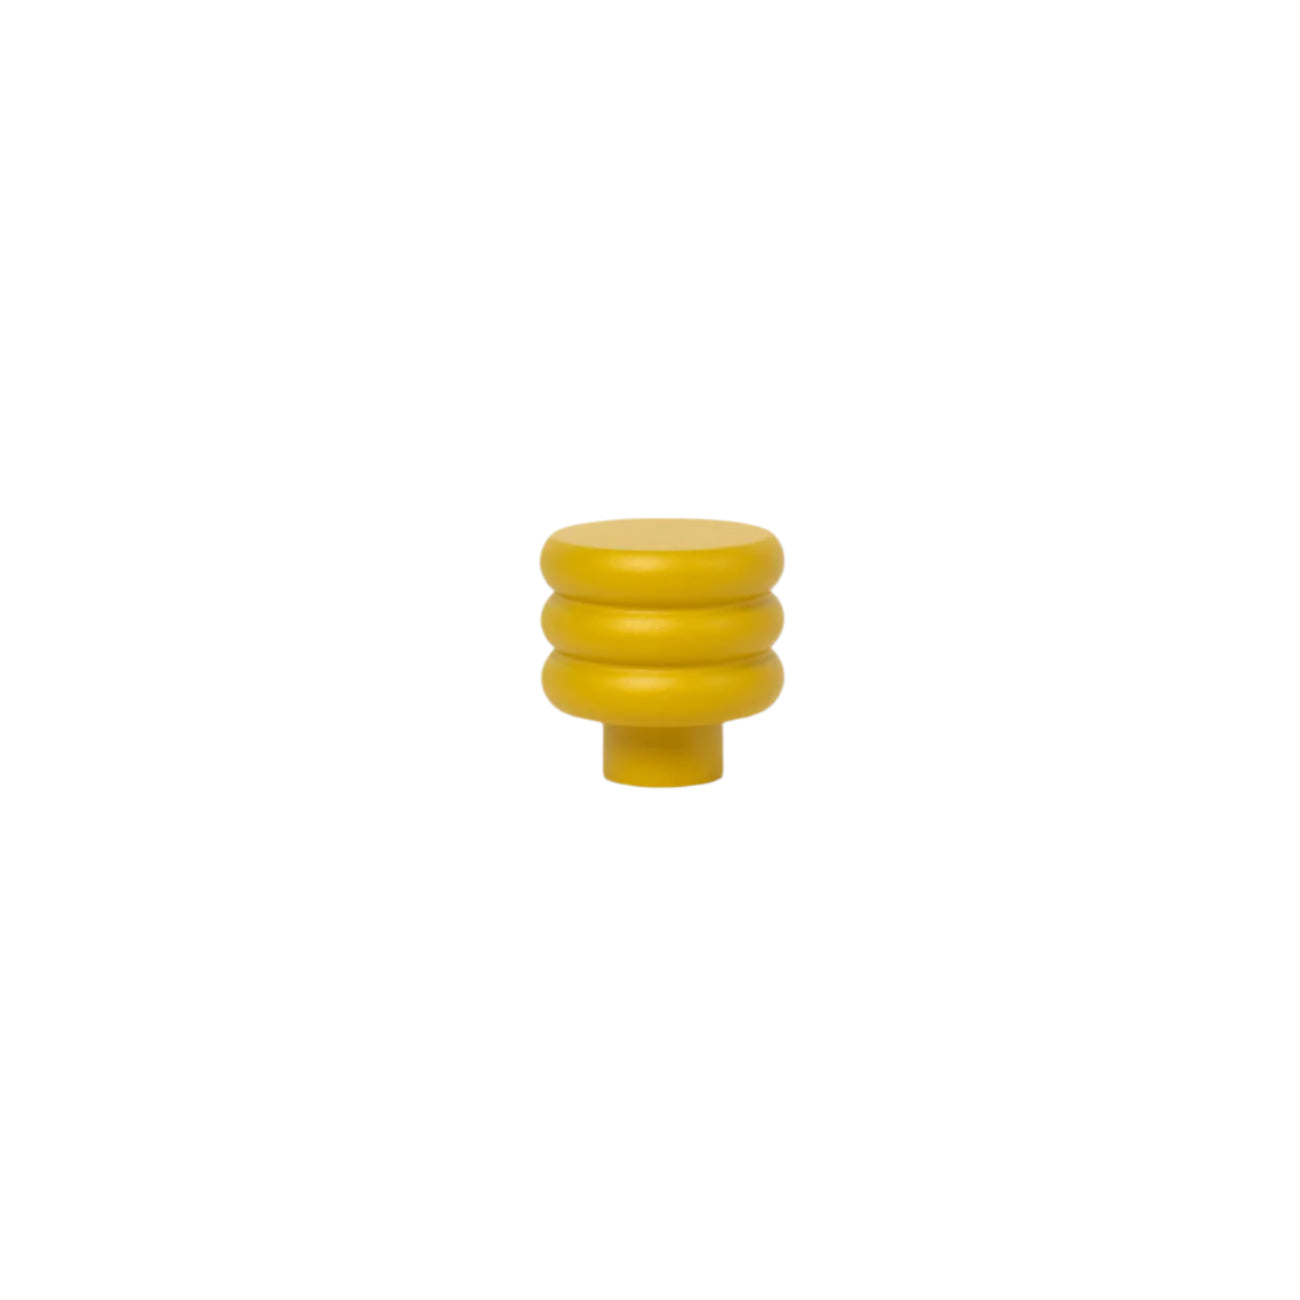
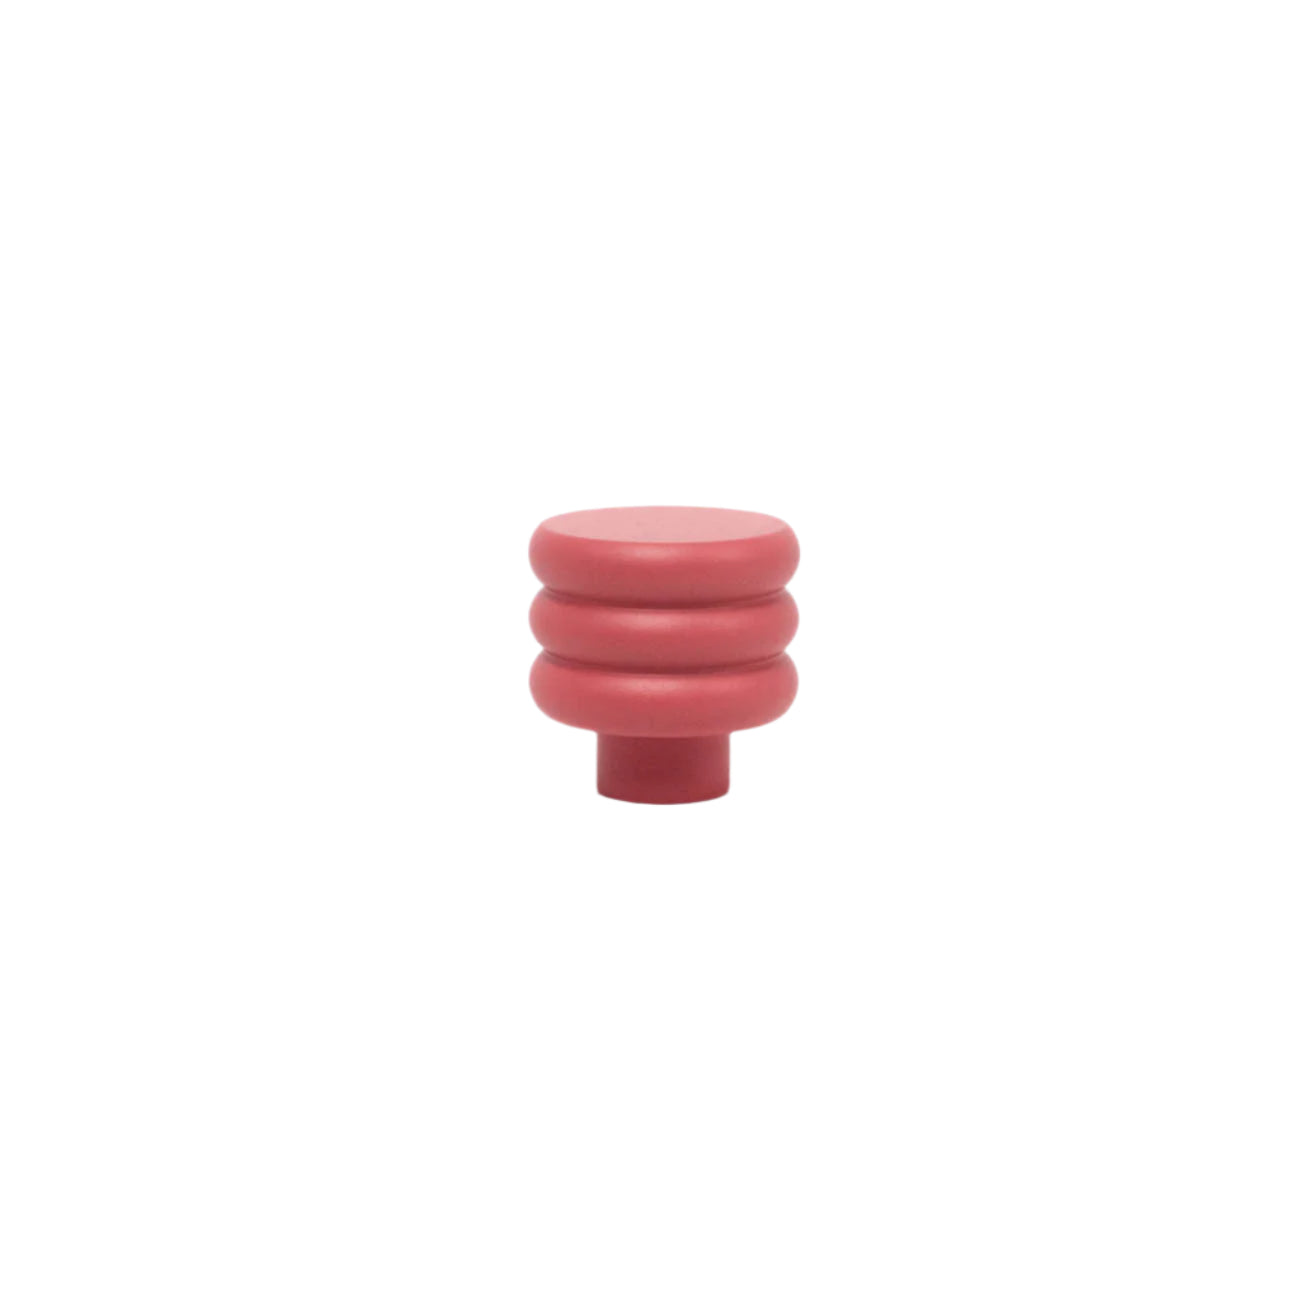
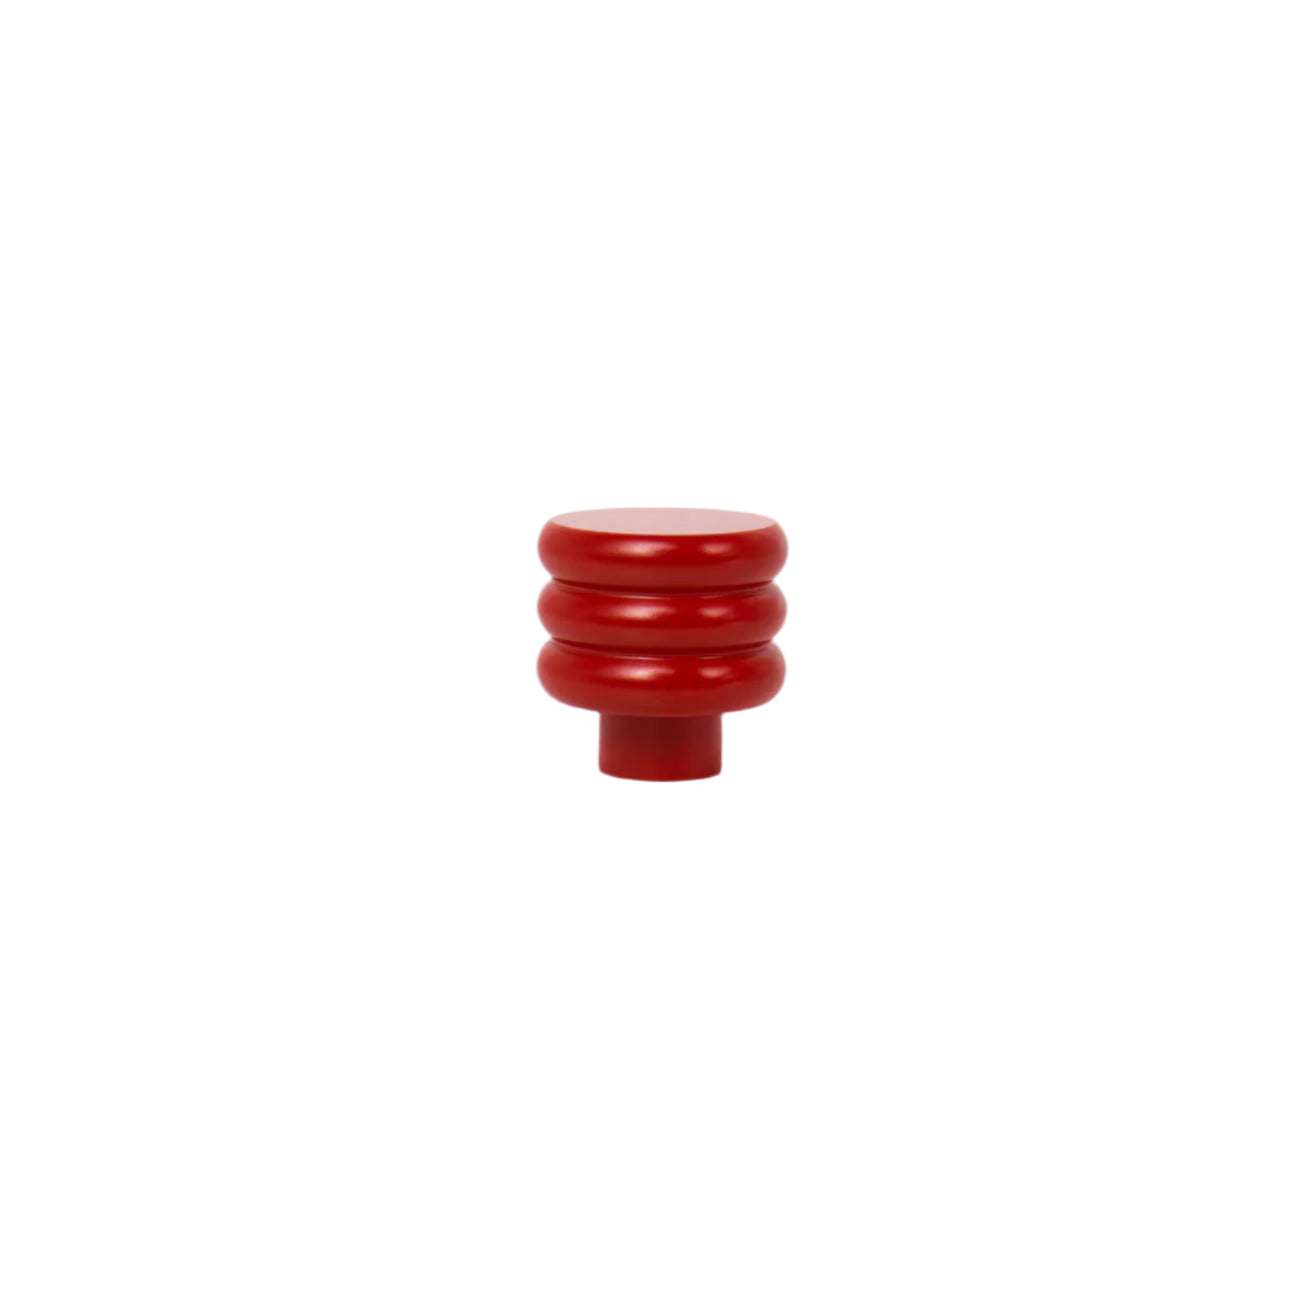
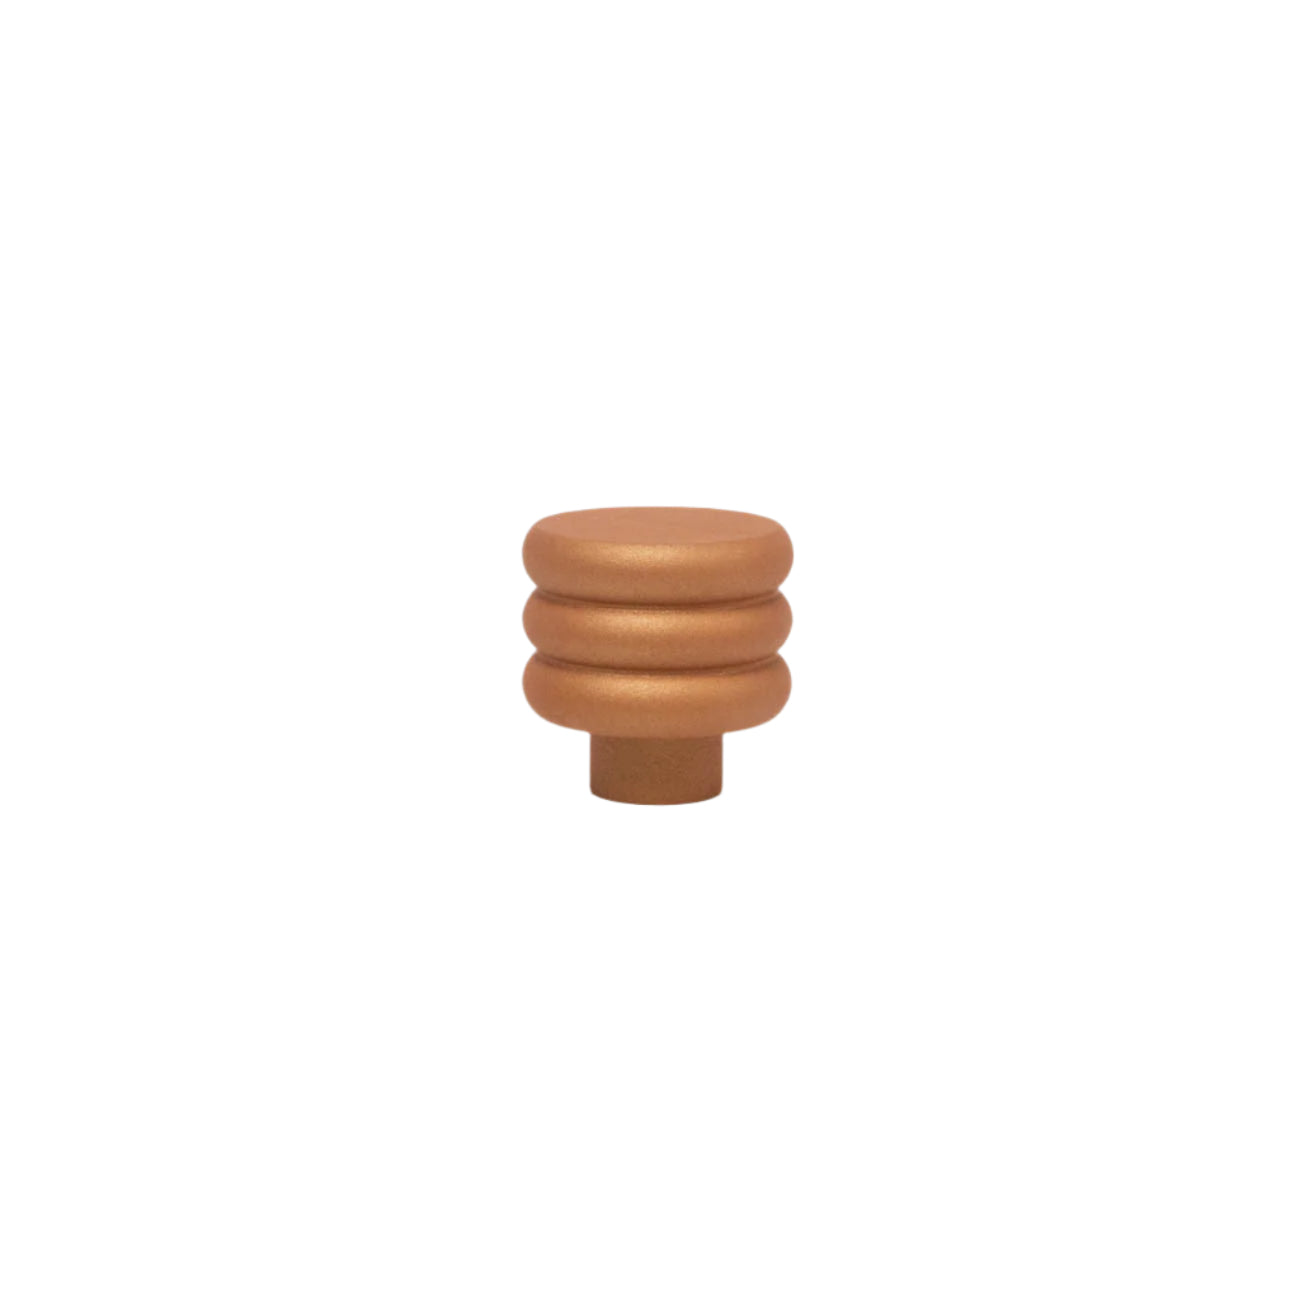
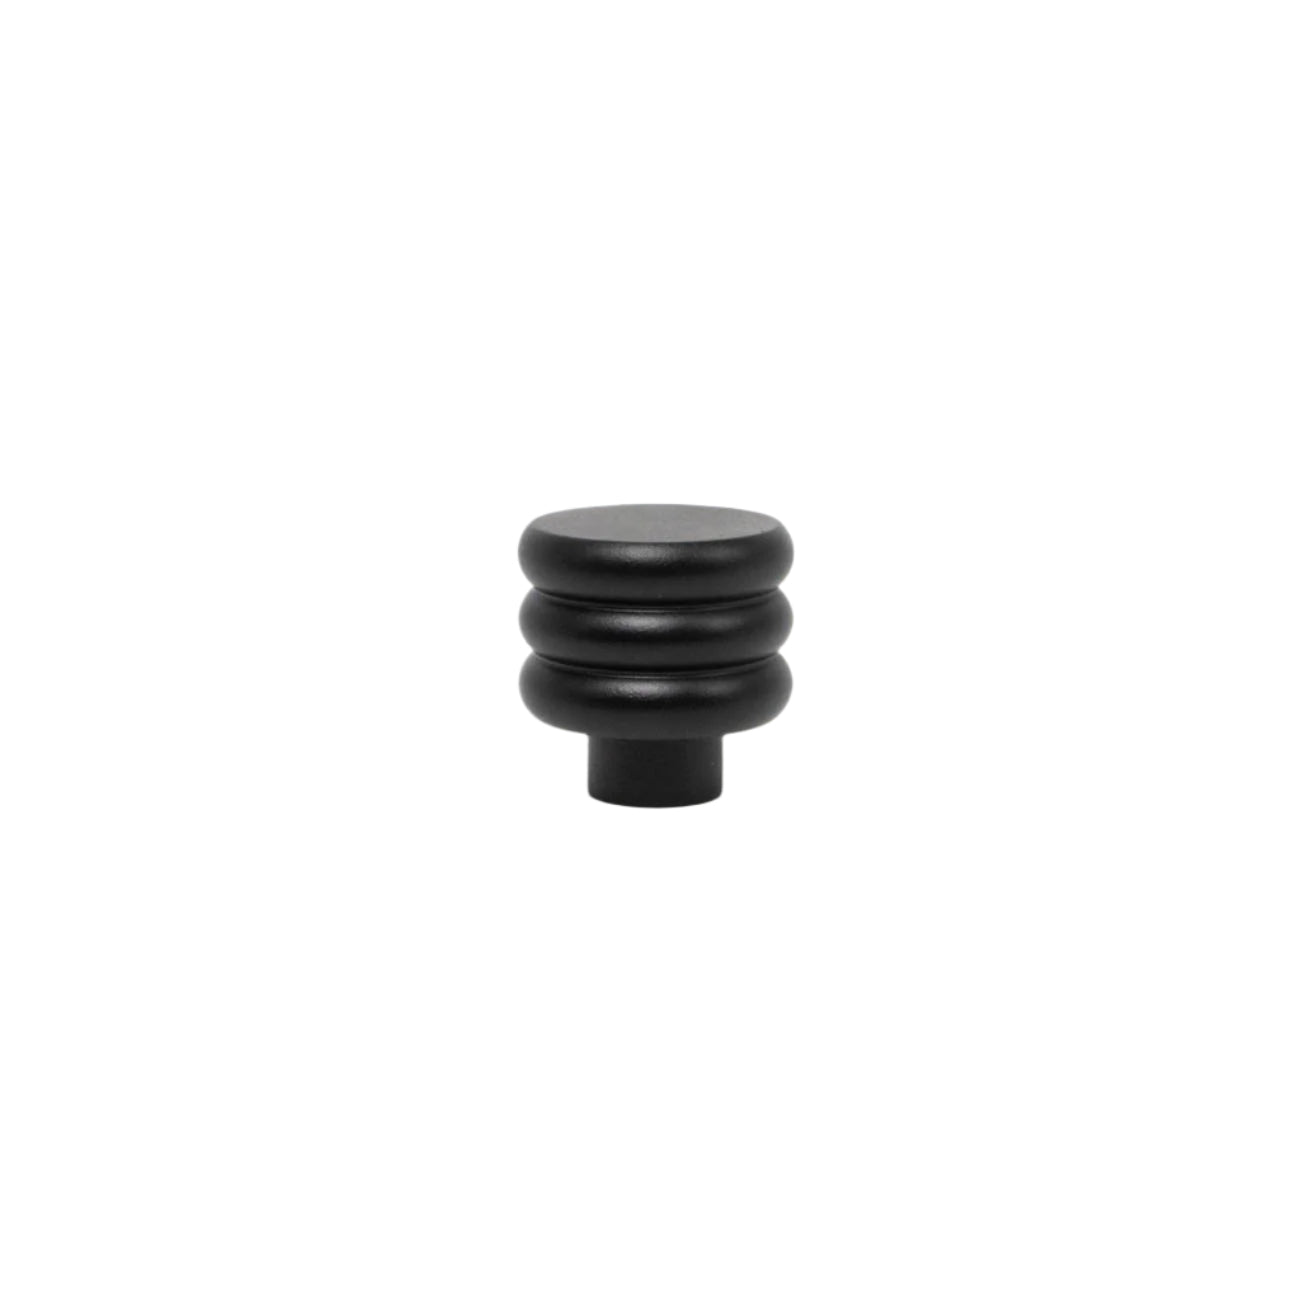
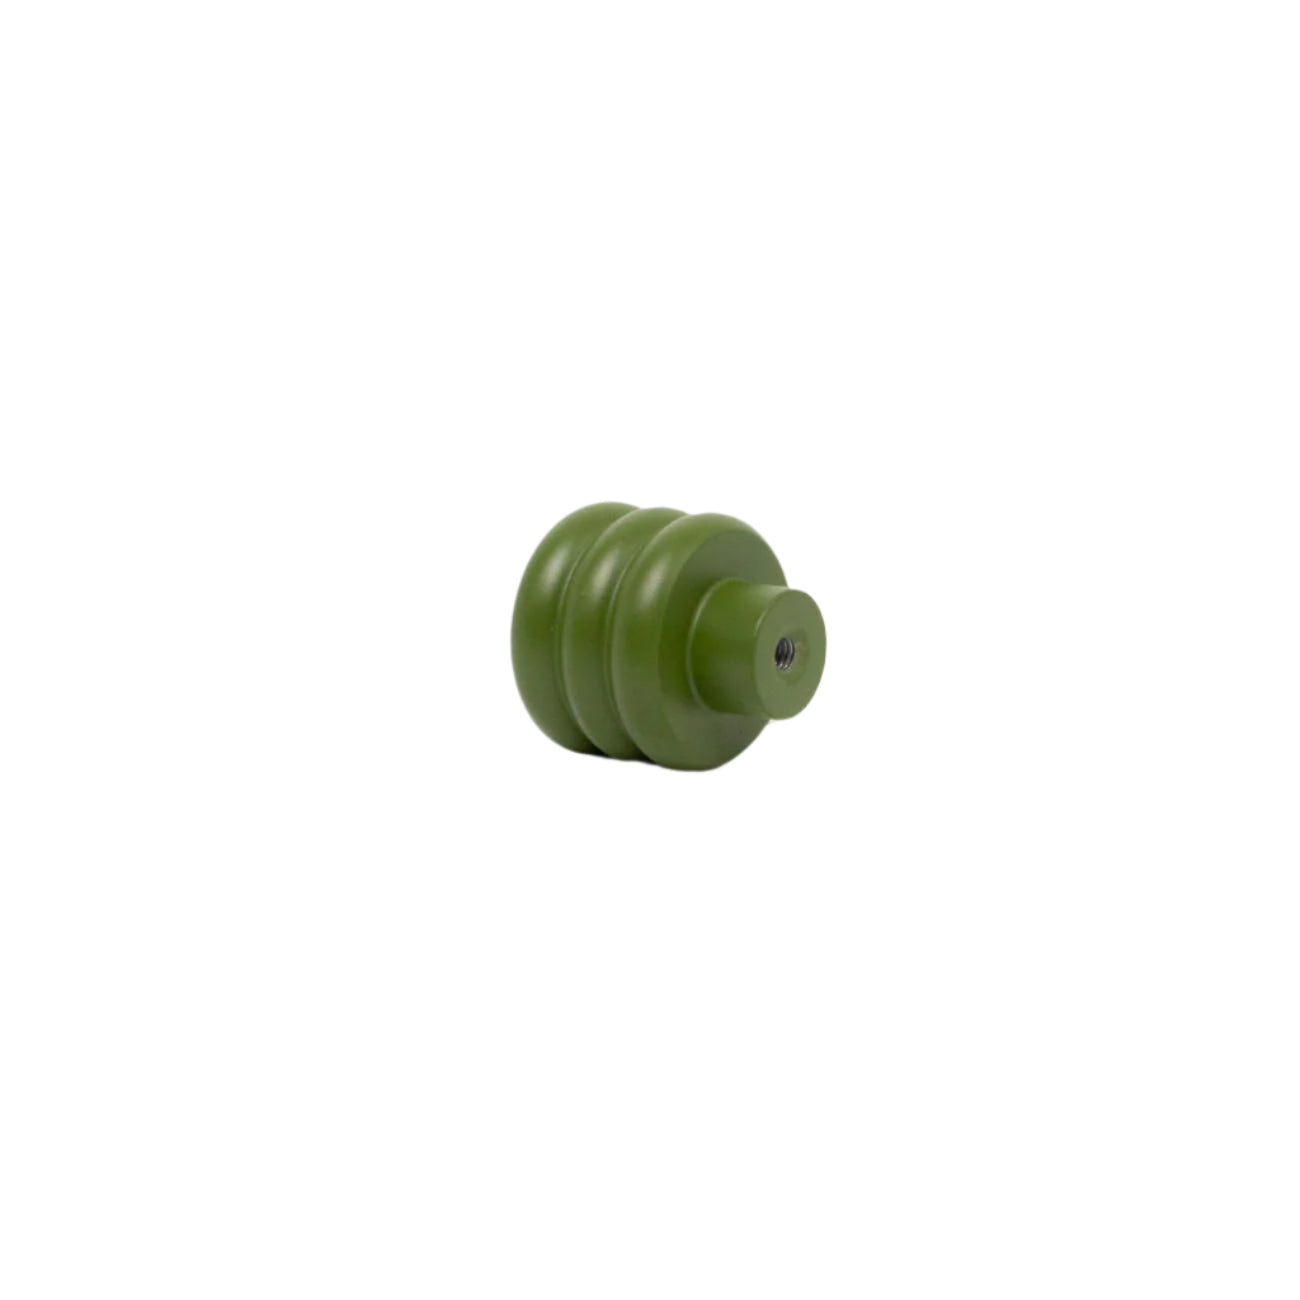
a. Knobs
Knobs are a versatile choice for cabinet hardware. They come in various shapes, sizes, and materials, making it easy to find options that suit your taste. Knobs are especially great for drawers and doors that require a single point of contact.
Here are a few of our favorites:
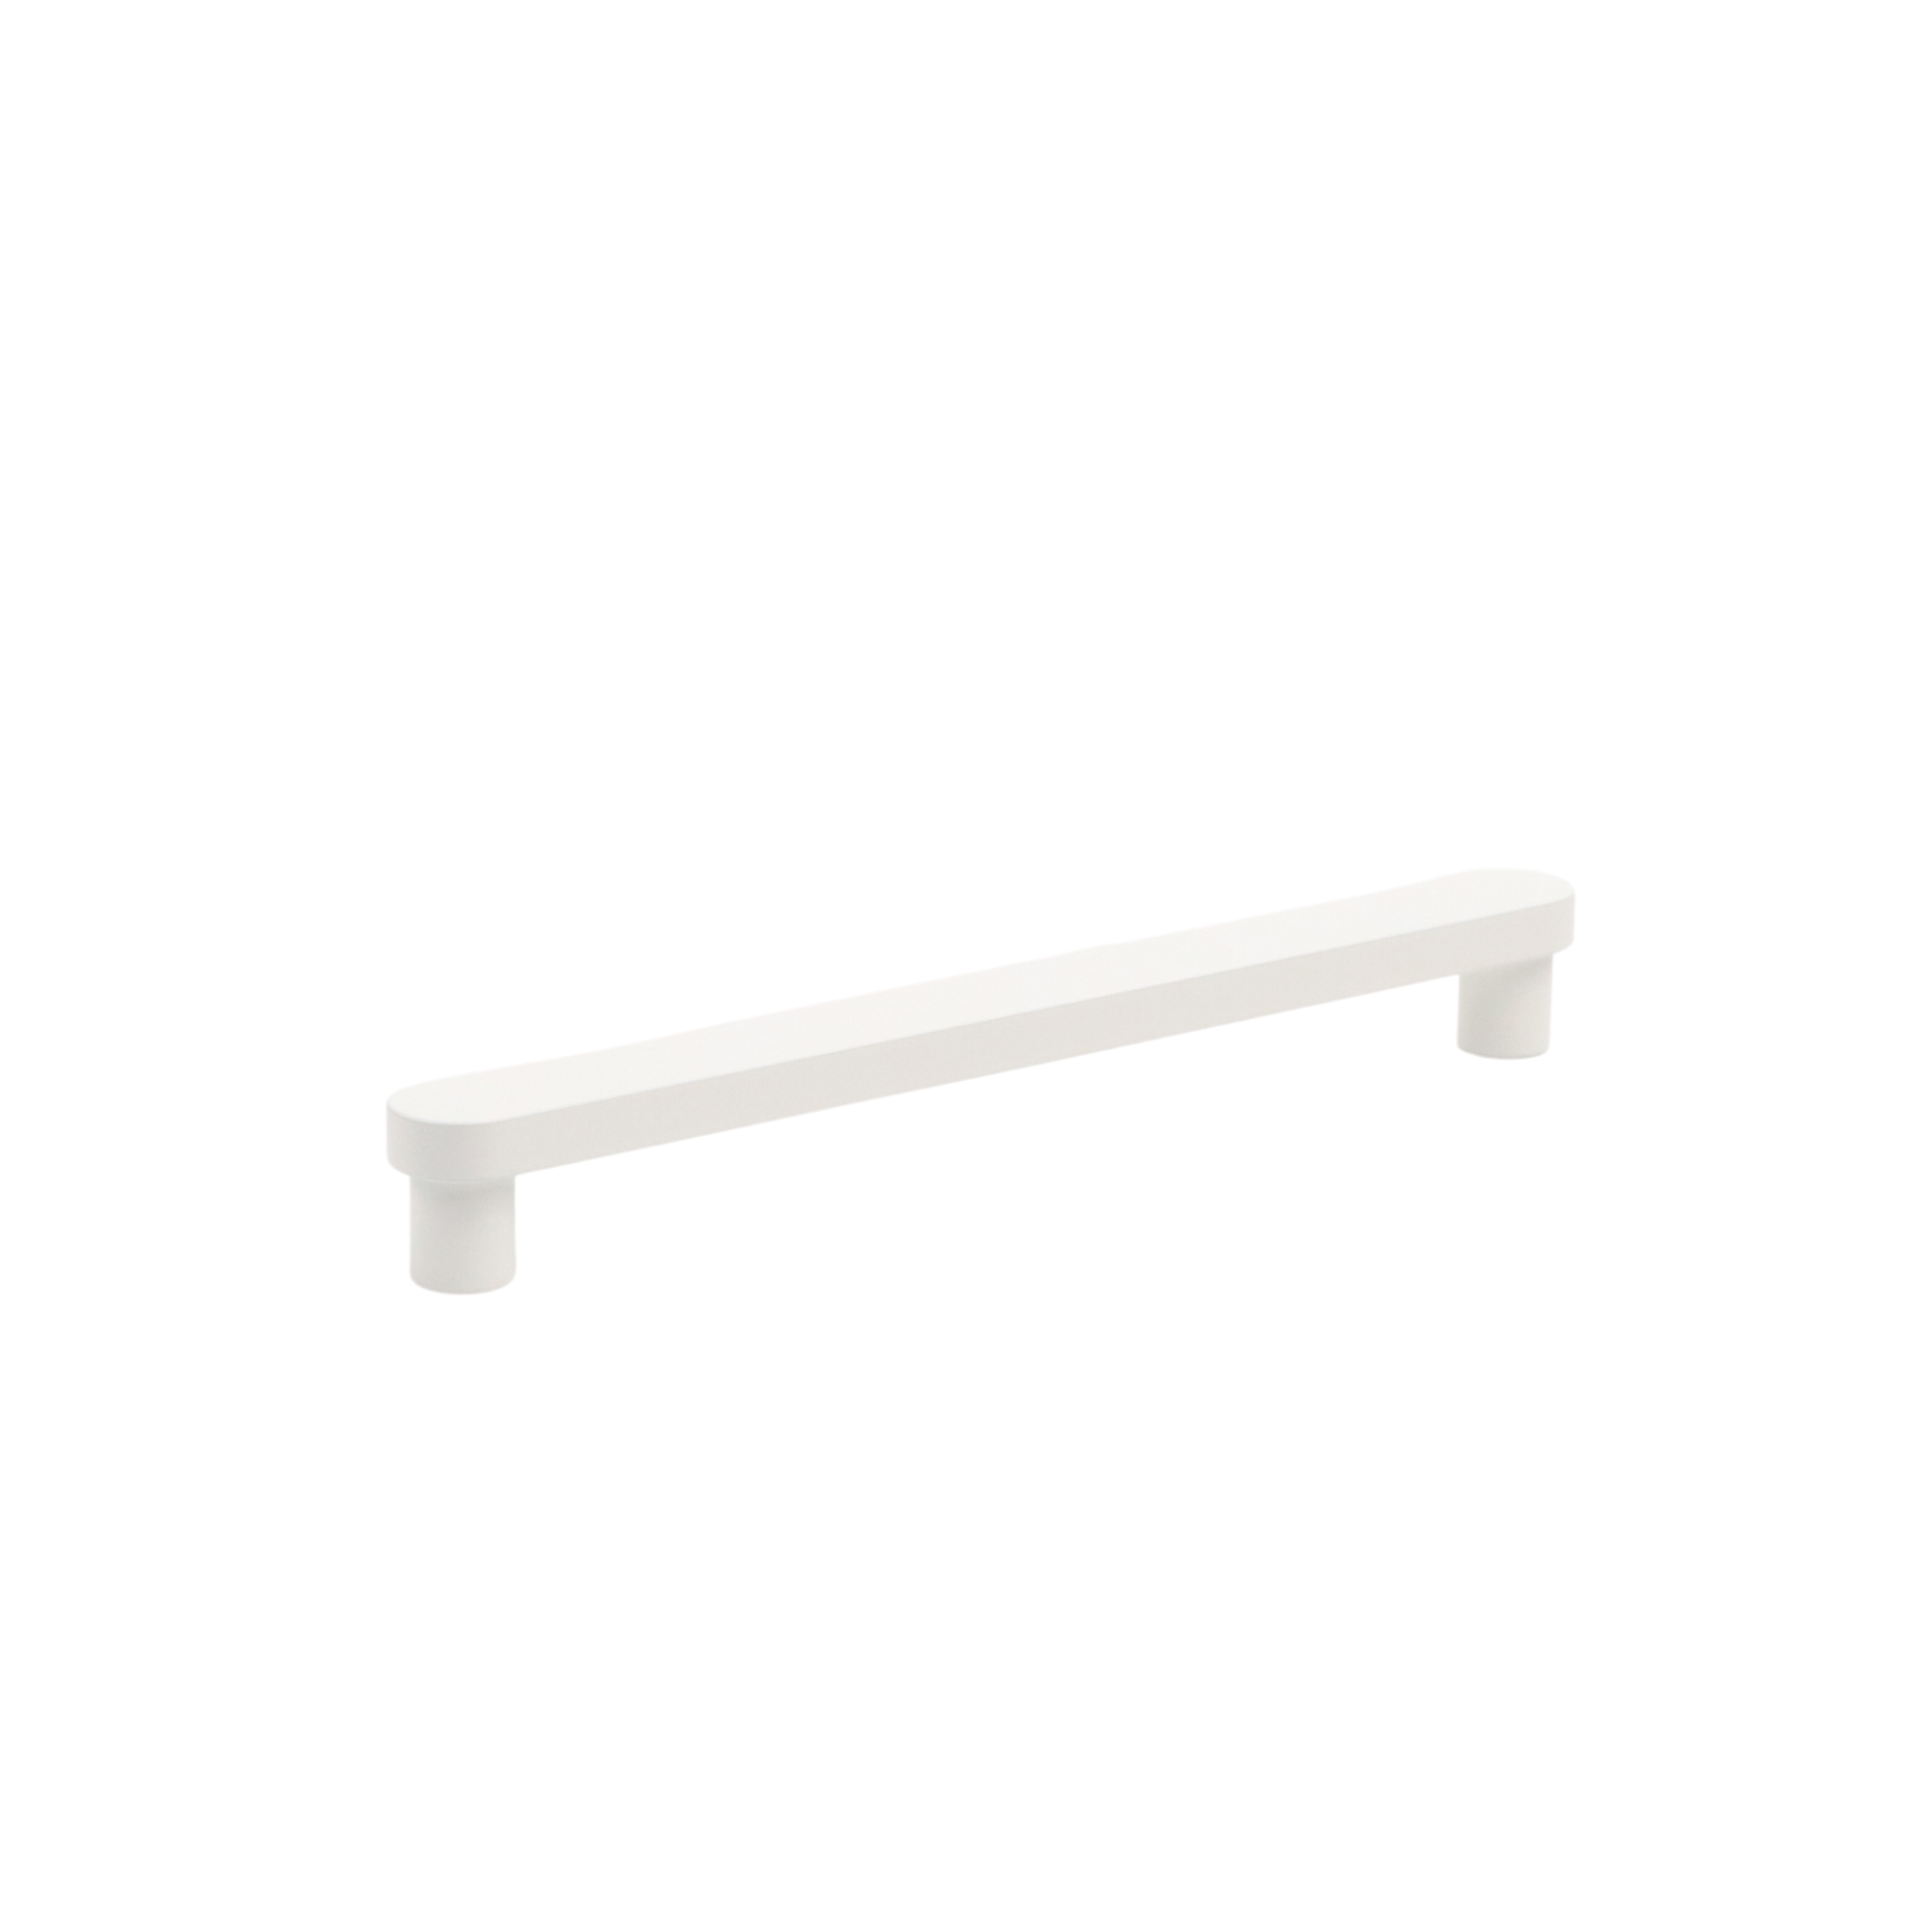
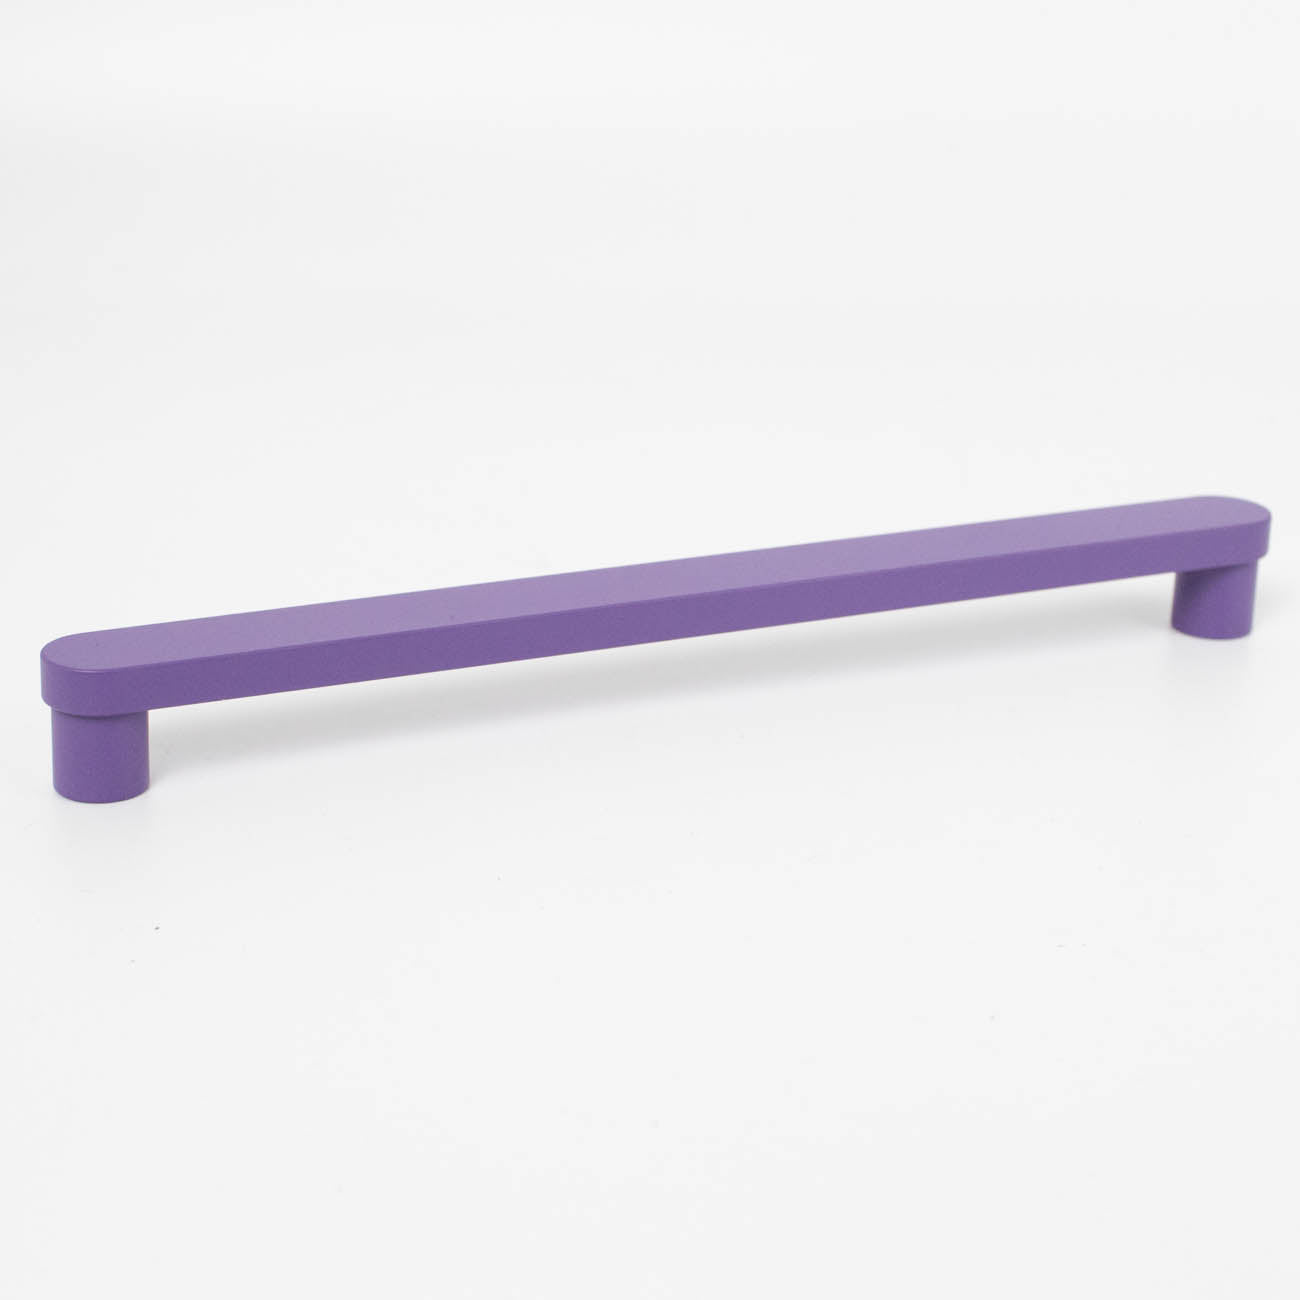
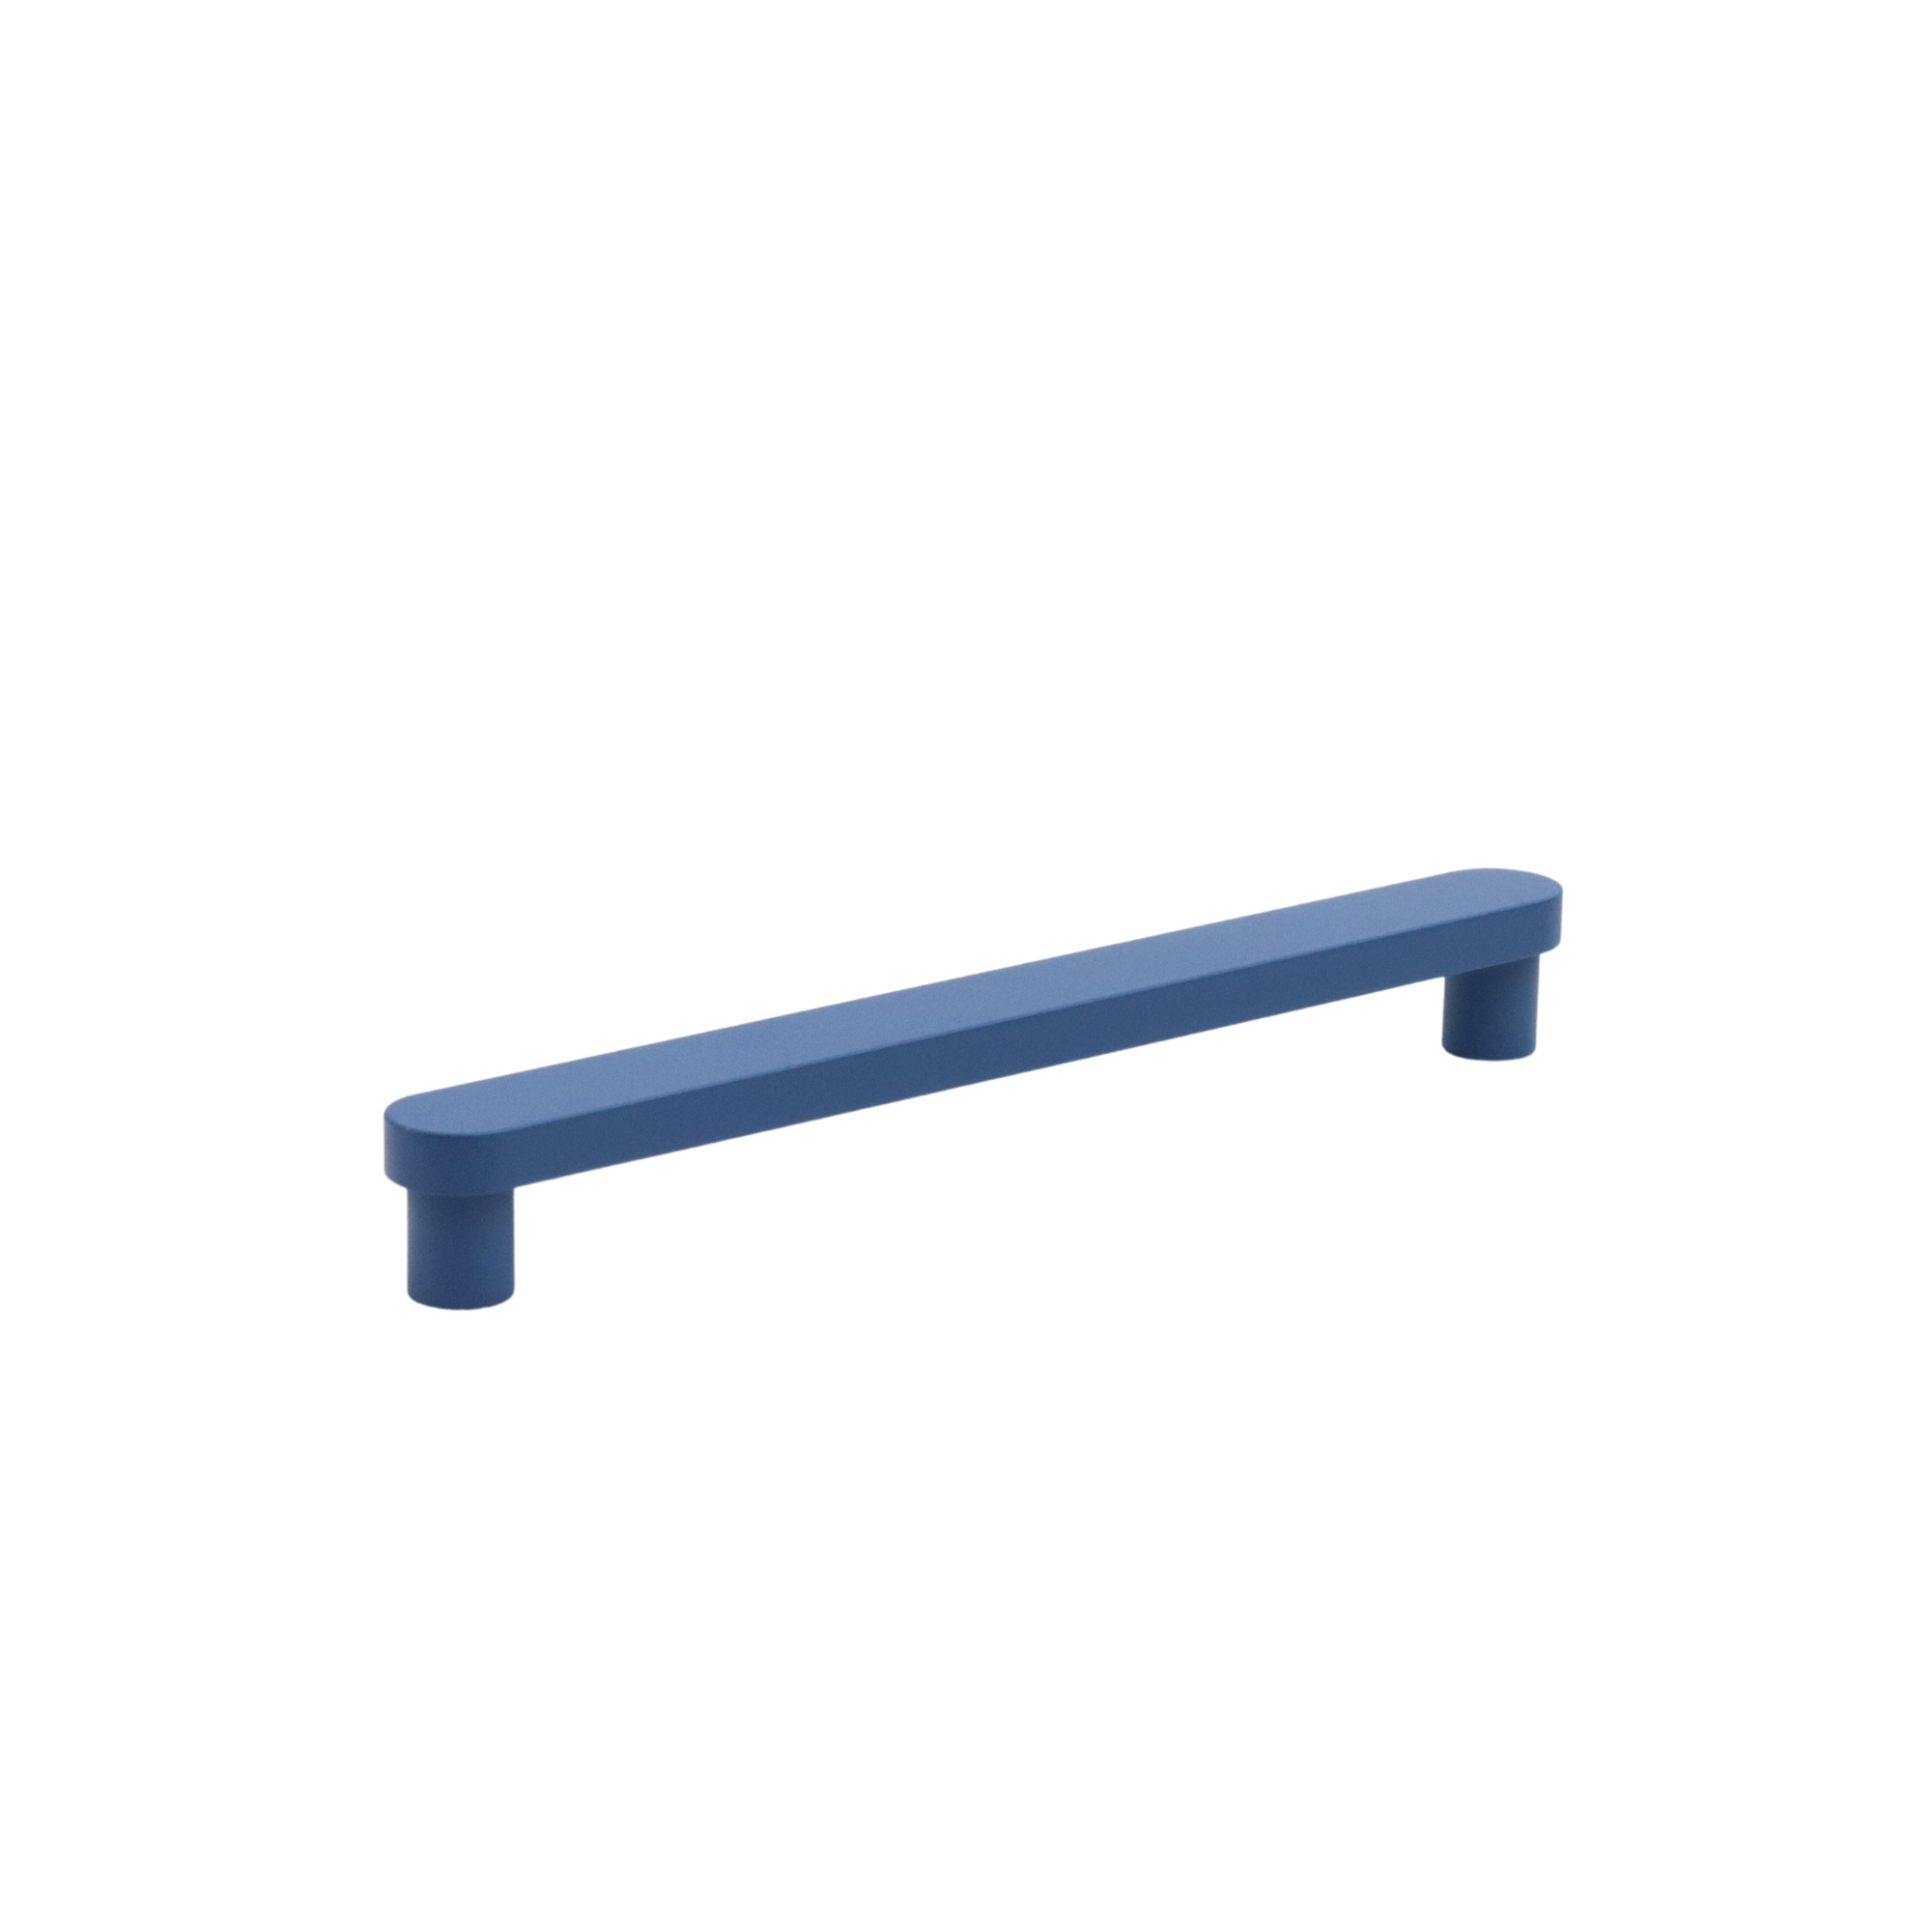
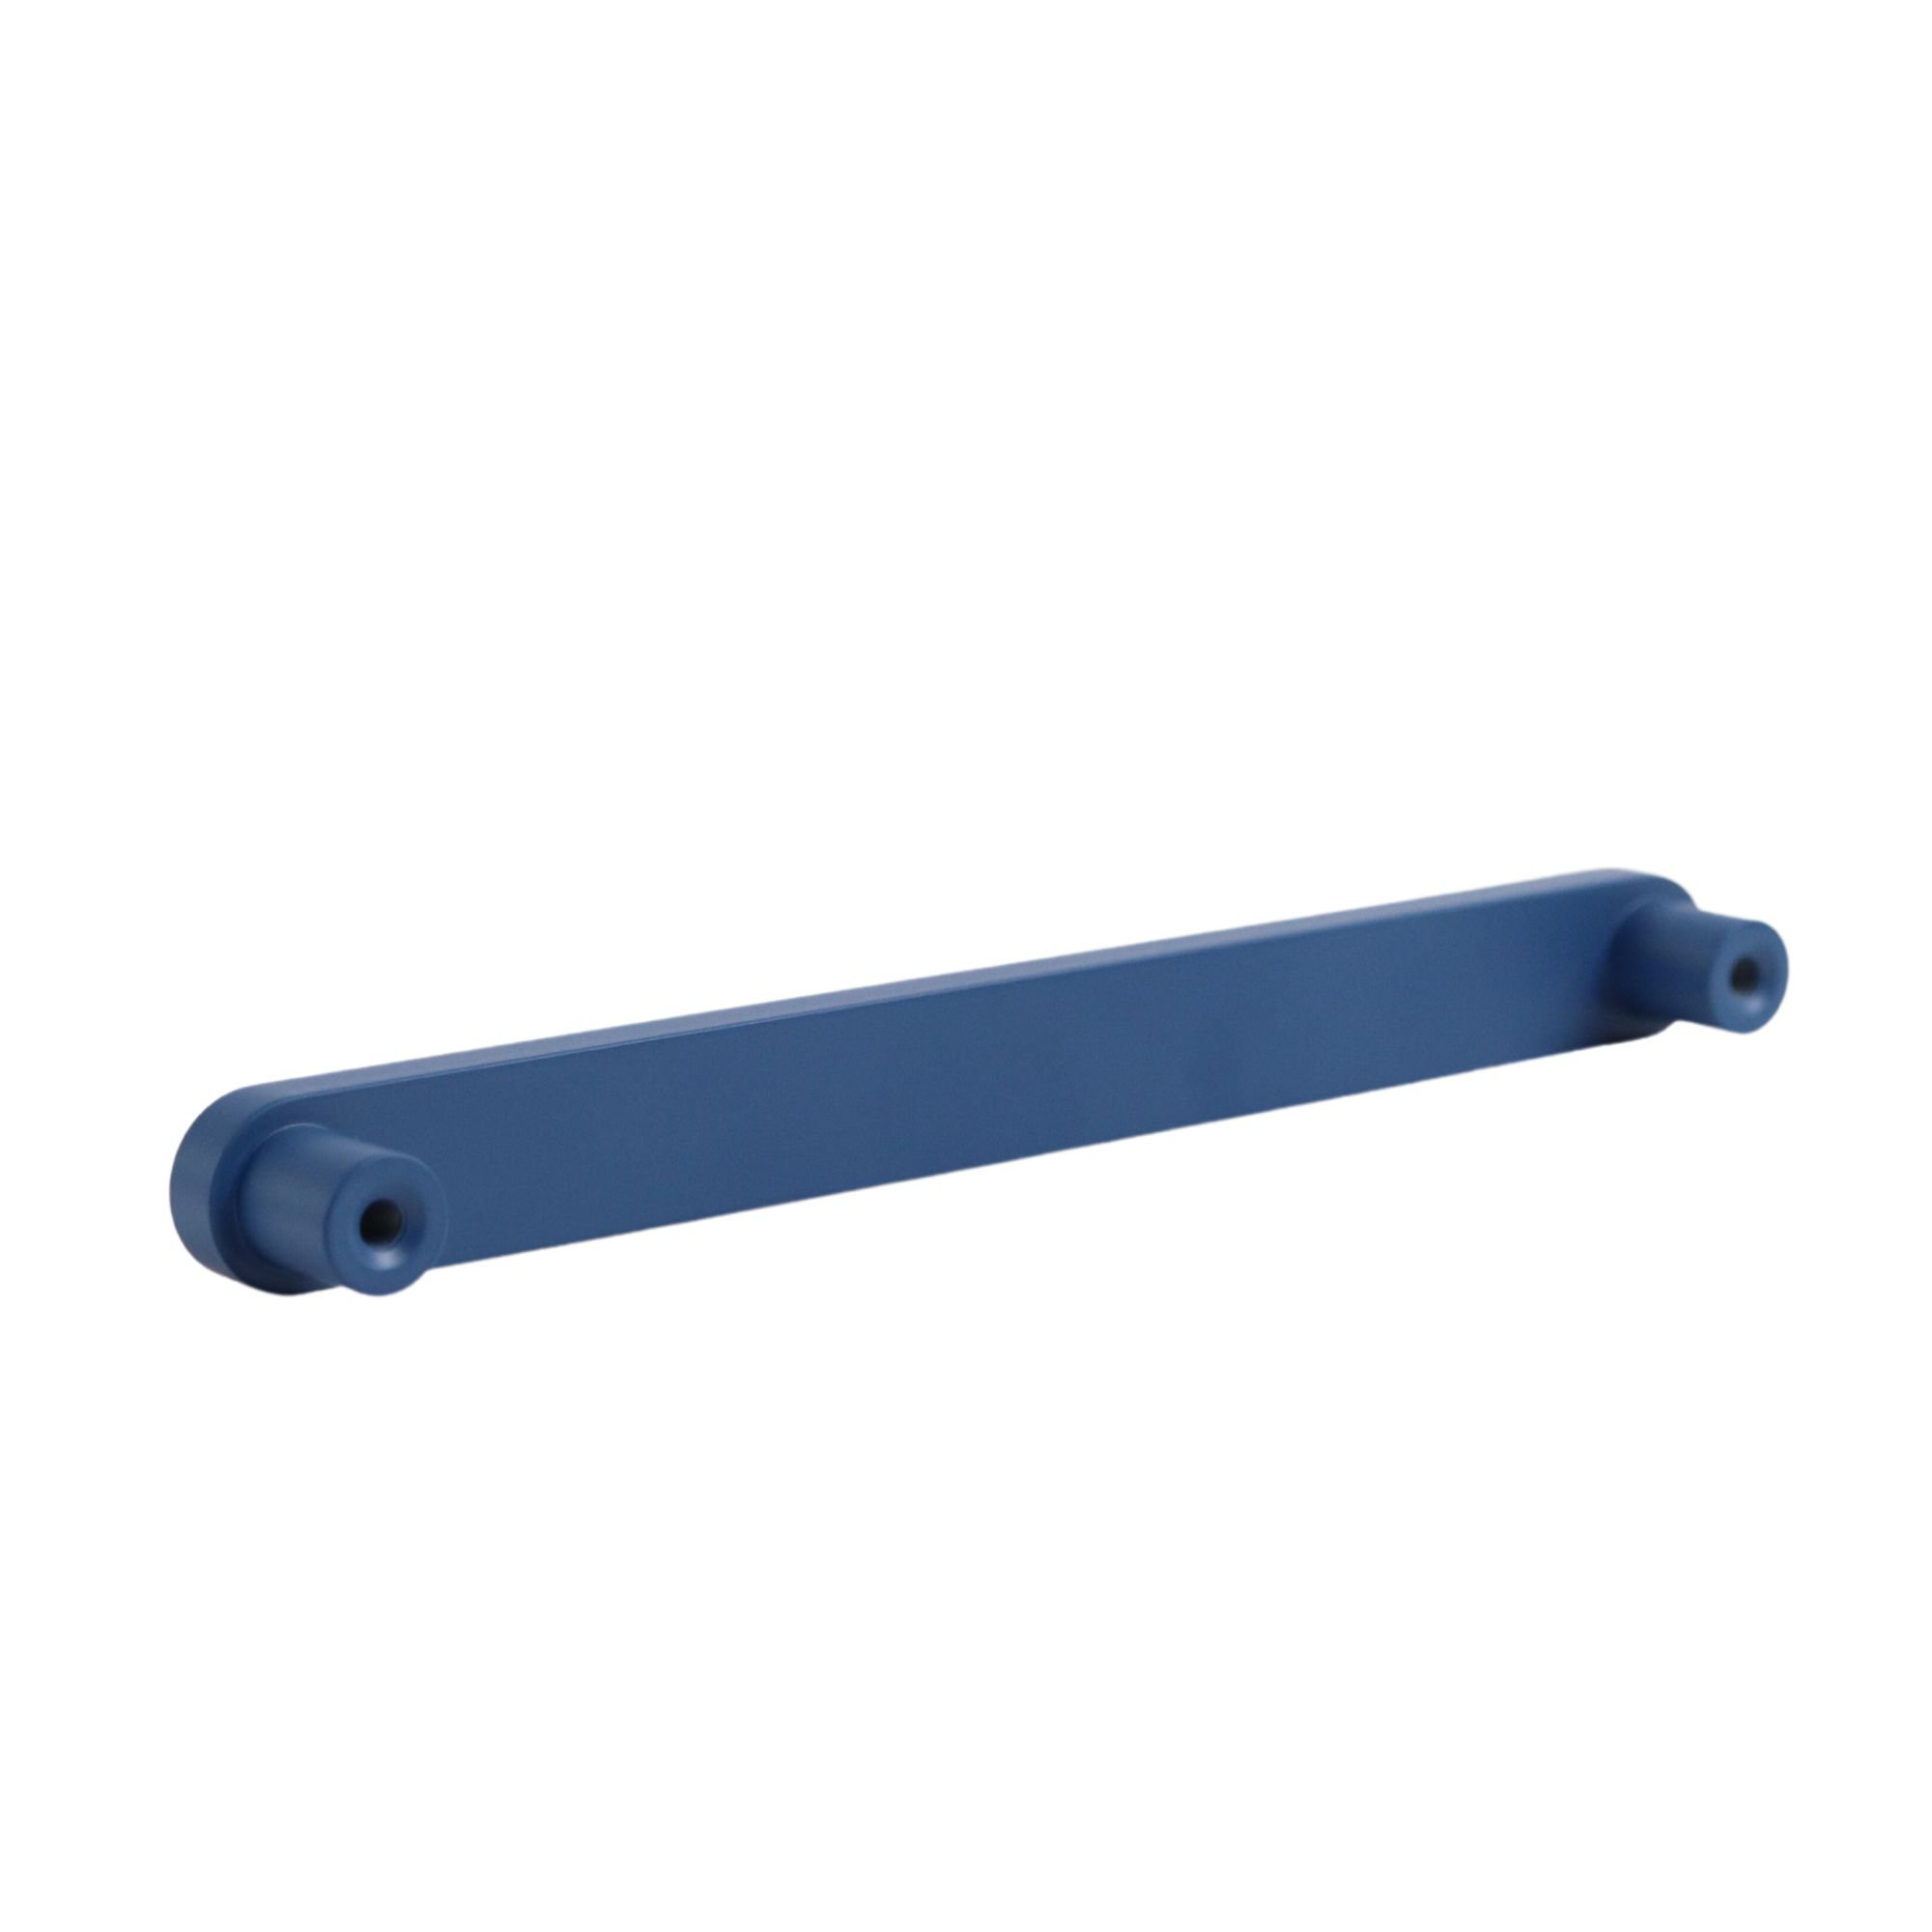
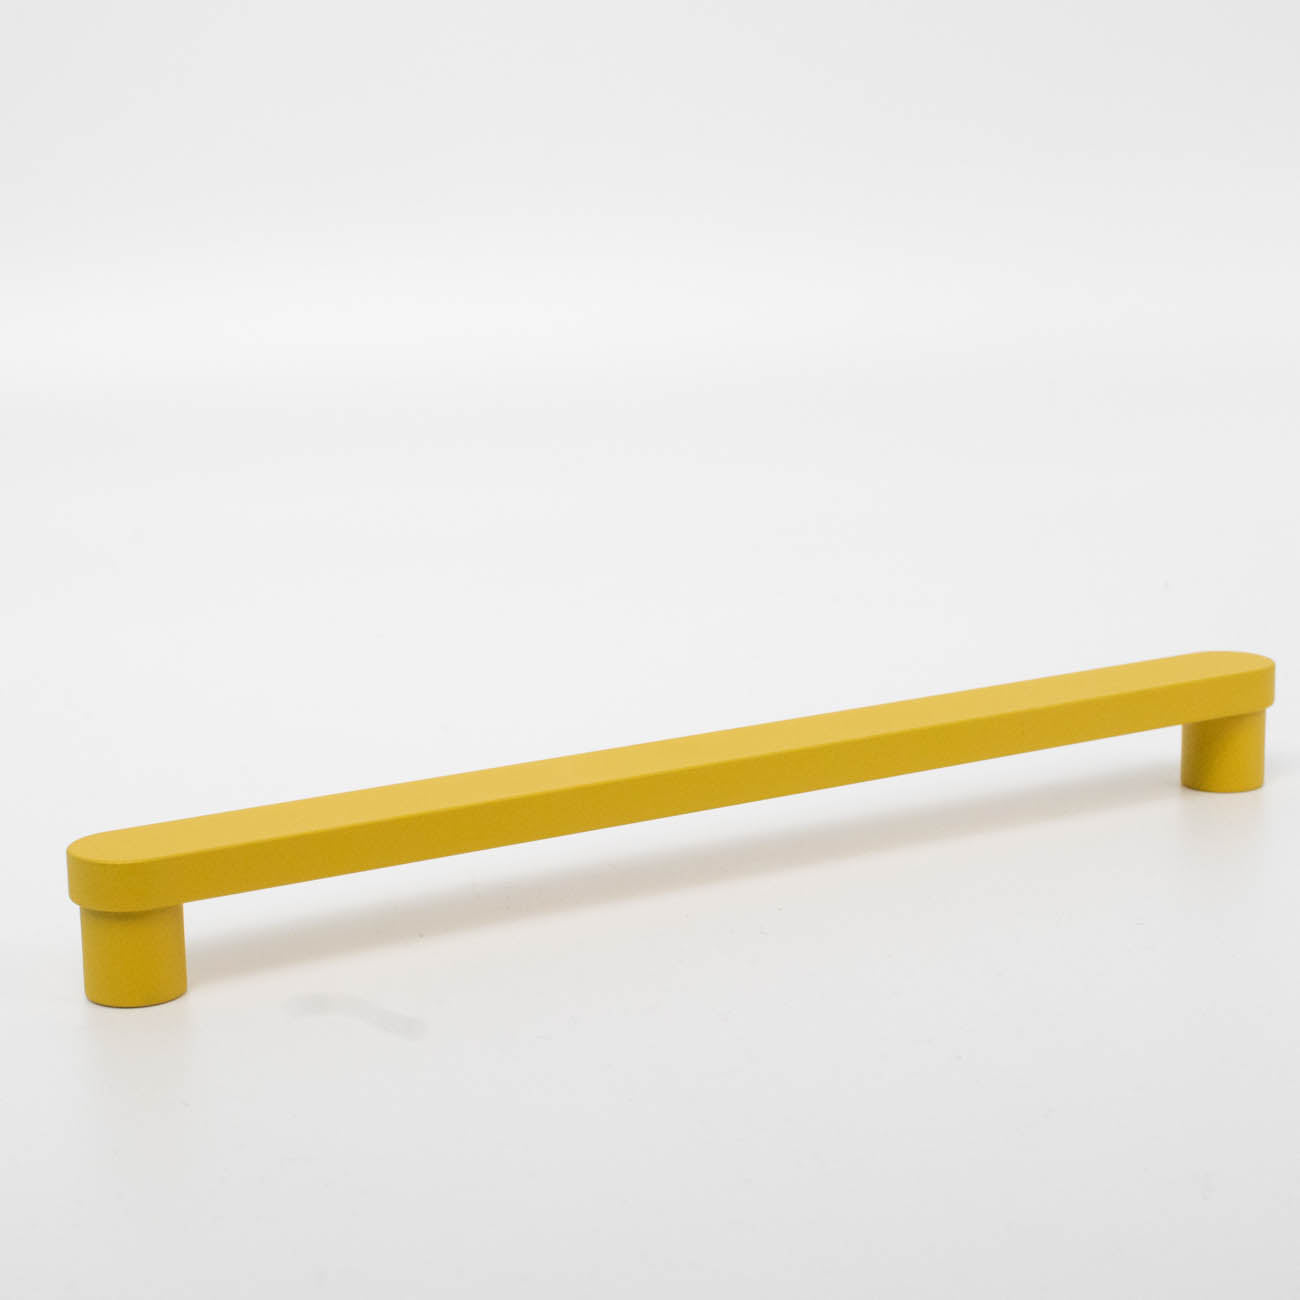
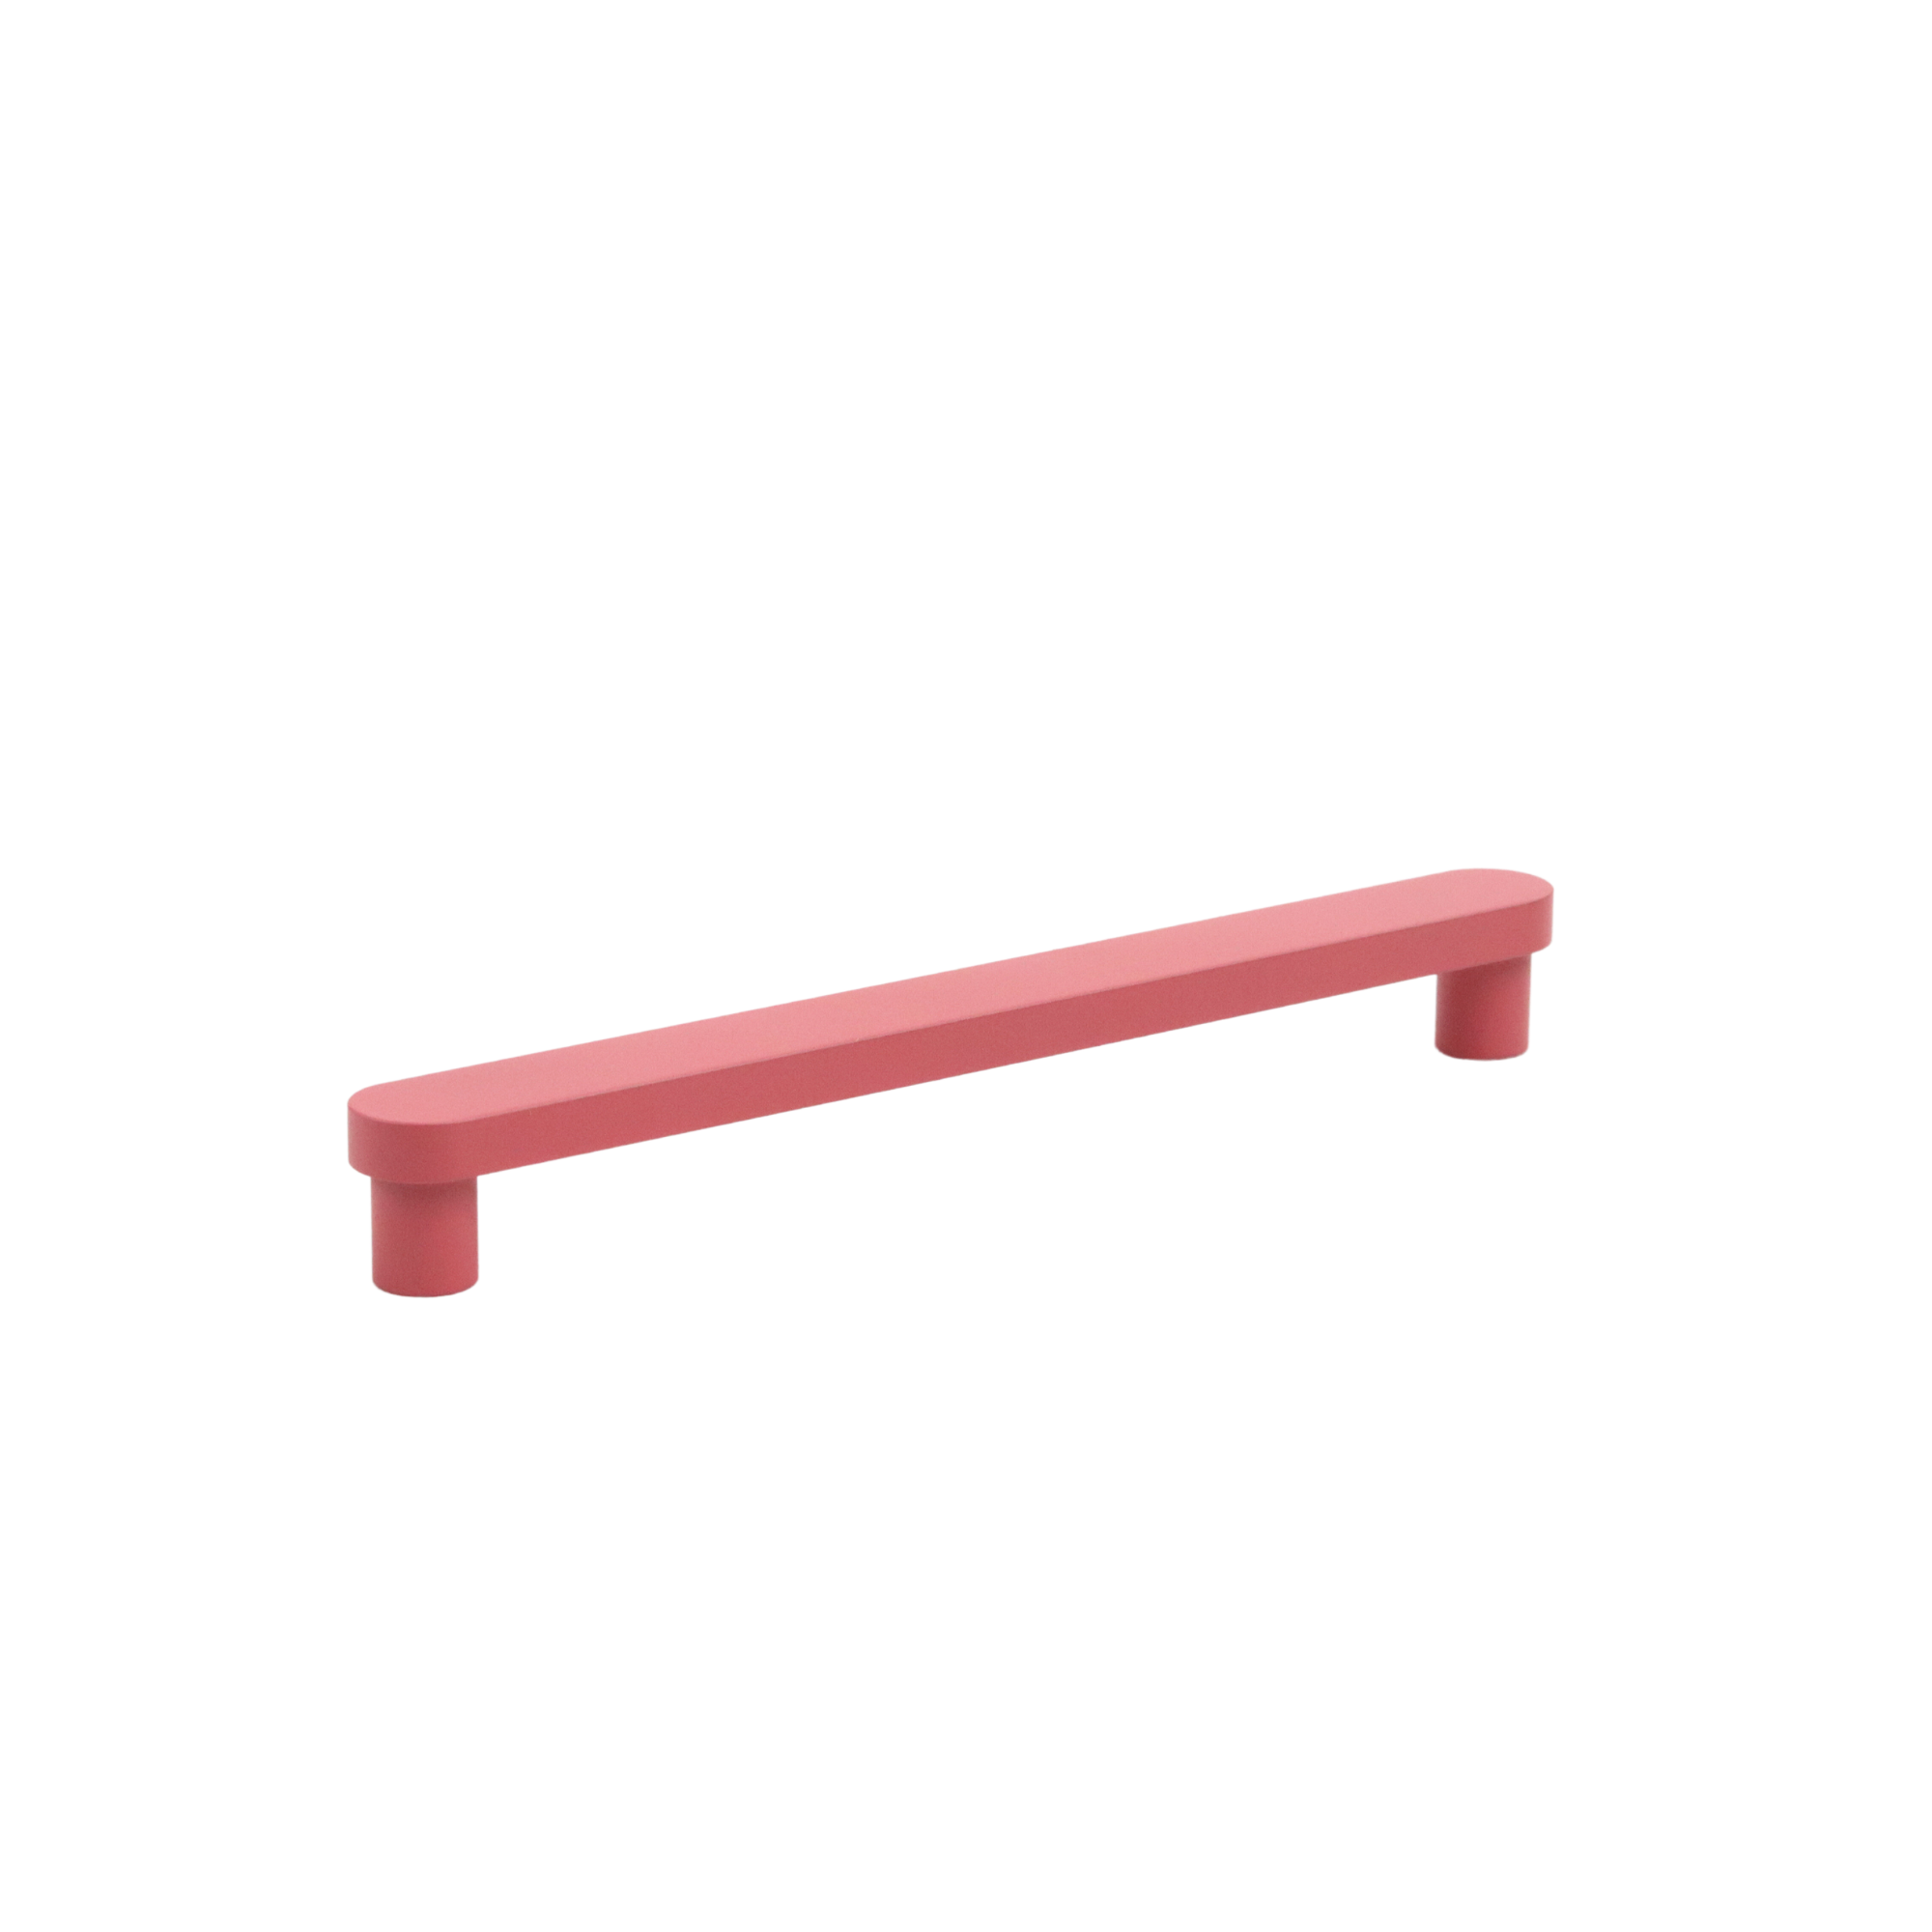
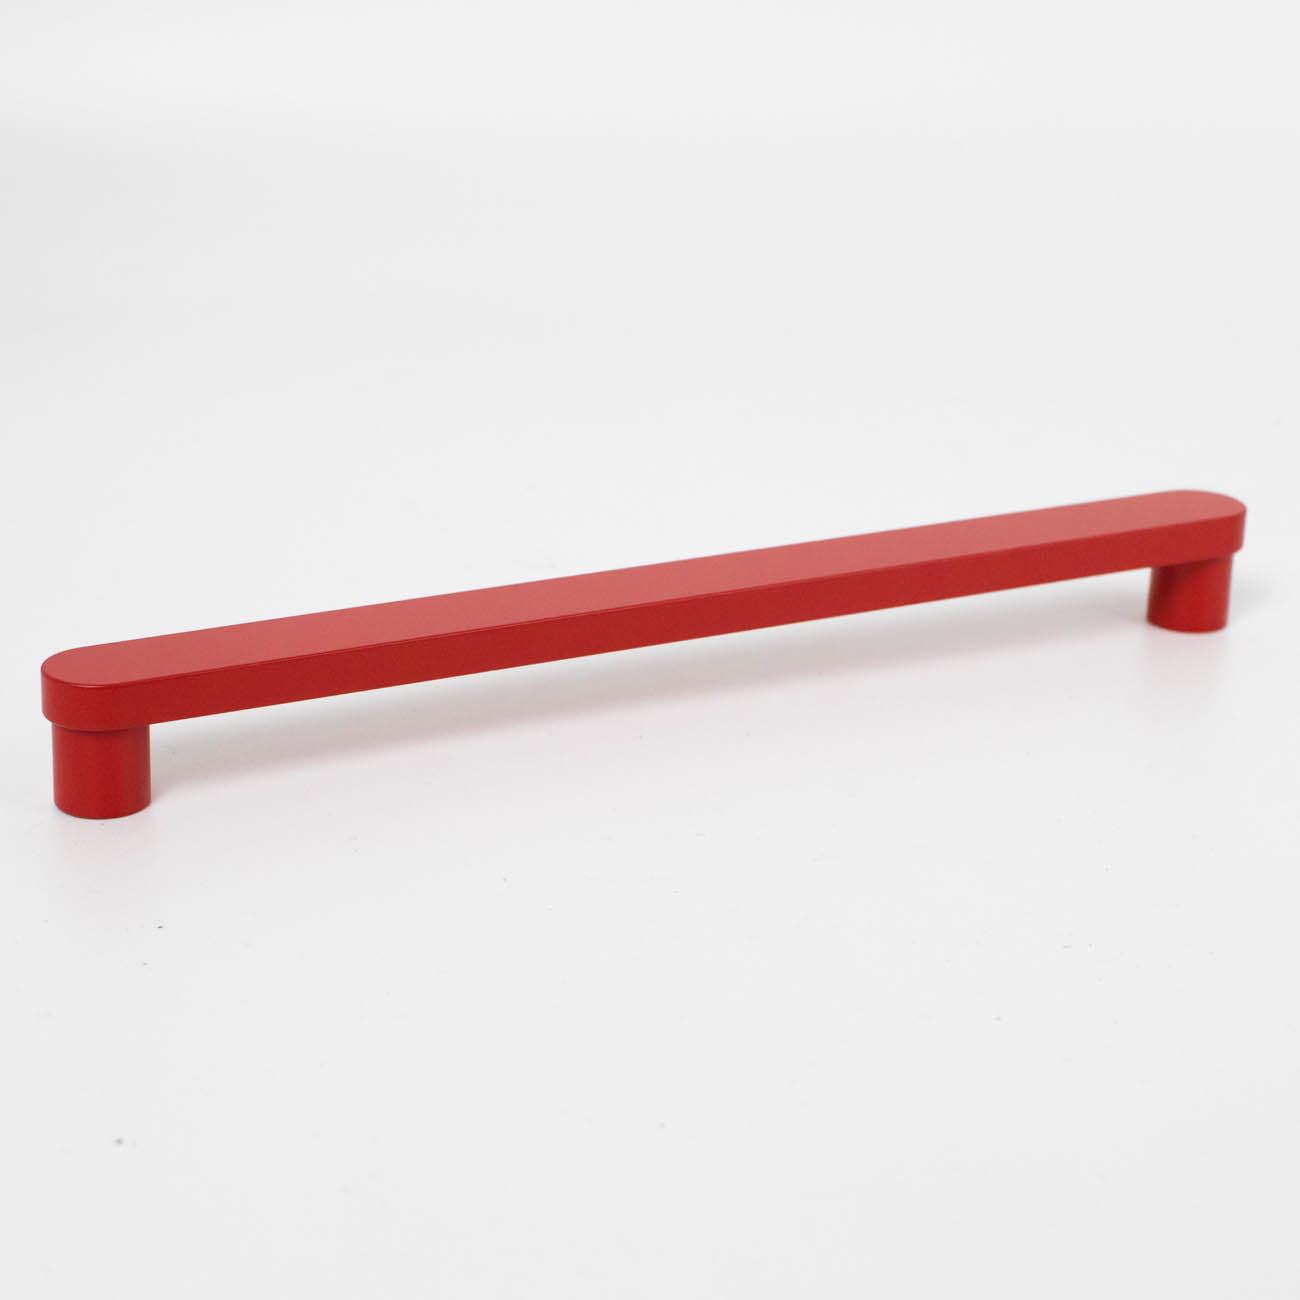
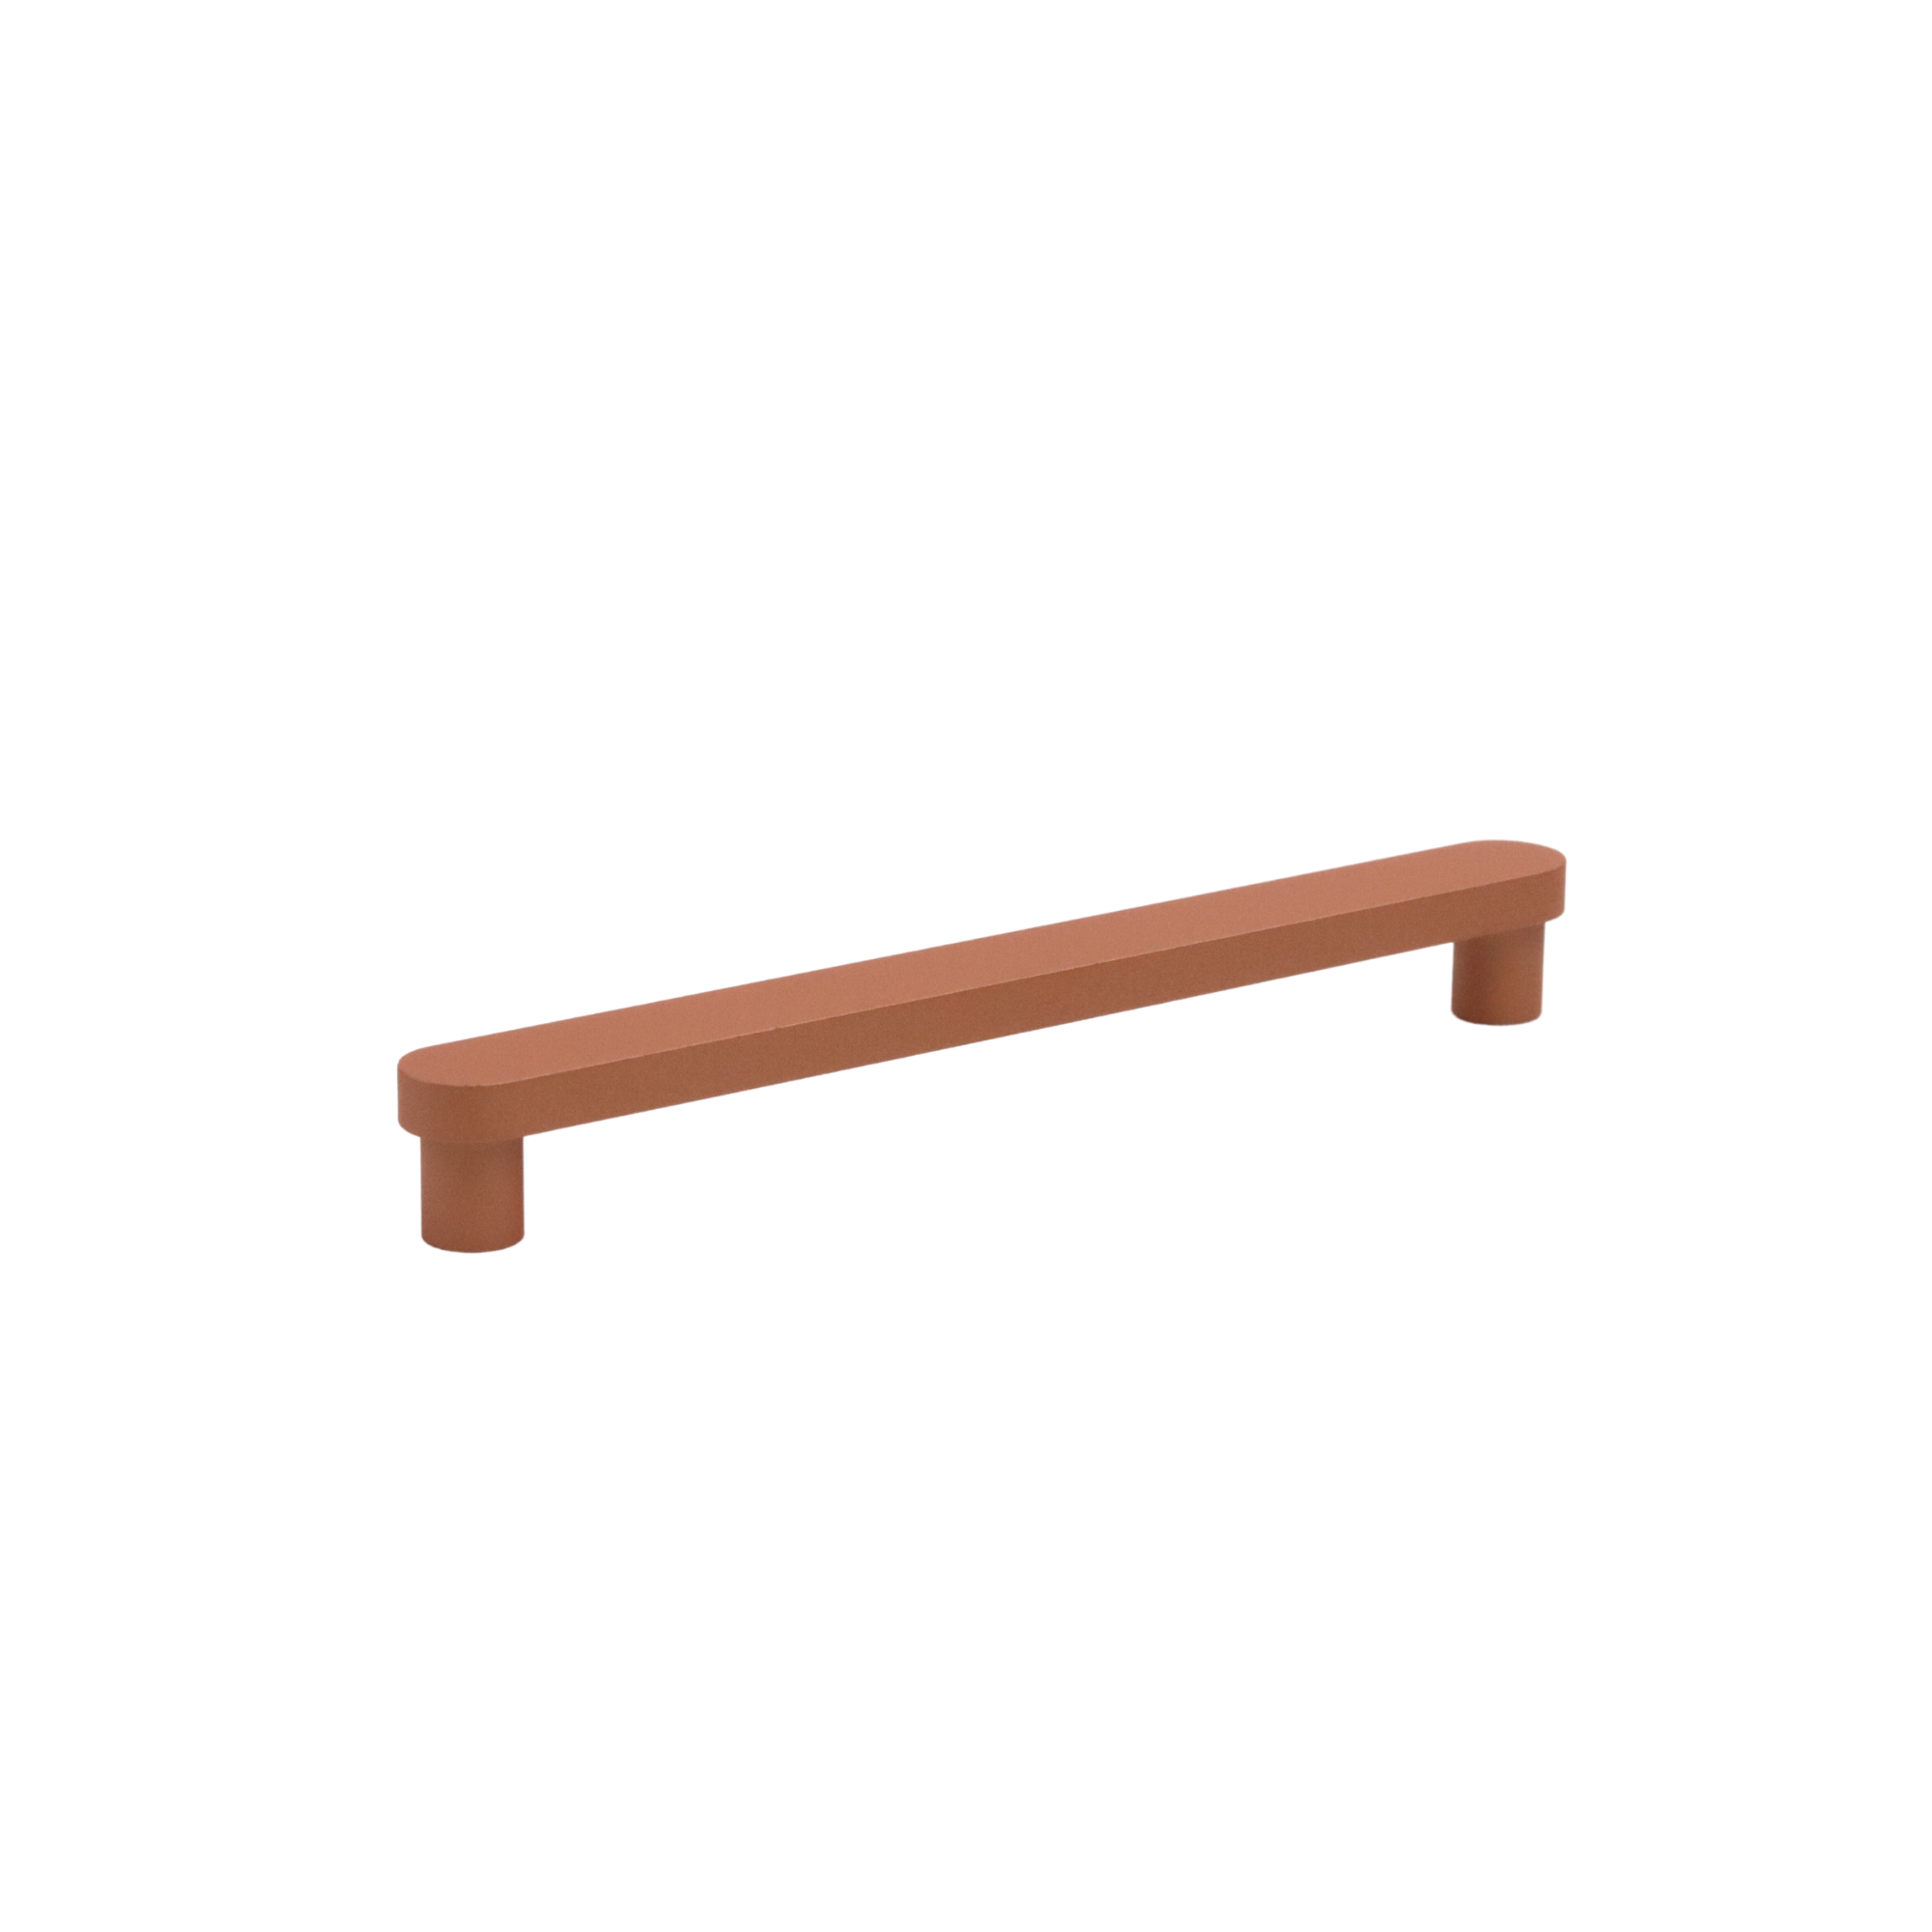
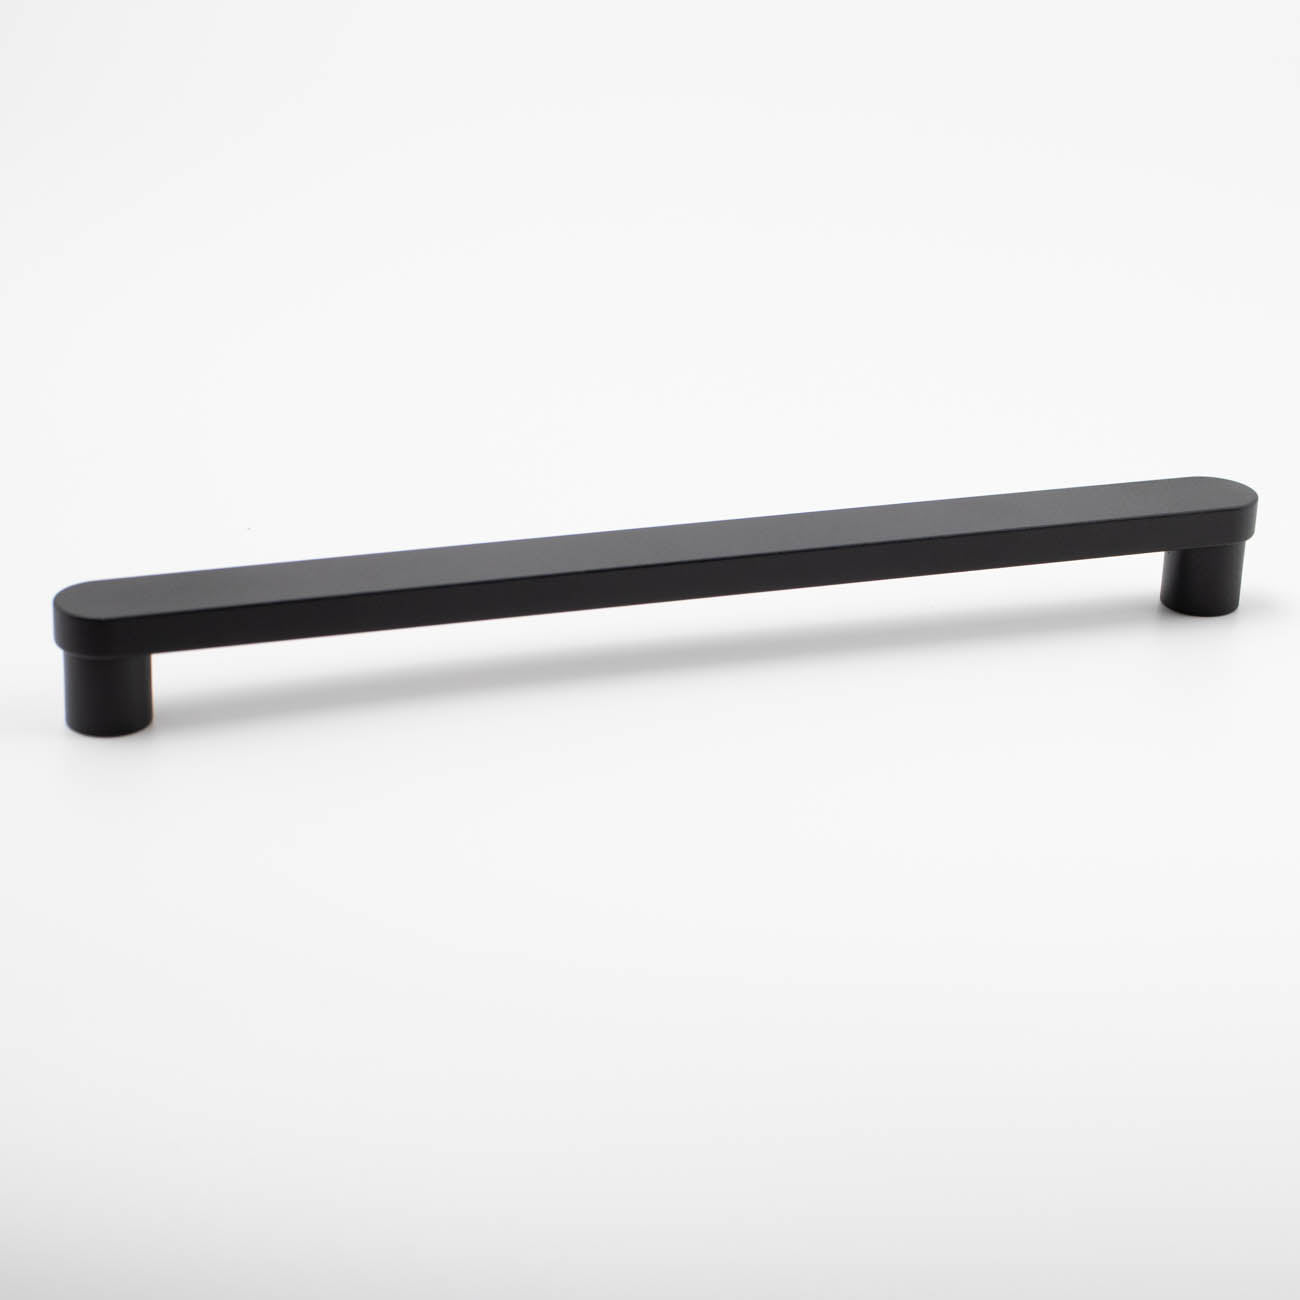
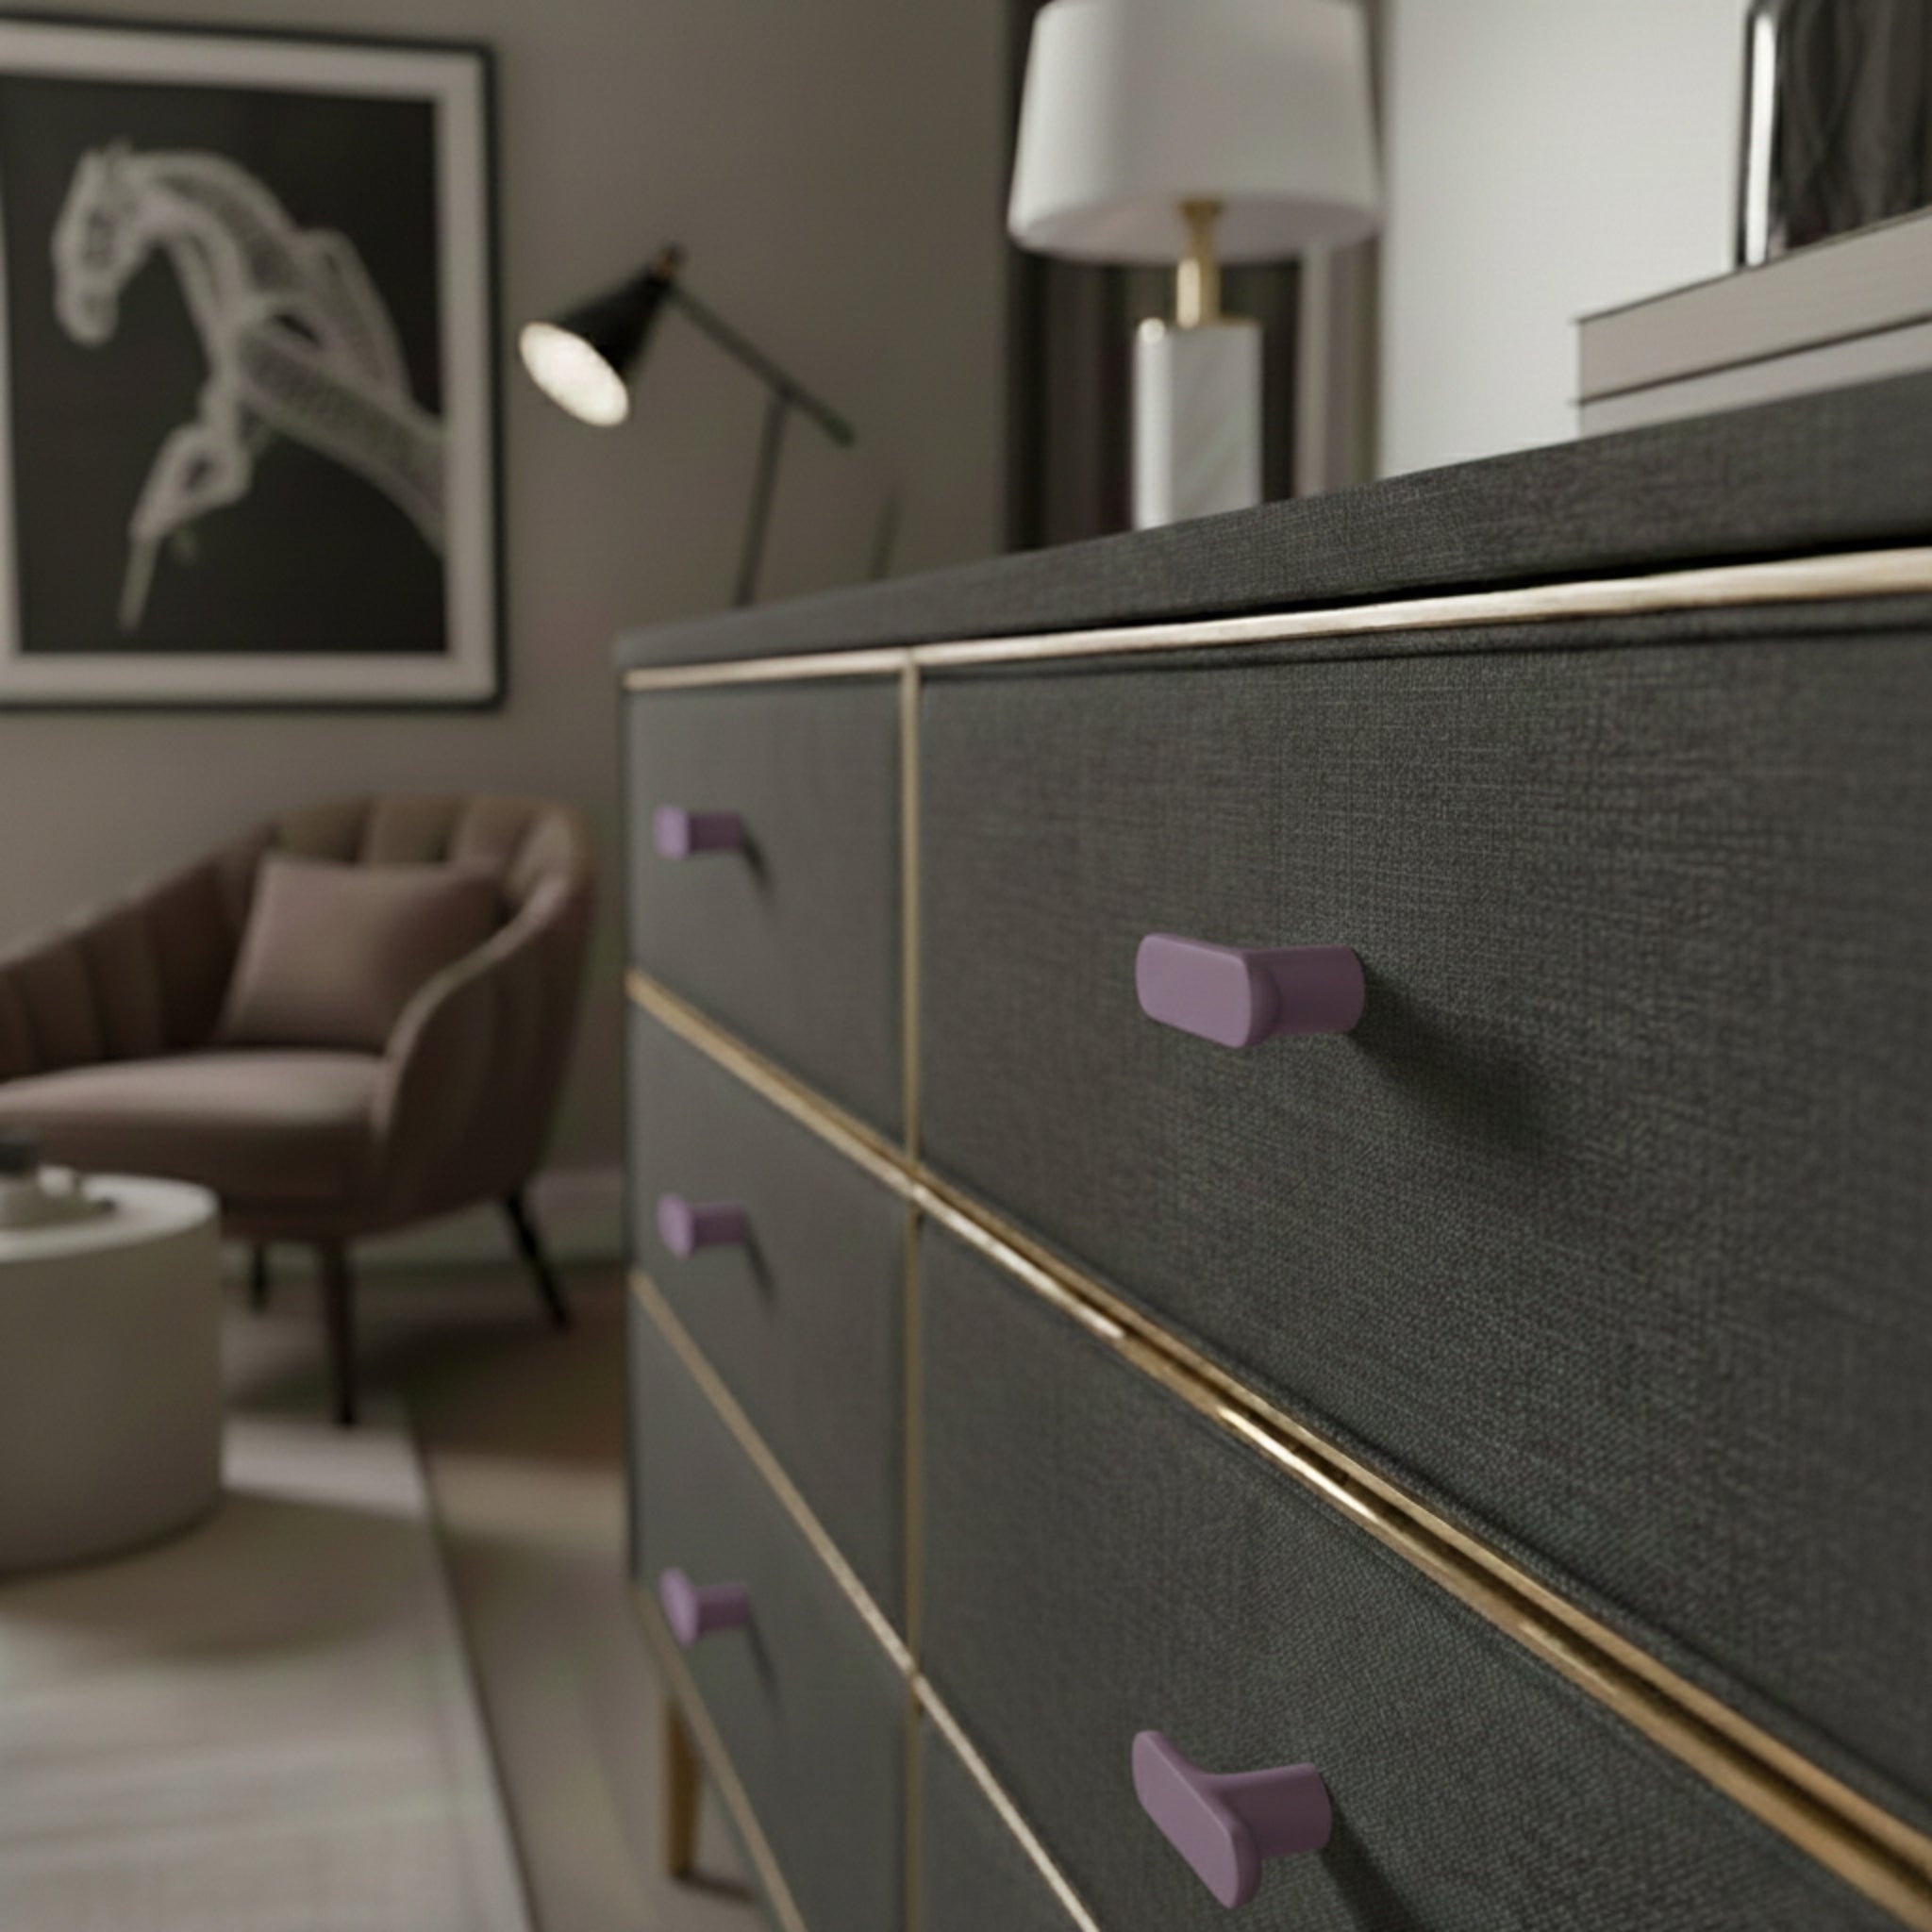
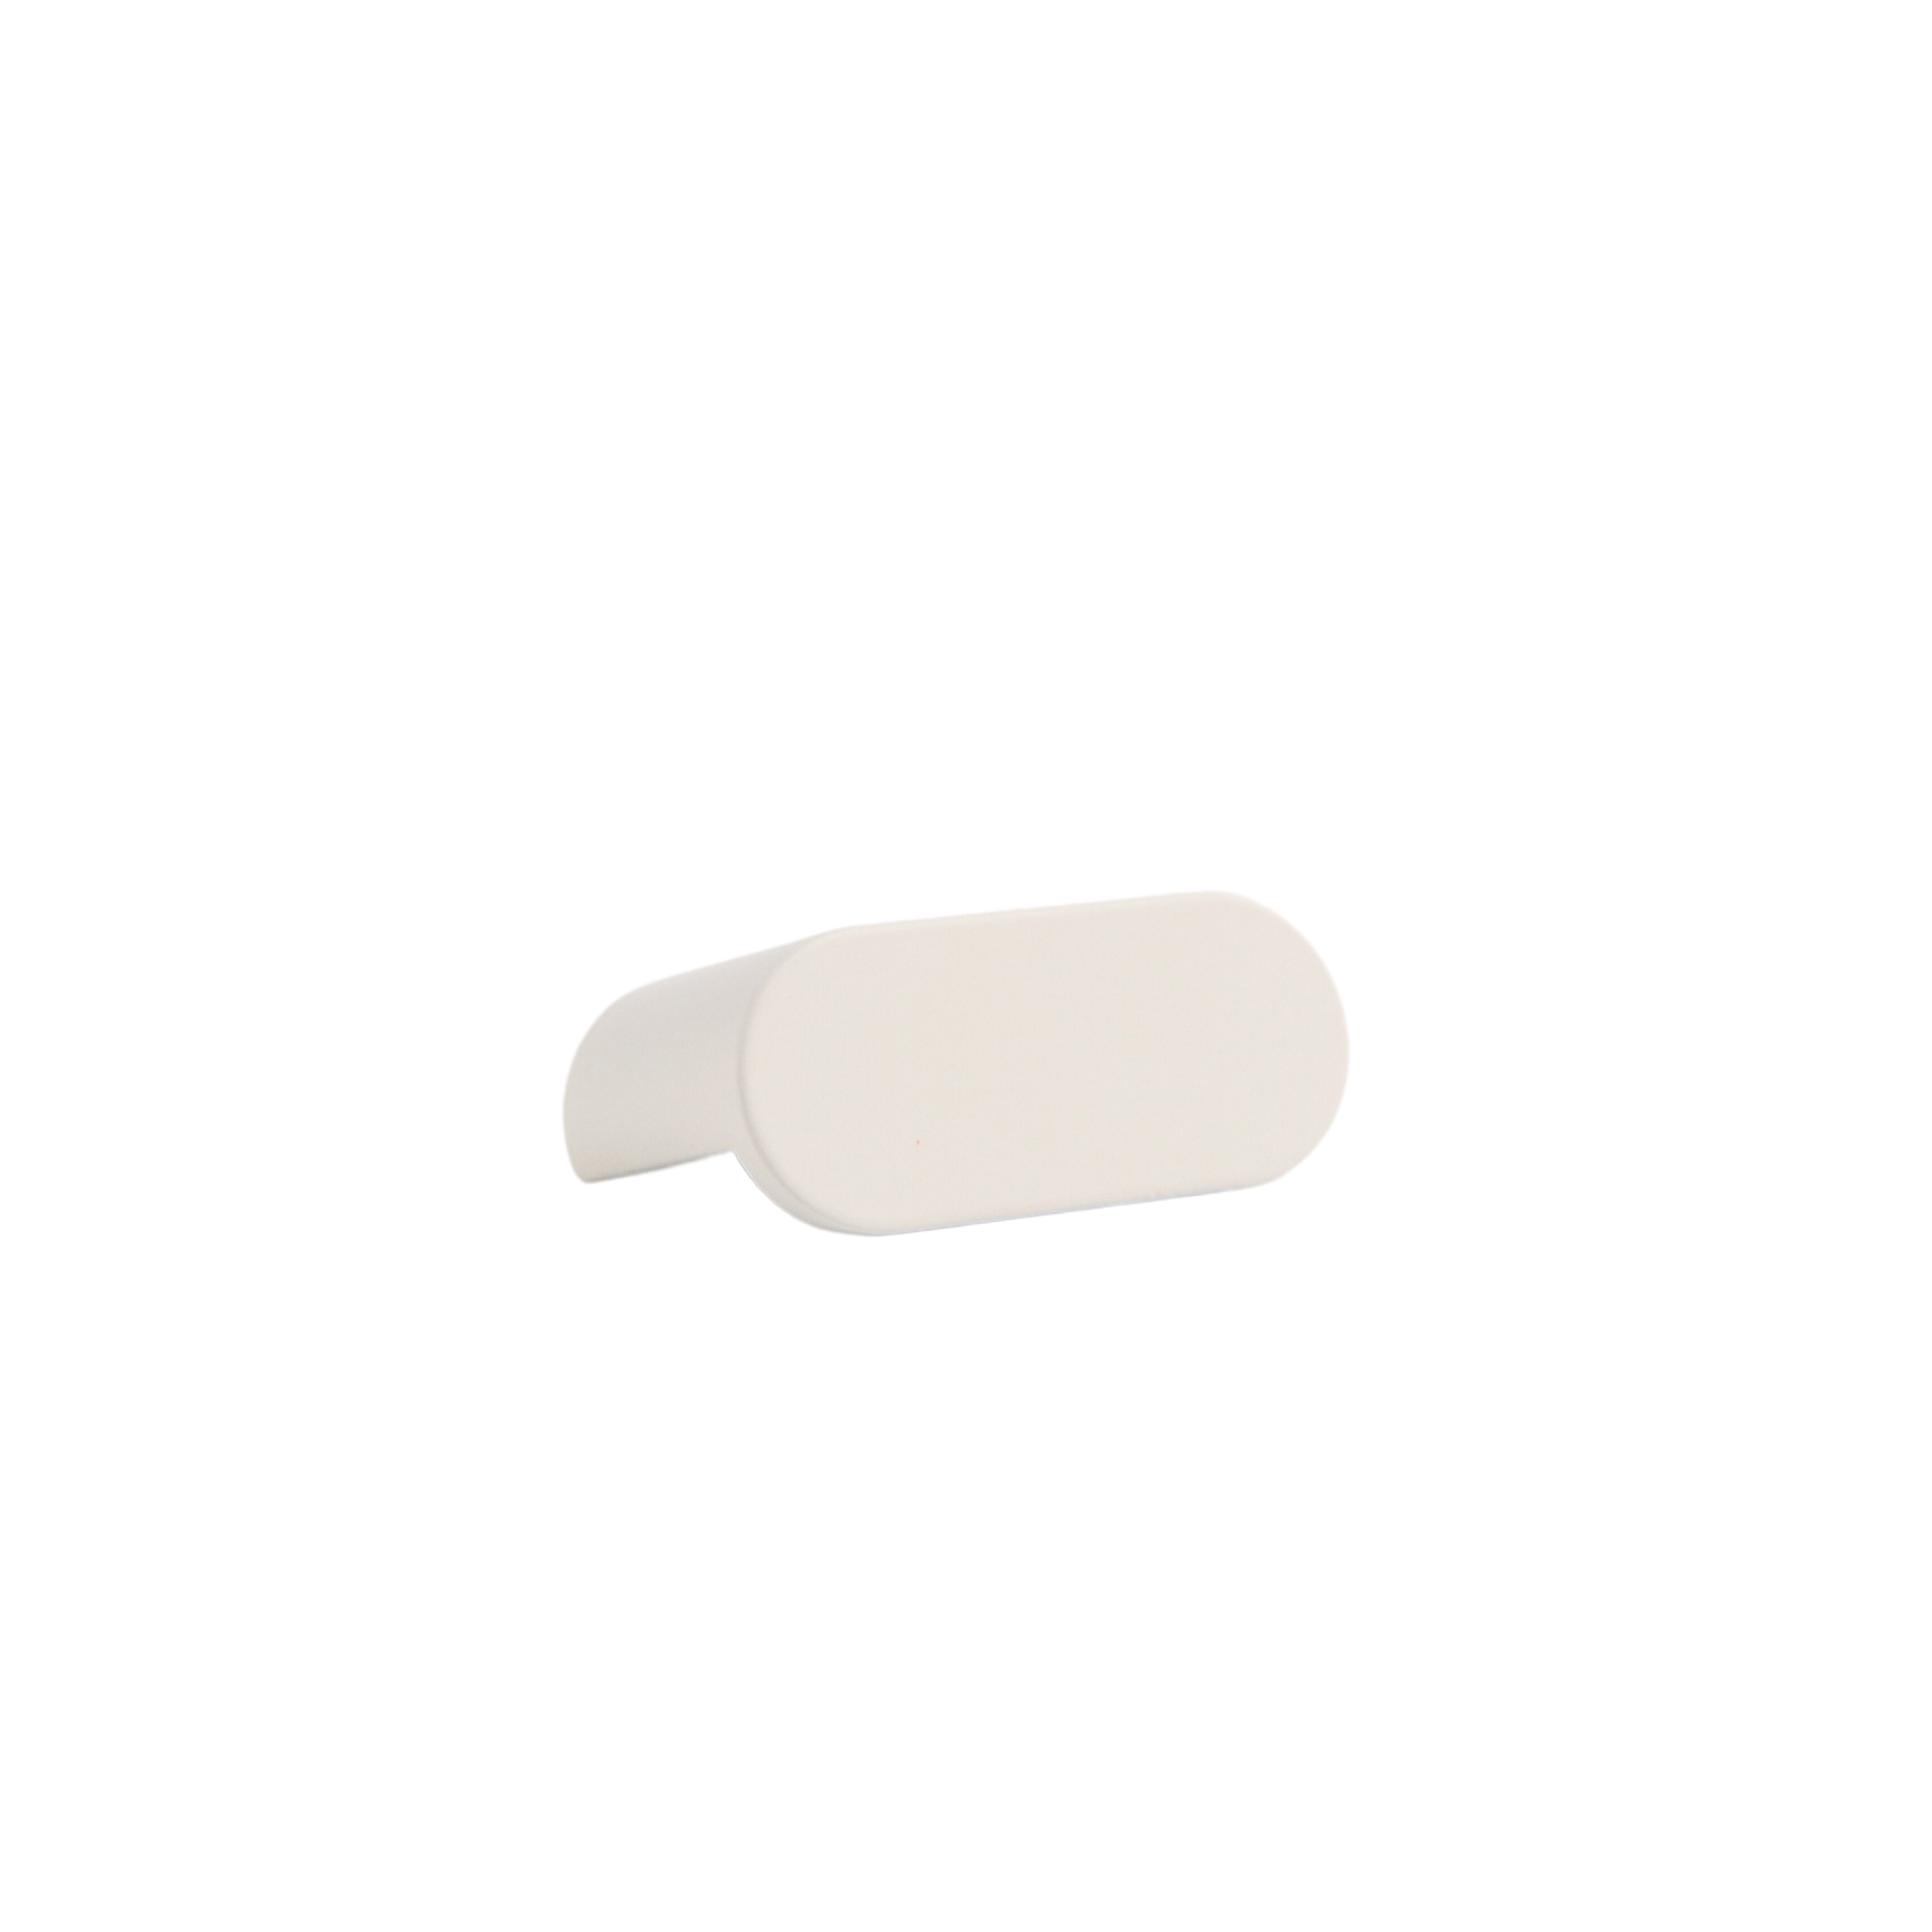
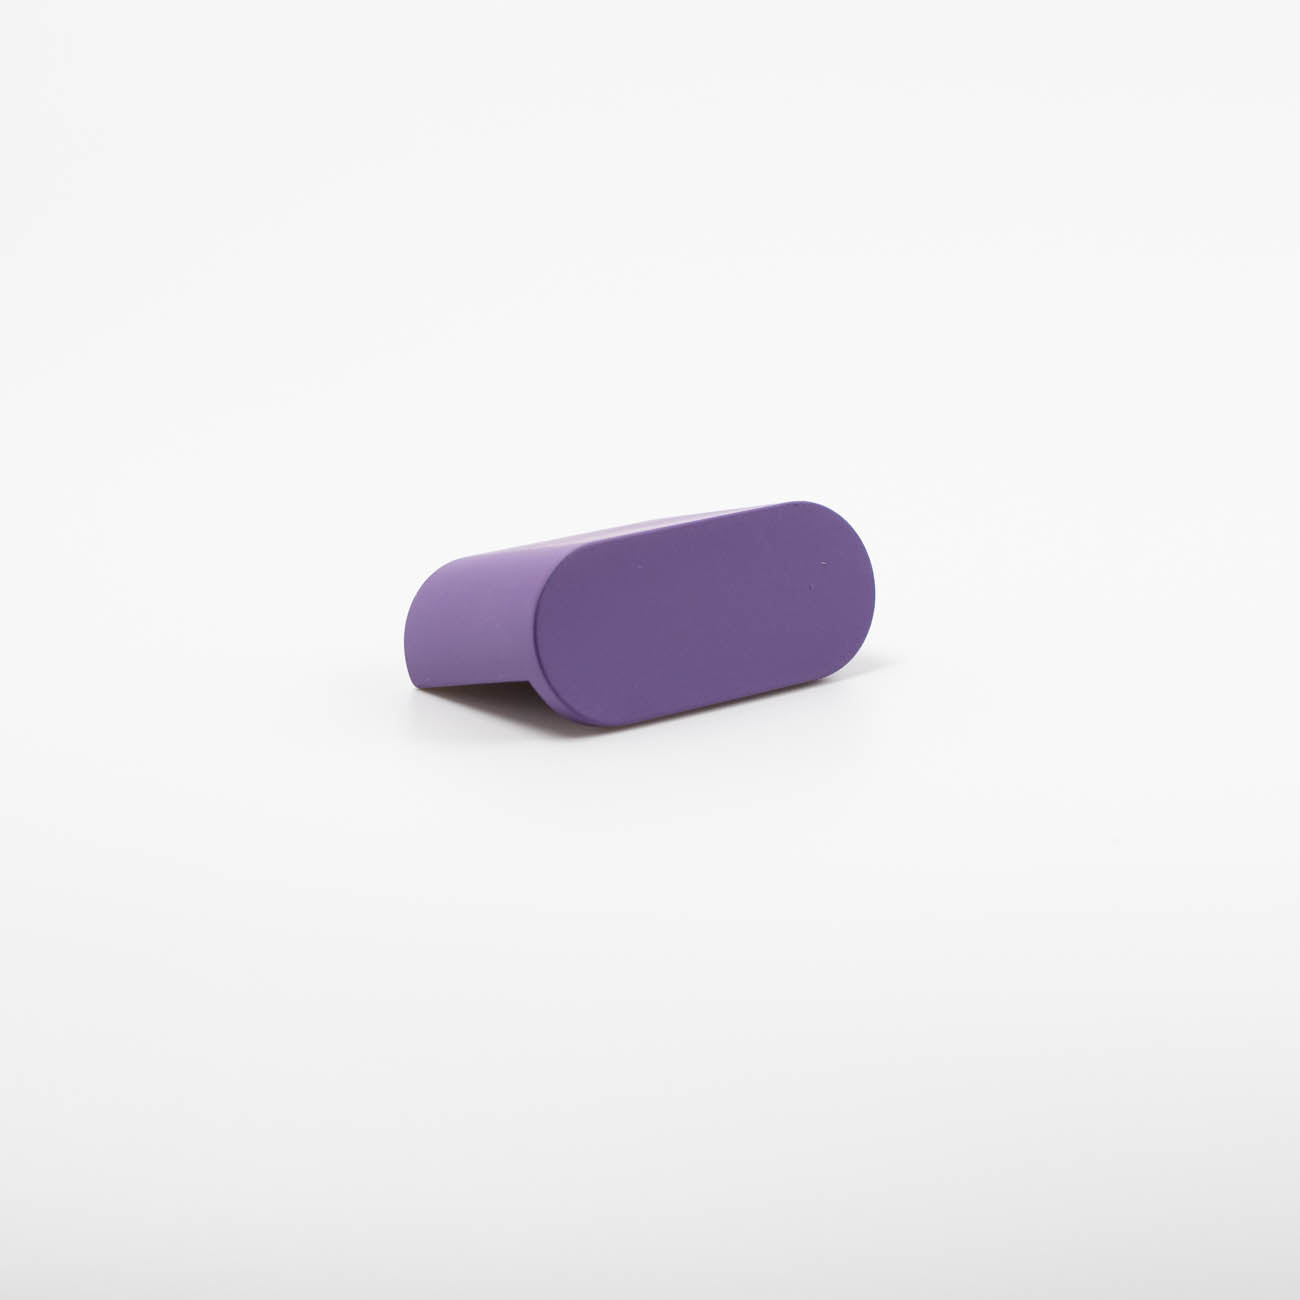
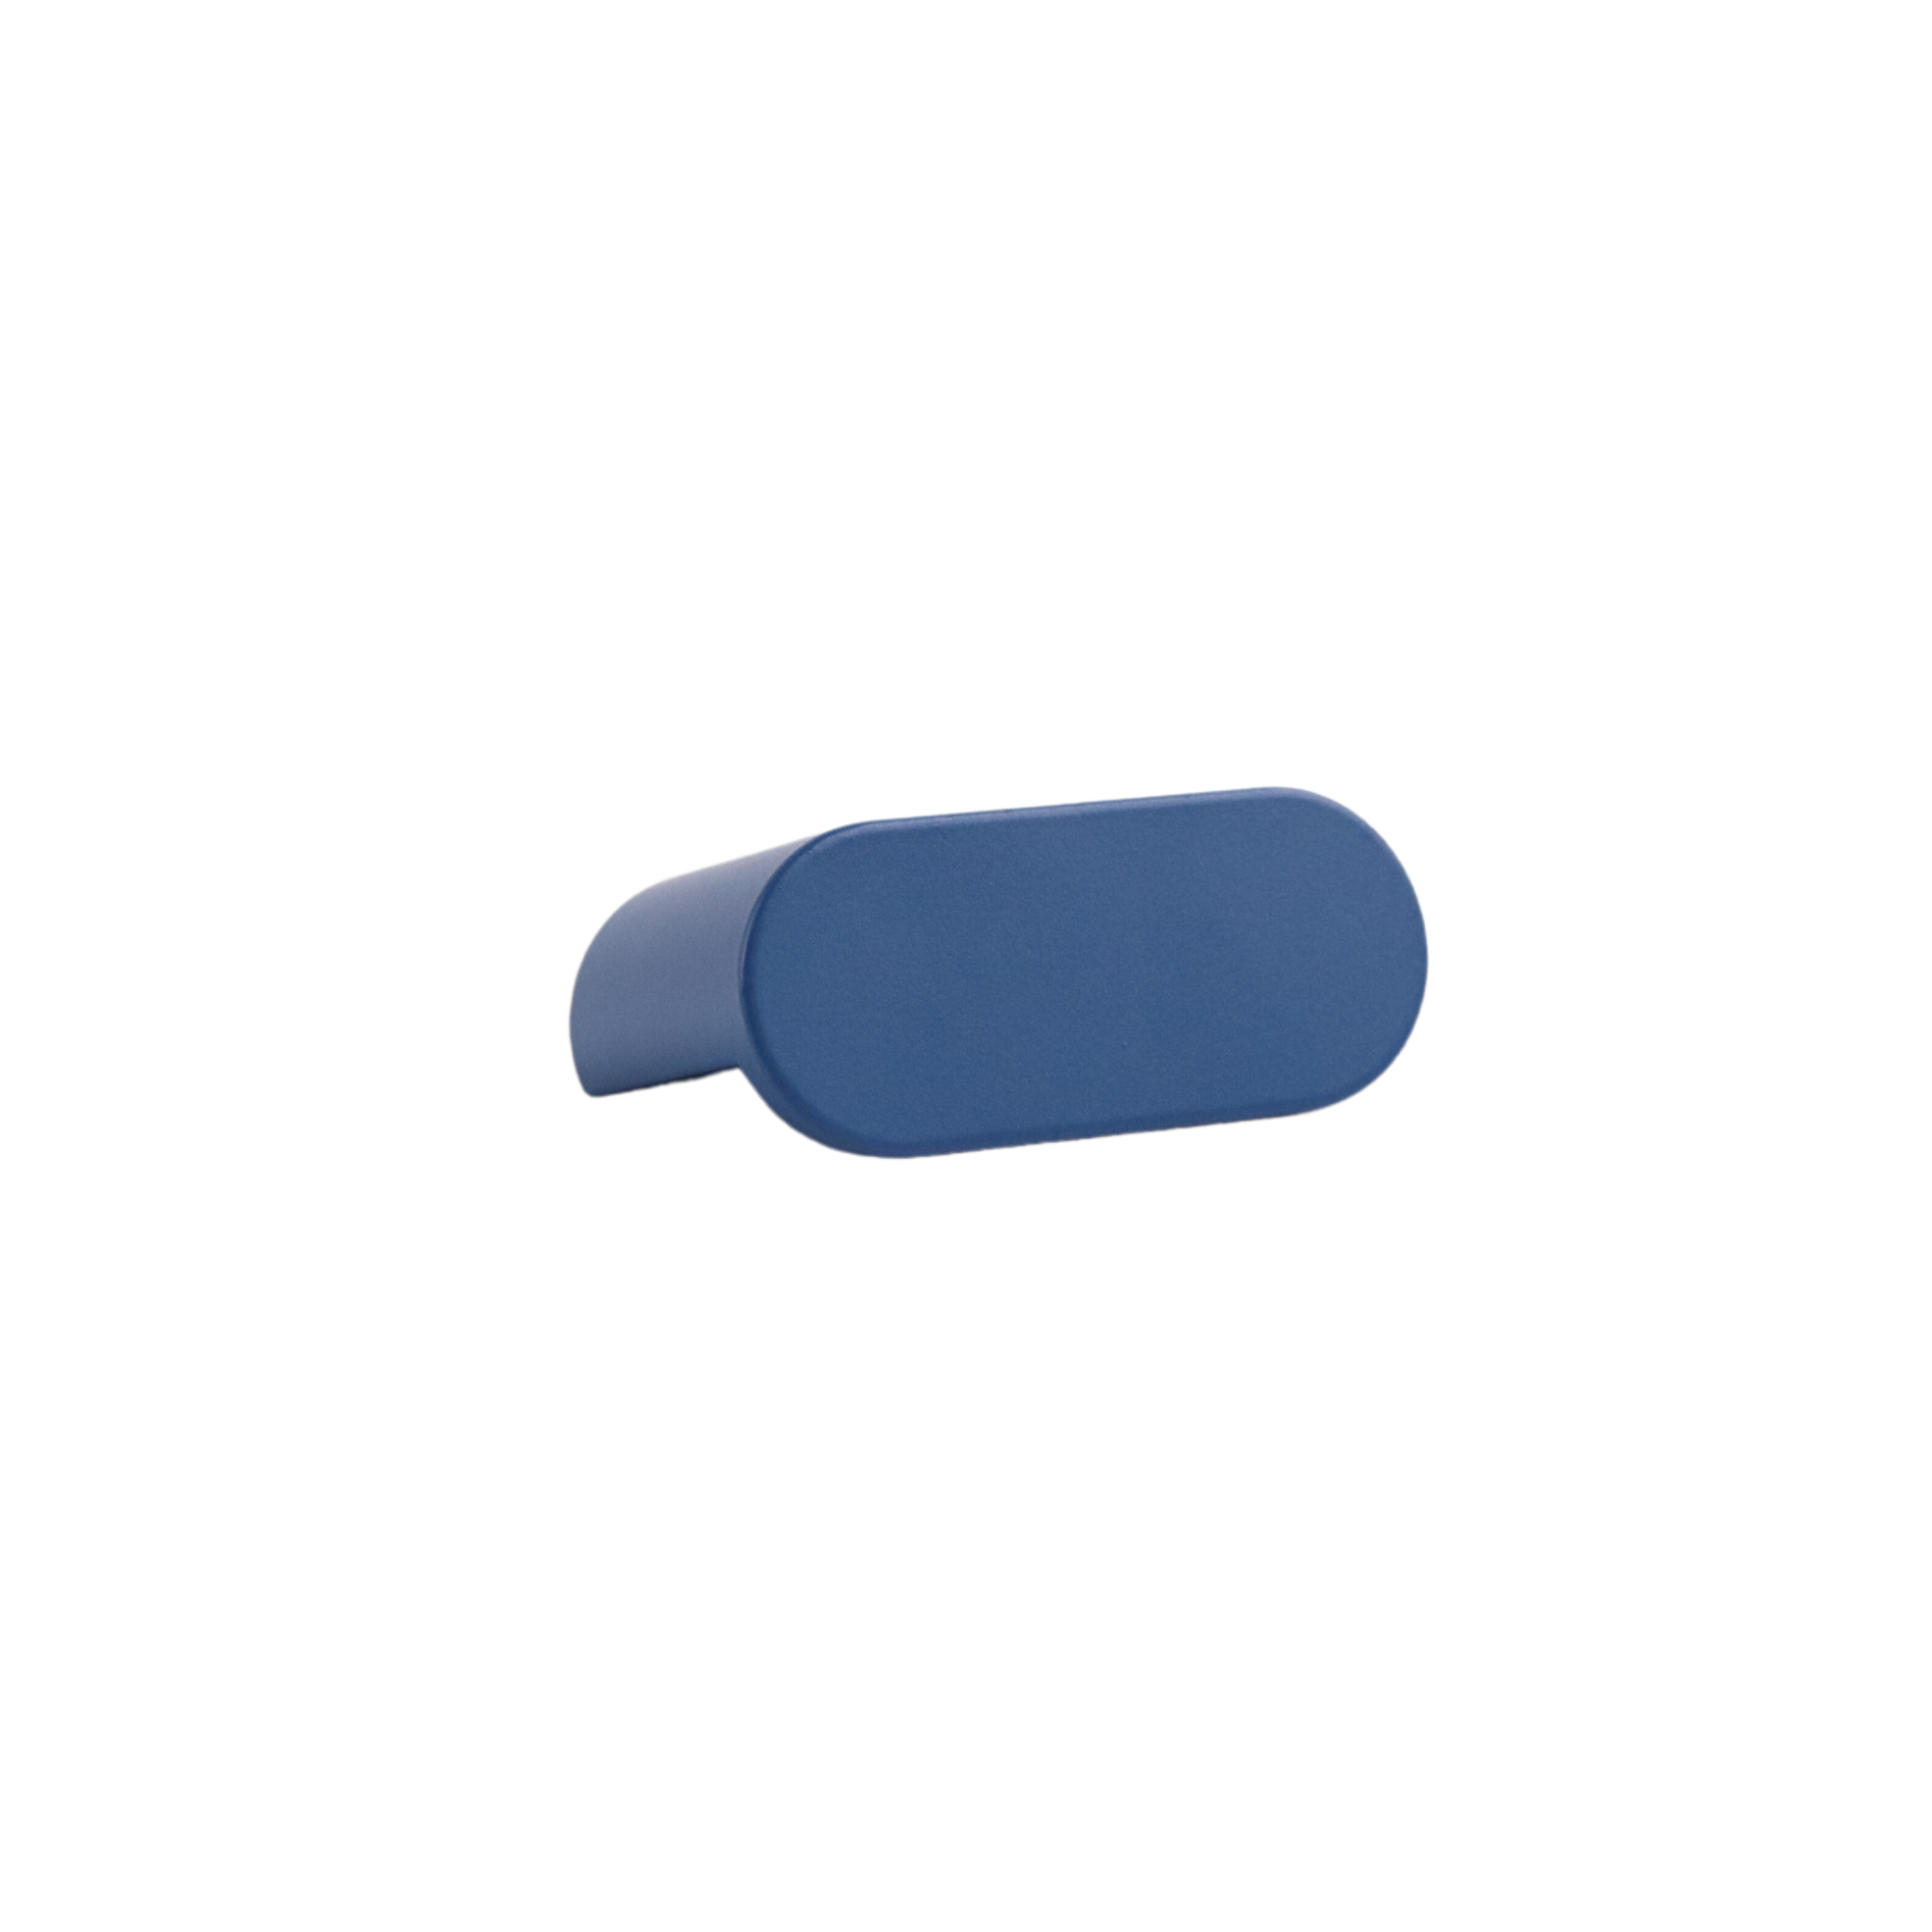
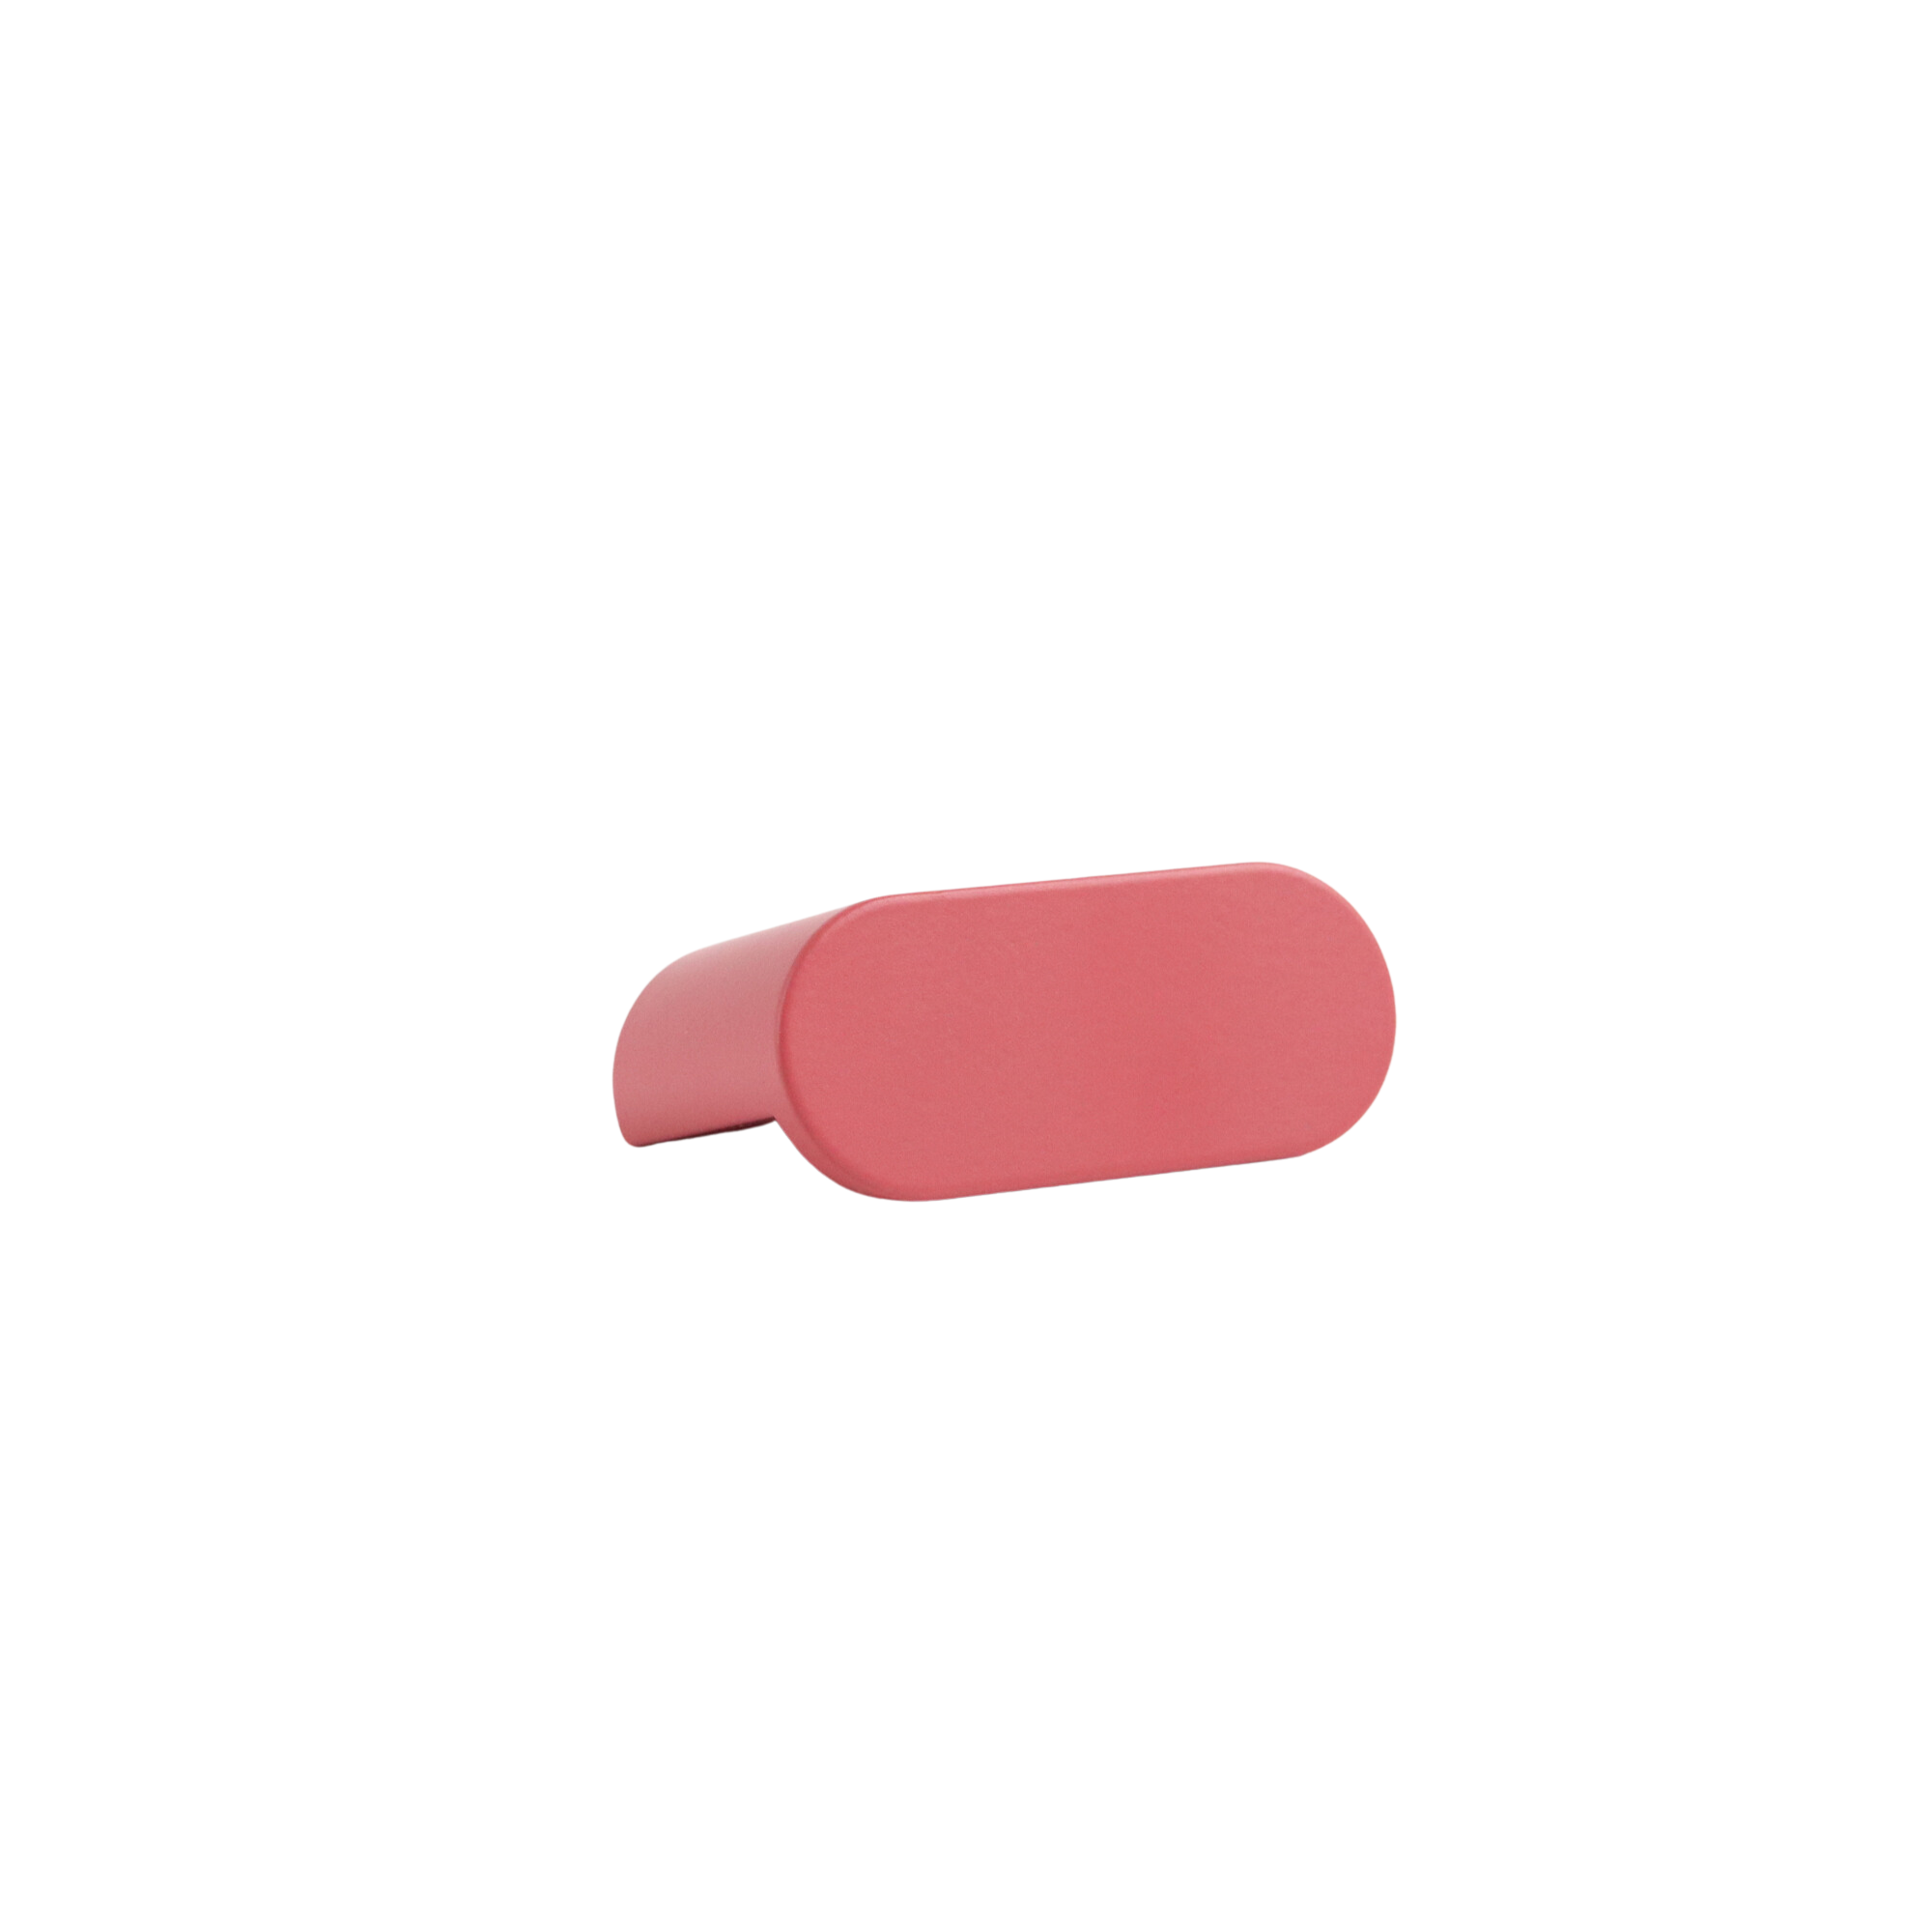
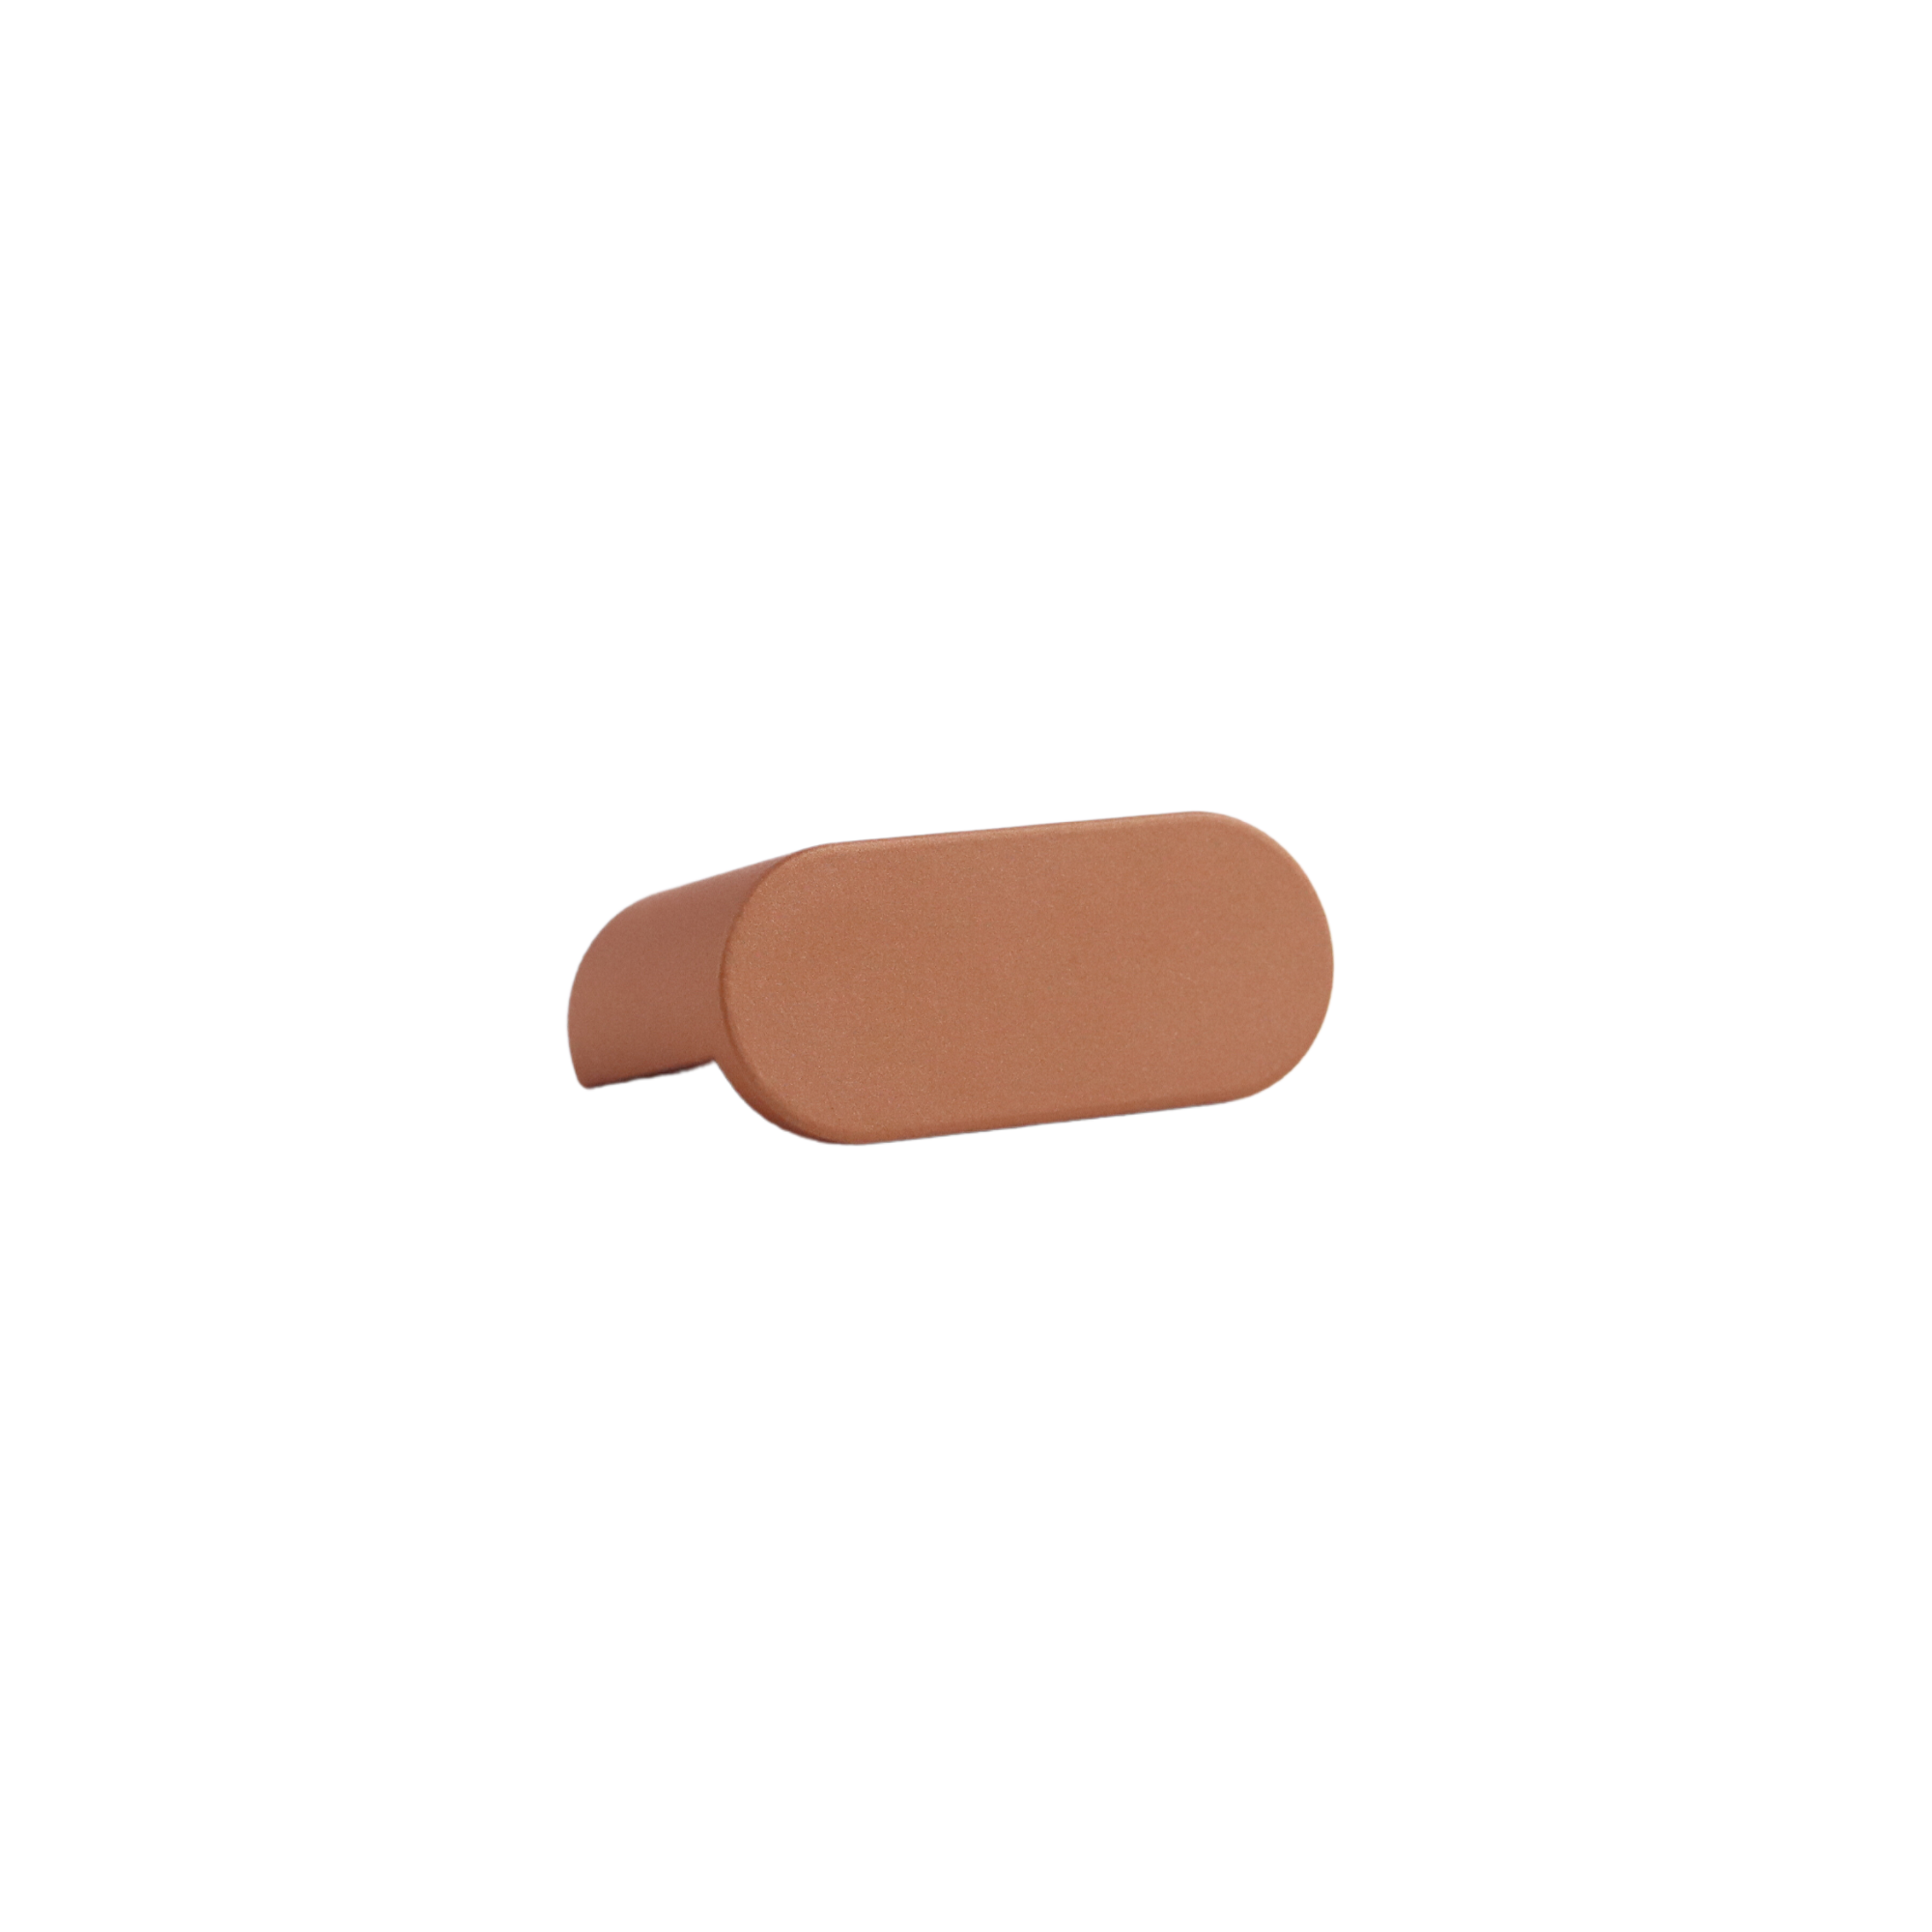
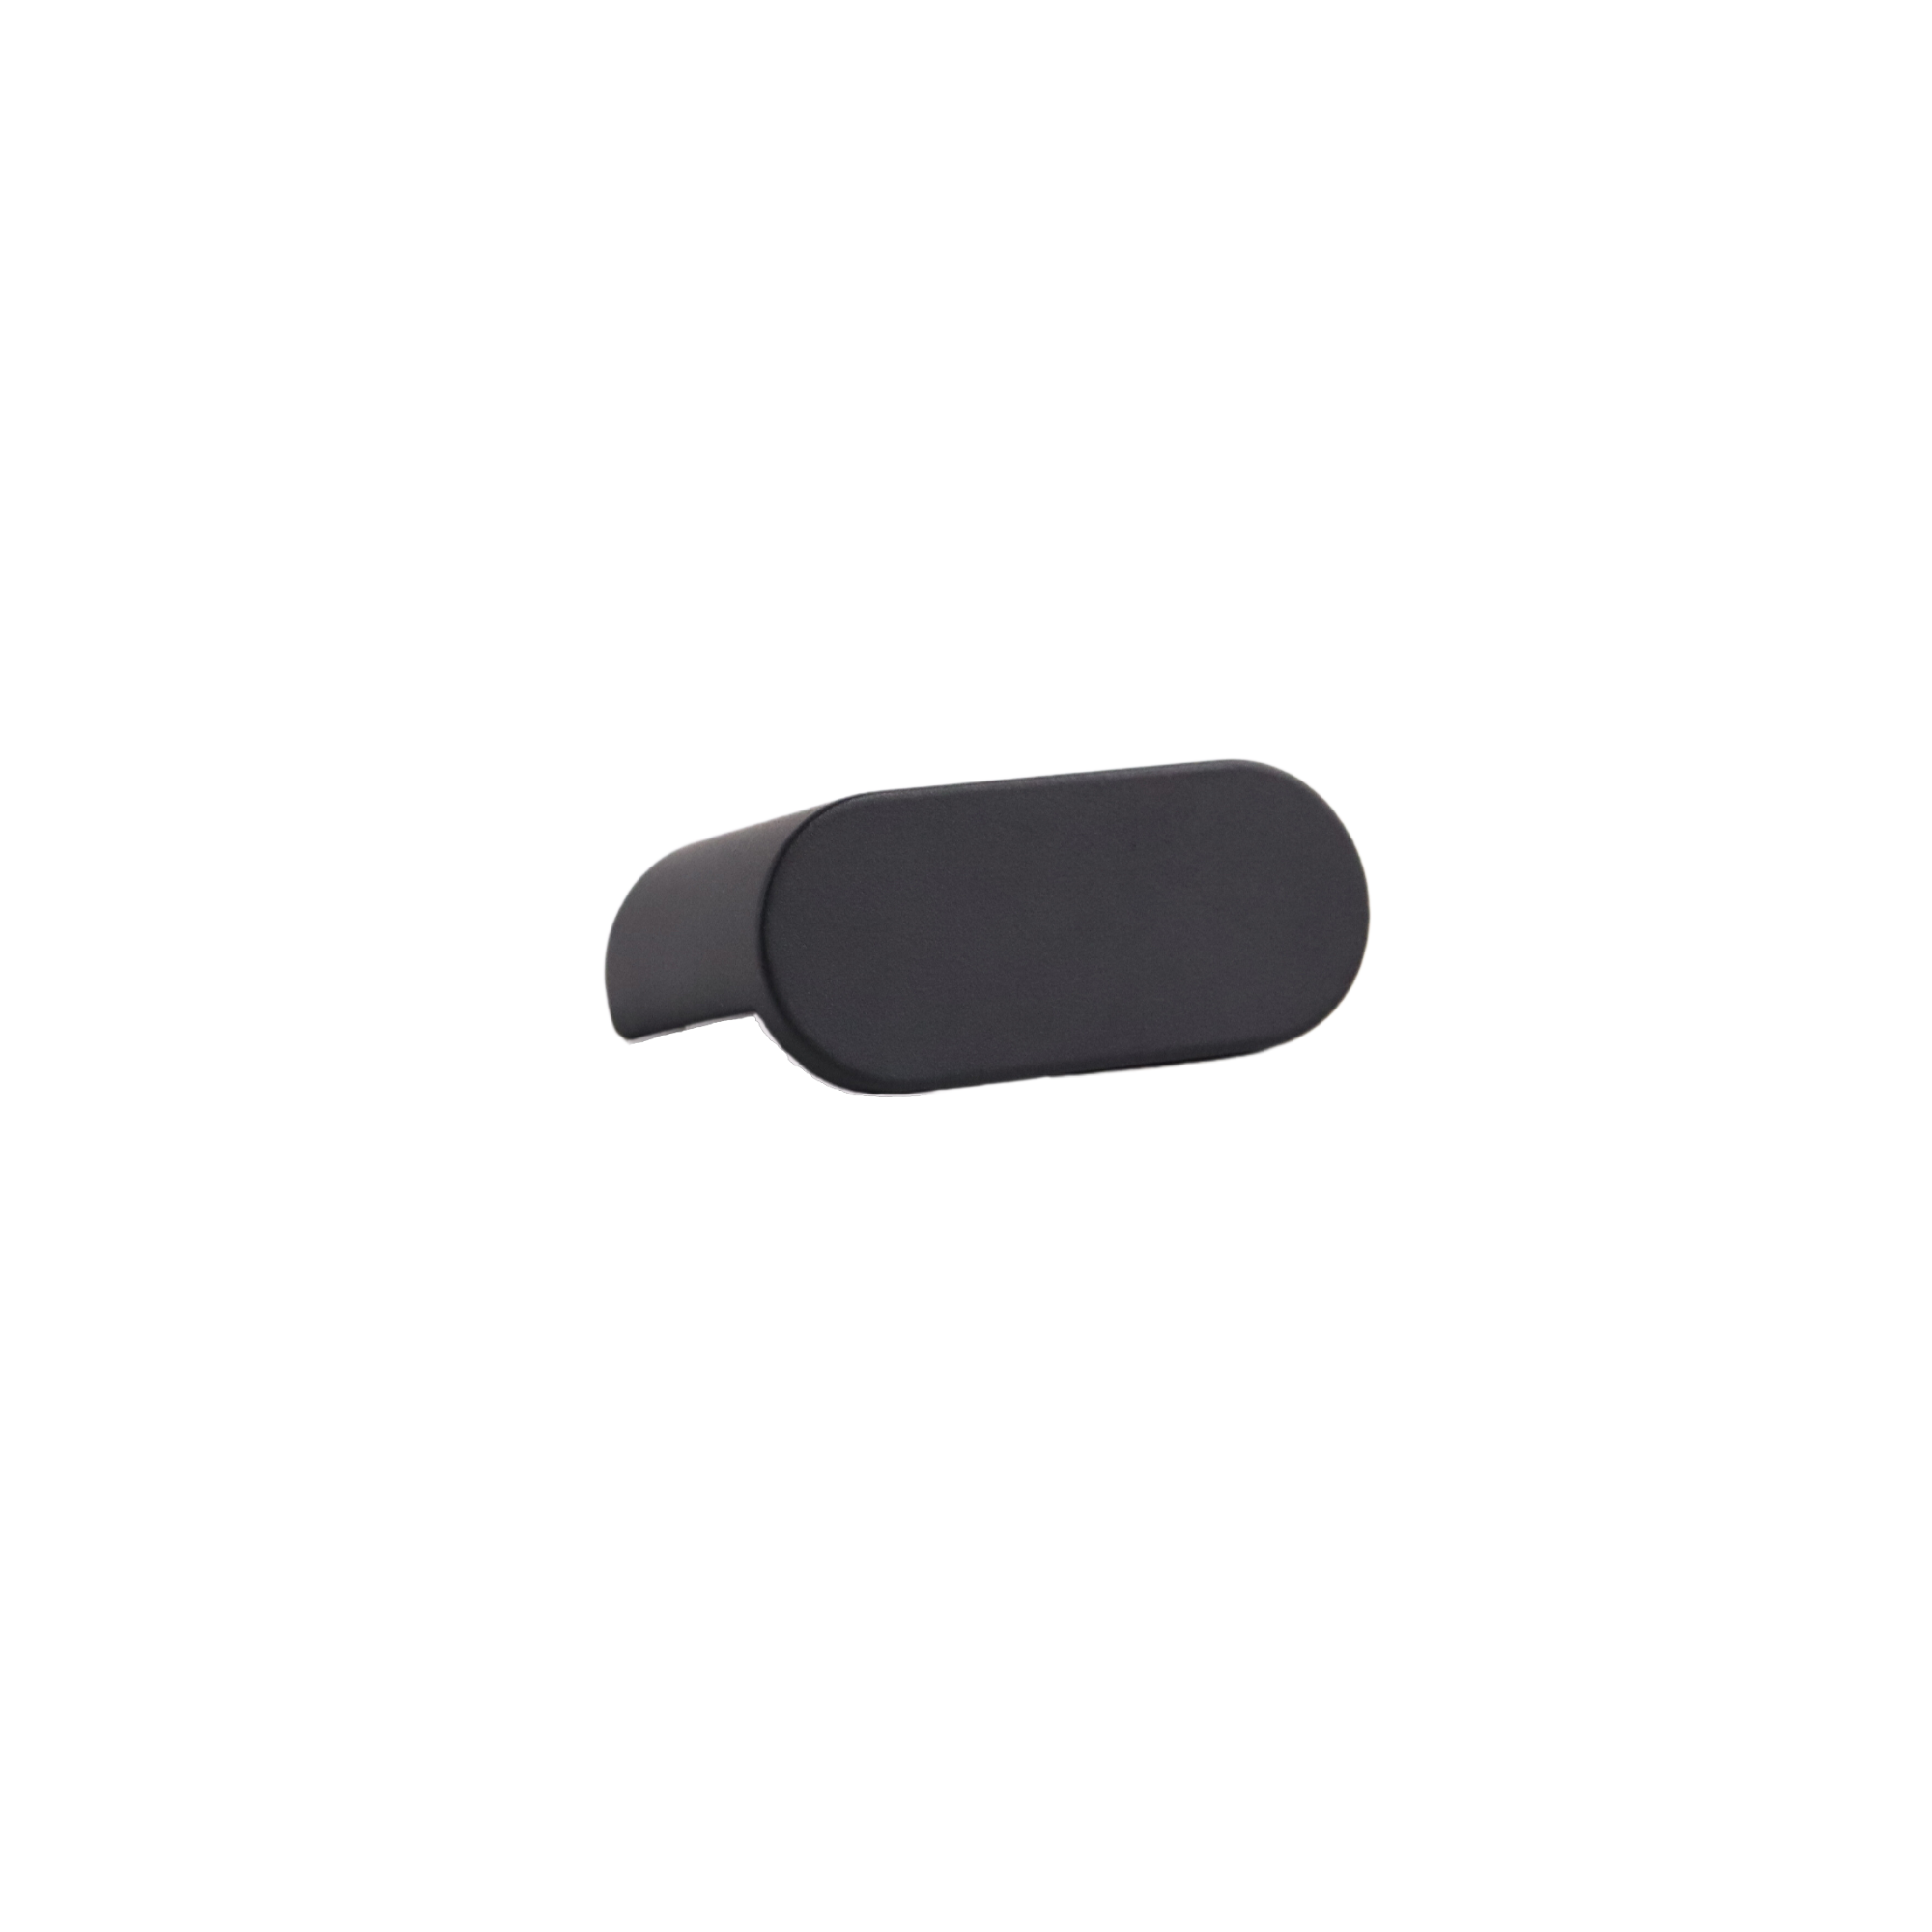
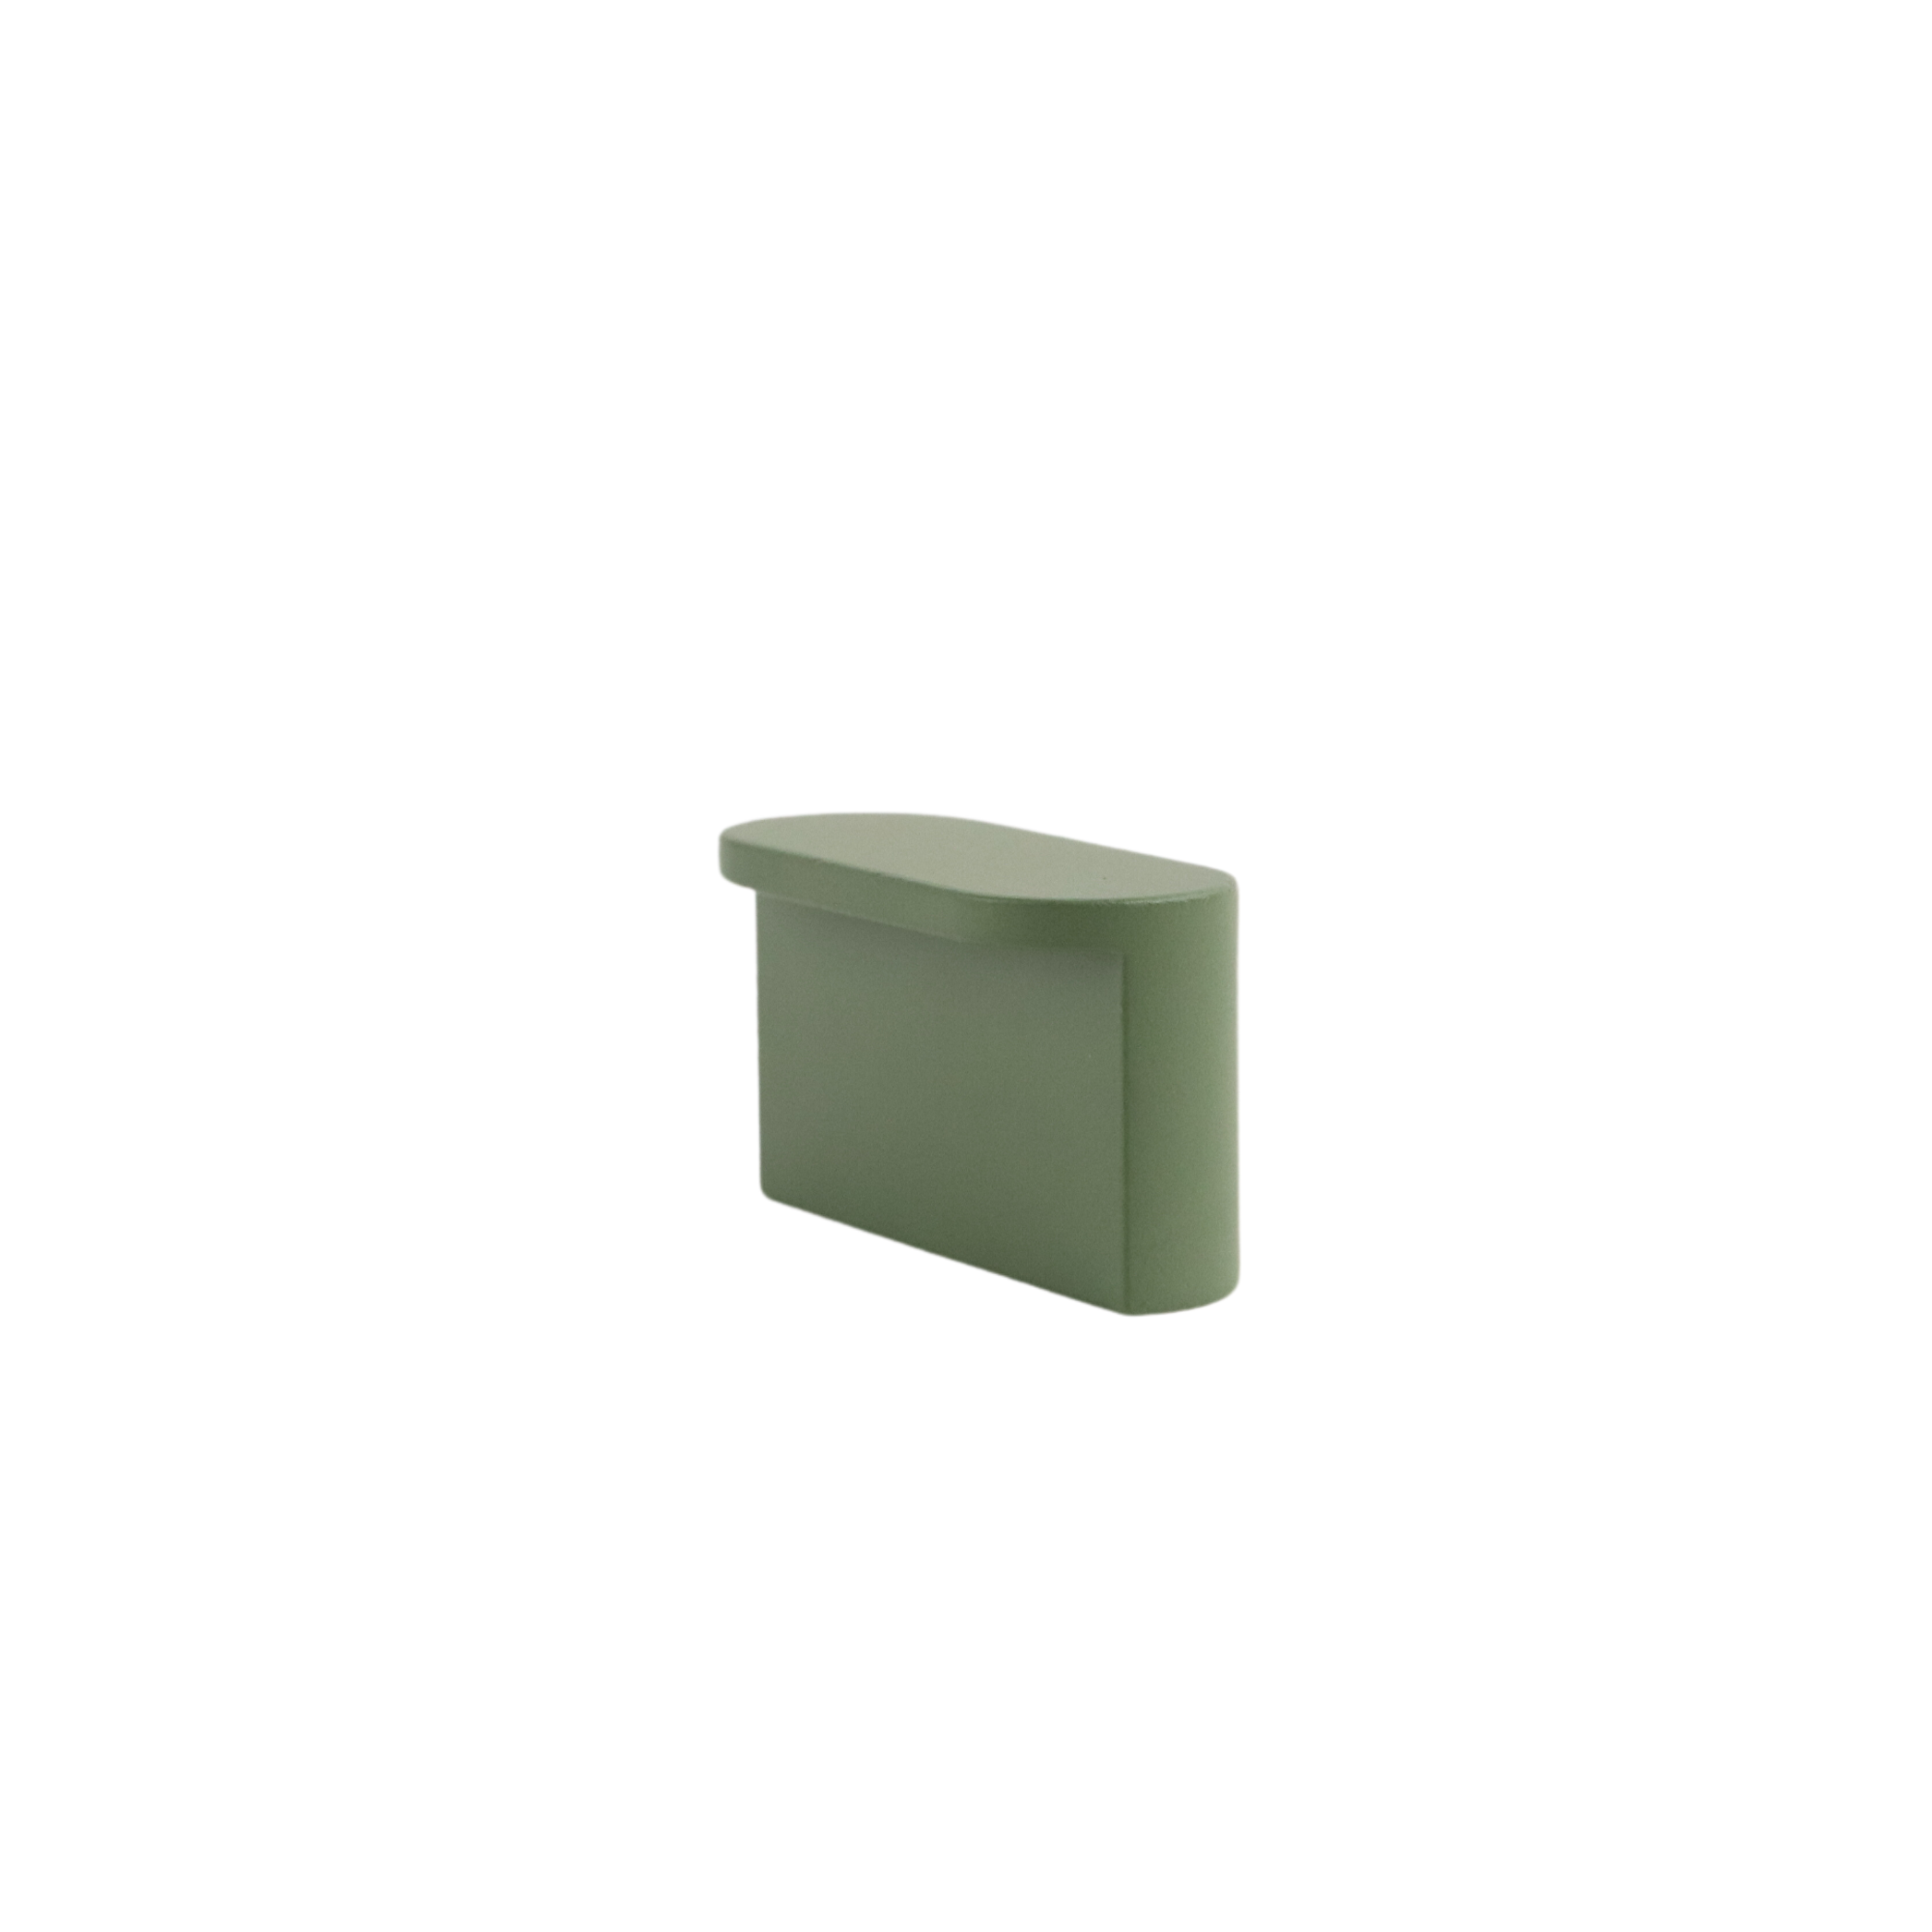
b. Pulls or Handles
Pulls or handles offer a bit more grip and functionality compared to knobs. They come in various lengths and designs, allowing you to customize the look of your cabinets. Handles work well for larger cabinet doors and drawers.
3. Prepare Your Space
Before you start swapping out your old hardware, gather the necessary tools:
- Screwdriver
- Measuring tape
- Pencil
- Drill (if needed)
Clear your workspace, removing any clutter or obstacles that might get in the way during the installation process. Lay out your new hardware and screws for easy access.
4. Remove Old Hardware
Using your screwdriver, carefully remove the old cabinet hardware. Keep the screws and any other pieces in a safe place in case you need them for the new hardware.
5. Install the New Hardware
Now, it's time to install your fresh cabinet hardware. Follow these steps:
a. Positioning
Use your measuring tape and pencil to mark the precise placement of the new hardware. Make sure to maintain consistency in terms of height and spacing to achieve a polished look.
b. Drilling (if needed)
If your new hardware doesn't align with existing holes, you may need to drill new ones. Use a drill bit that matches the size of your screws and follow the markings you made.
c. Attach the Hardware
Place the new hardware over the holes and secure them in place with the screws provided. Be sure not to overtighten, as it can damage the cabinet or strip the screw holes.
6. Enjoy the Transformation
With the new cabinet hardware securely in place, step back and admire the transformation you've achieved. You'll be amazed at how such a simple update can breathe new life into your space.